I can’t tell you how many times I’ve stepped on my son’s toy cars this summer. It seems like every day I don’t wear slippers in the house, I pay for it with excruciating pain from all the cars and LEGOs I step on. No matter how many times I ask him to clean them up, it never gets done. I came up with this DIY toy garage as a sneaky way to get him to clean them up, and I’m beyond thrilled that it actually worked! My son loves parking his cars in his new toy garage, and all it took was just a few materials that I already had around the house. You can even just let your kids decorate their own, or create a series of garages and run their own valet business.
Supplies:
- Cardboard box
- Duct tape
- Scissors
- Marker


Instructions:
Step 1: If your box has a lid, cut the lid off of it with your scissors.

Step 2: Next, you will want to cut an opening for the cars to drive through. You know, like a real parking garage!

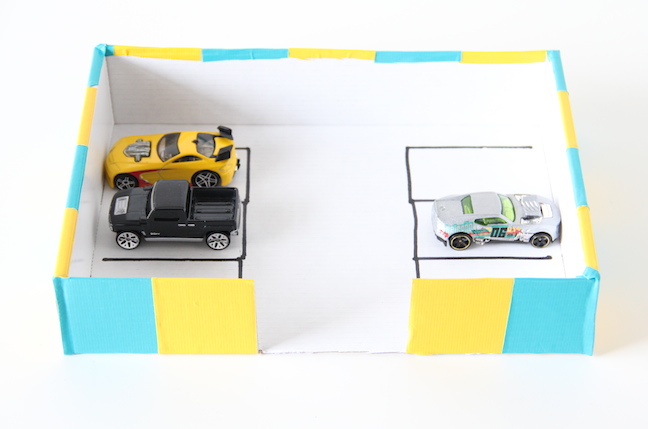
Step 3: Now it’s time to decorate! Grab your duct tape and add some stripes, or another pattern or design. The duct tape also helps to make the box a little sturdier. Bonus! Trim off any excess tape from around the edges.

Step 4: Now let’s add some parking spaces! You can use a small piece of cardboard and draw around it to get a more uniform shape, or just eyeball it and draw them on.

Just add your cars and your new garage is ready to play!

More DIY Kids Toys: