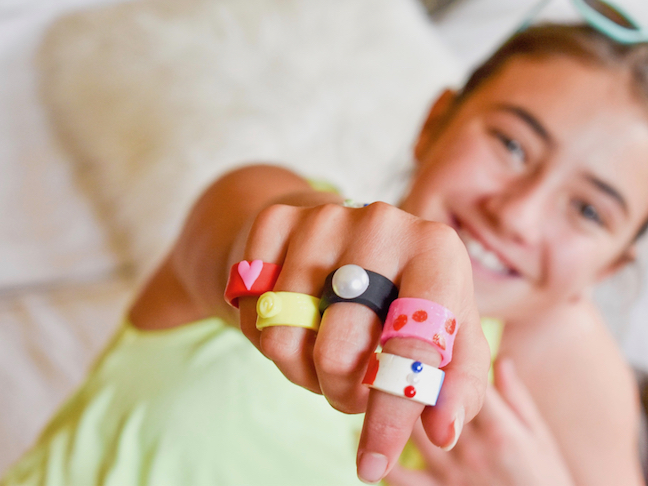
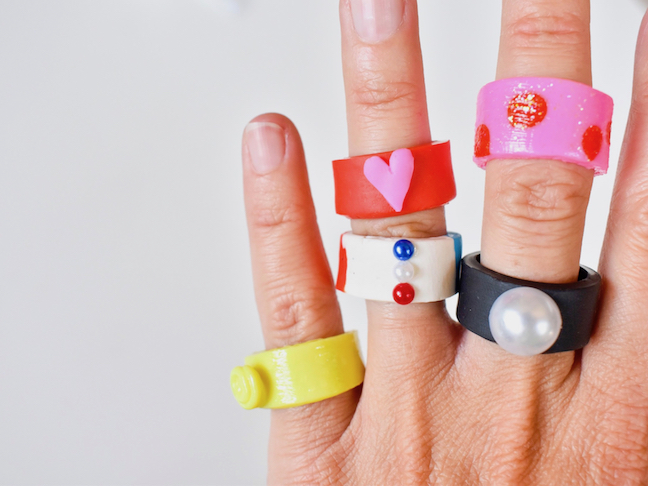
If you’re looking for a summer craft that will not only be fun to make, but a statement to wear, I’ve got a good one for you. Ring in summer with these DIY chunky clay rings. You can make so many different rings, at very little cost. Make each one unique with bold colors and embellishments, and after you make one for yourself, make another for a friend…because she’s going to want one, too! I find that crafting with kids is a great way to bond with them…especially if they aren’t in a talky mood but you still want to spend time with them.
This is a great project for the tweens and teens in your life who need something to do (and wear) that will keep their eyes off their coveted screens. Here’s how to do it.
Crafting With Kids: DIY Chunky Clay Rings
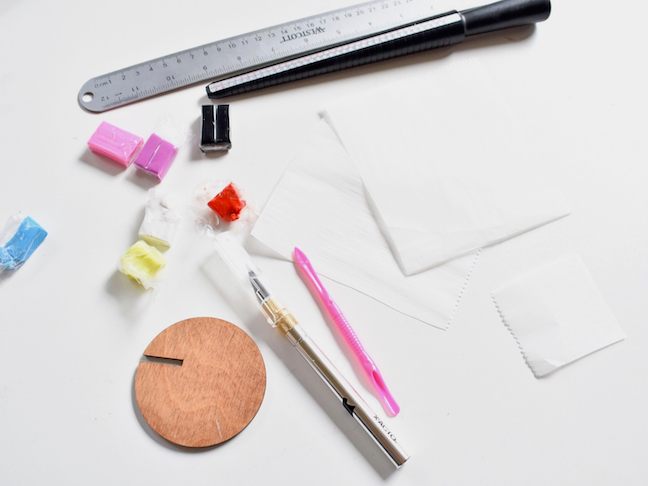
Materials:
- polymer clay, variety of colors
- X-acto knife
- Ruler
- Parchment paper
- Scissors (to cut the parchment paper)
- Small roller
- Flat-sided object (I used a round circle of wood, but anything light and flat will work)
- Ring sizer (this helps to determine the size of the ring, plus its great to use to shape the ring)
- Clay tool (smoothing tool, included in clay set)
- G-S Hypo Cement glue
- Embellishments, like this
- Mod Podge (glossy or glitter, optional)
Directions:
Step 1: Gather supplies. Cut the parchment paper into small 5×5 squares, as well as small 2×3 squares.
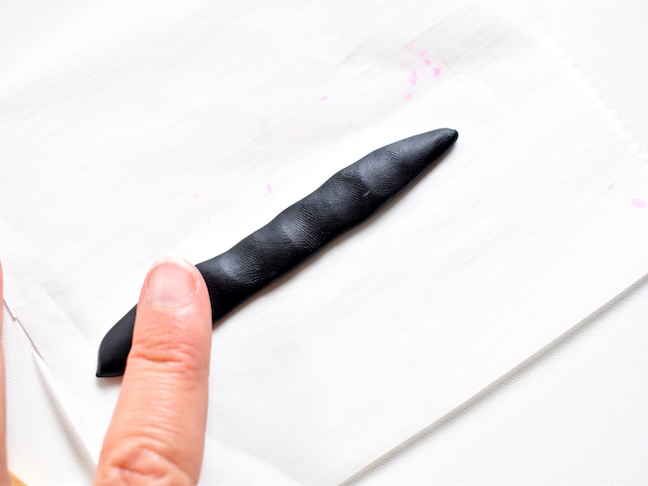
Step 2: Roll the clay into a worm and set on a piece of parchment paper. If you have a small roller, this is where you will gently roll it out. I used my fingers to press it down, and it worked great.
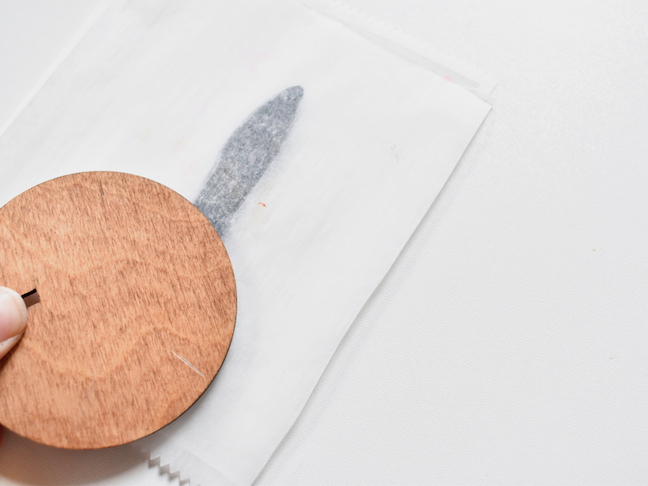
Step 3: Next, add a small piece of parchment paper on top of the clay, and with a flat object gently rub it back and forth so the clay is even and flat. This helps make the clay even, and smooth. Don’t press too hard, or the clay will stick to the parchment paper.
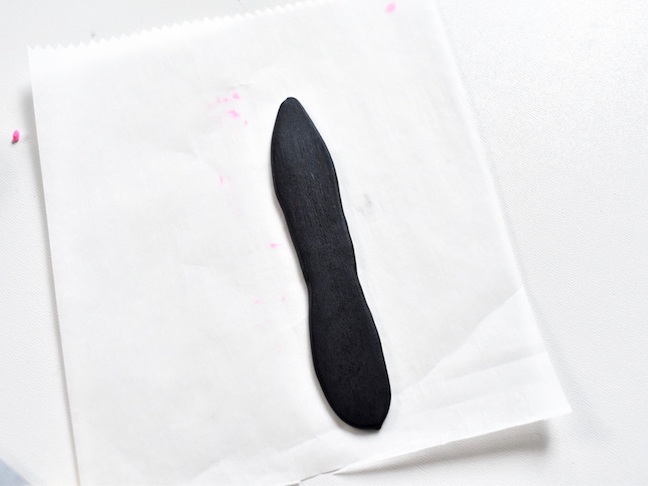
Step 4: Pre-measure the size of a ring you own, and note the size. Now, cut the clay into a skinny, long rectangle. Set the ruler gently on top, and use the X-acto knife to cut straight edges, and ends. Remember, you will want it long enough to wrap around a finger.
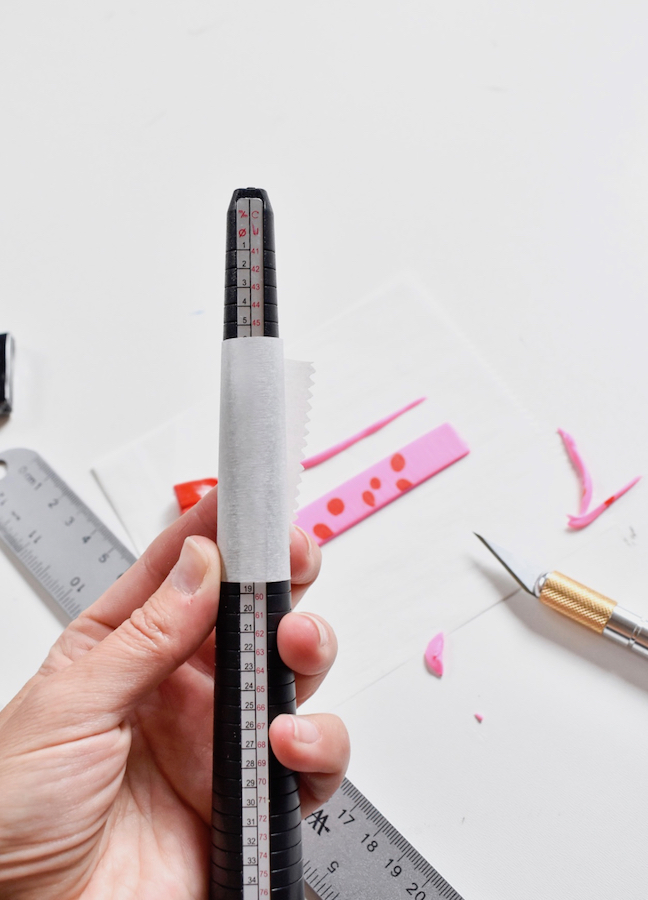
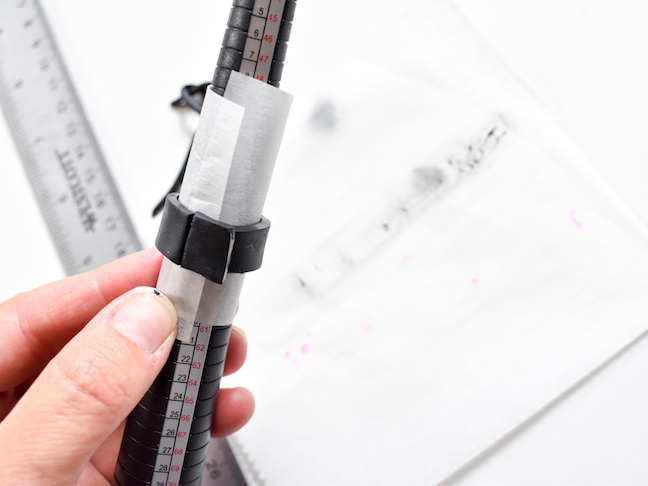
Step 5: Wrap a small piece of parchment paper around the ring sizer (around the size of your ring). Gently wrap the clay around the parchment paper and ring sizer at the spot of your noted ring size. If the clay is too long, use the knife to cut it.
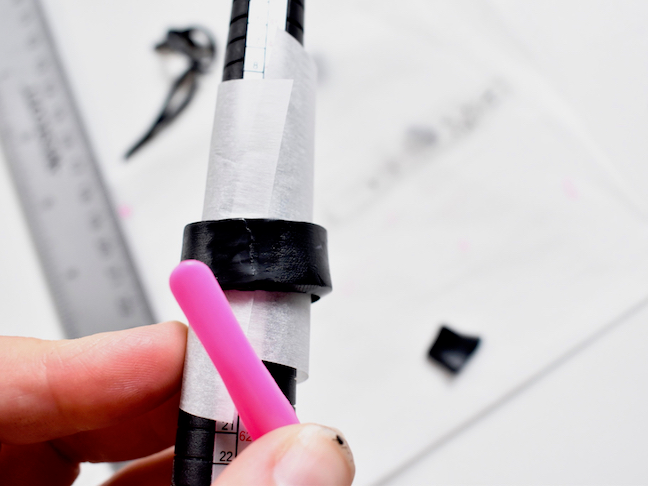
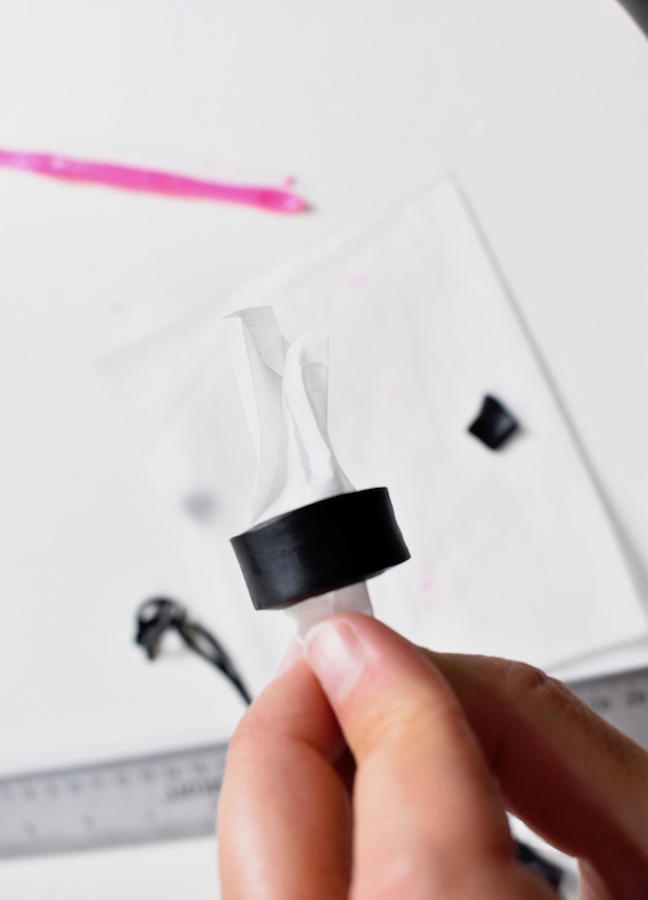
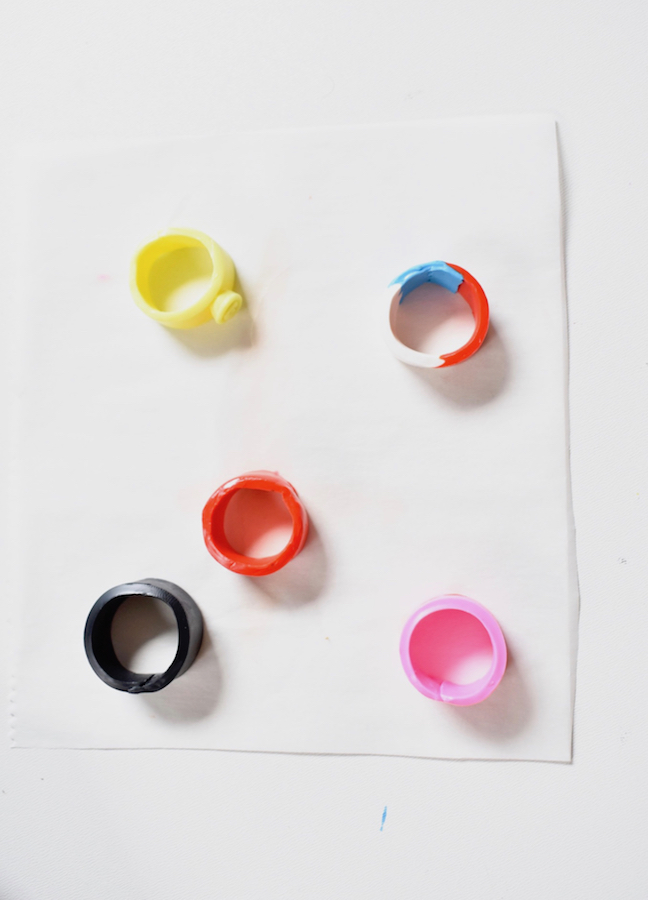
Step 6: Use the tool to smooth the seam. Once it’s ready, slowly pull the parchment from the ring sizer, and crumble the edges of the parchment so the ring comes “loose” from the paper. This way, the ring will stay it’s round shape before you bake it. I tried several times to remove it other ways, and nothing worked, except this crumble method.
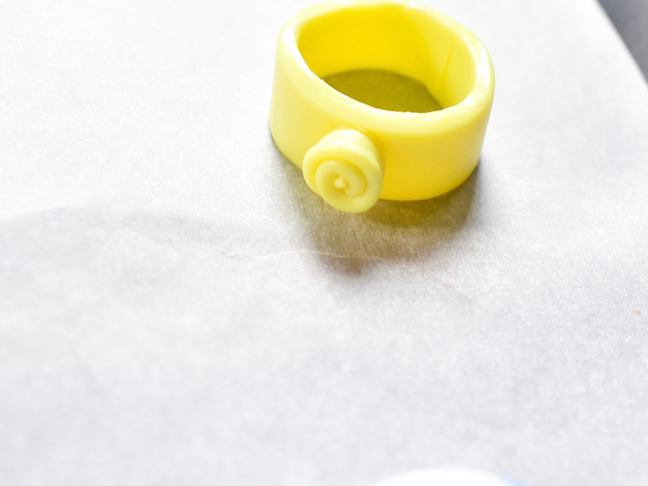
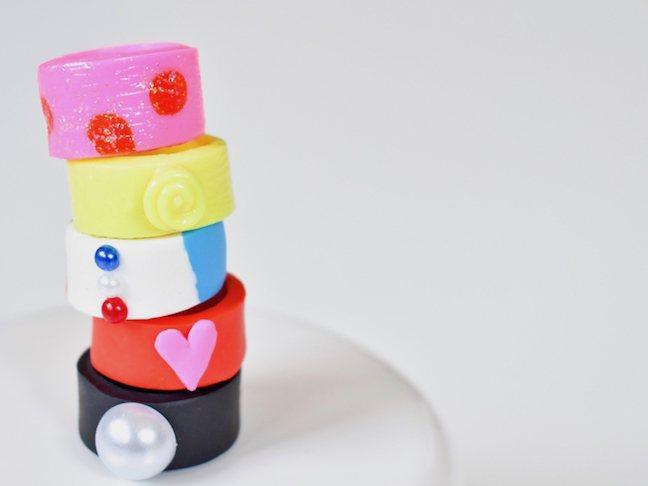
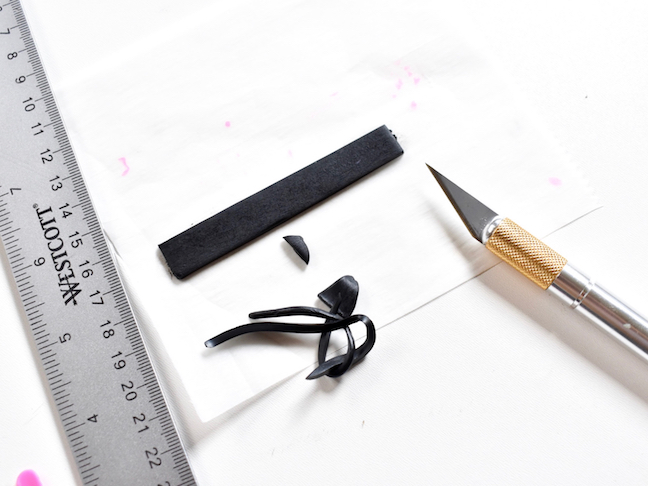
Step 7: If you want to embellish the base of the ring with clay, now’s the time. I added a clay heart, and a rolled clay flower. You can make these rings into cute animal faces, or decorate as you want.
Step 8: Next, place on a cookie sheet lined with parchment paper, and bake at packaging directions. My package noted to bake the clay at 125 degrees for 30 minutes.
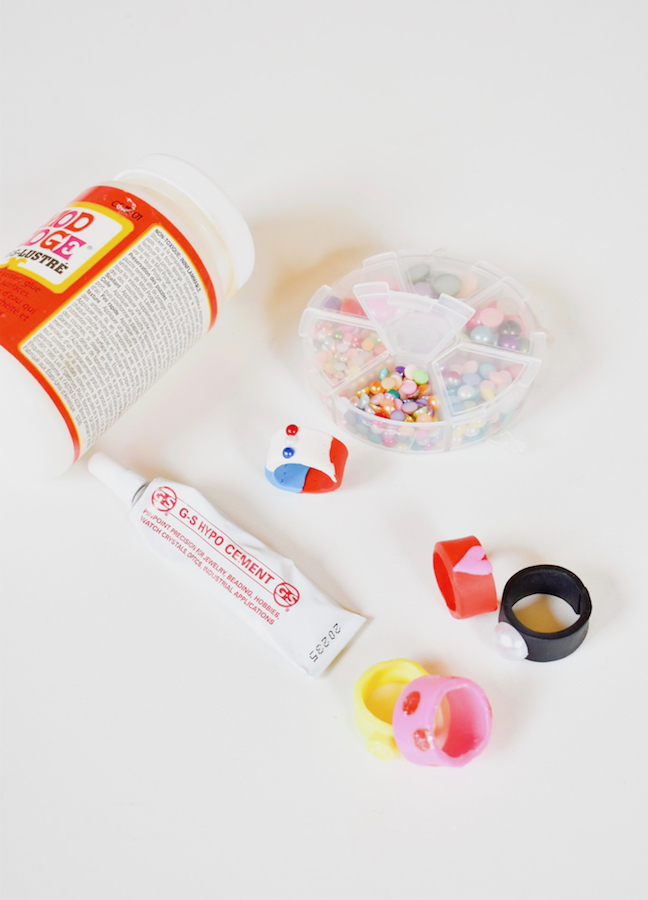
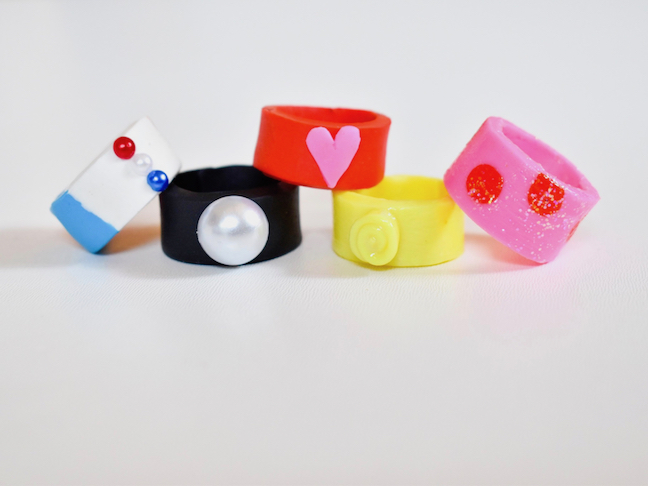
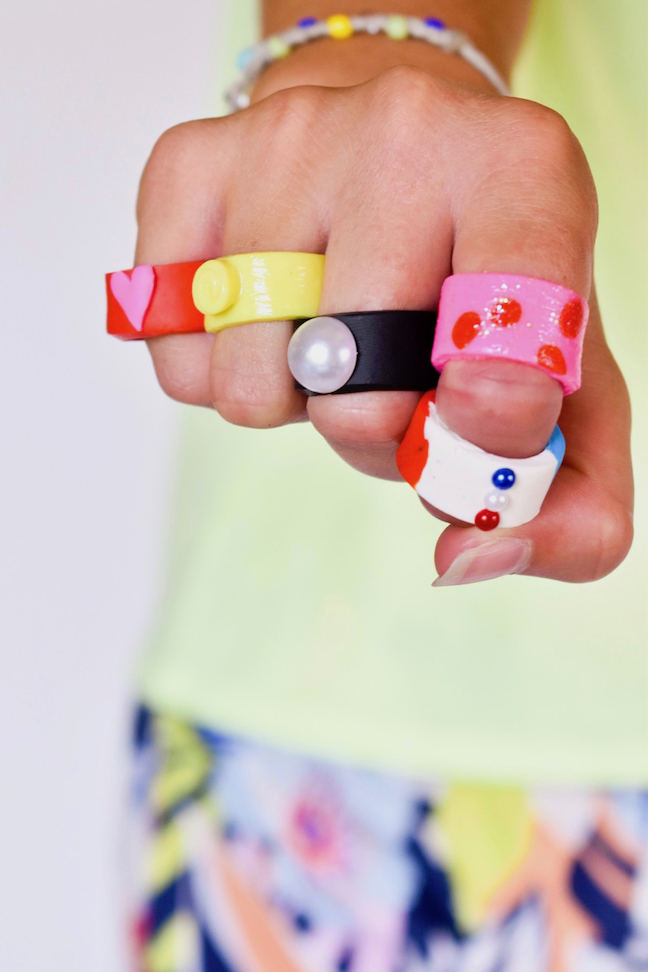
Step 9: Once the clay is out of the oven and cool, you can embellish with pearls, diamonds or anything else. I used cement glue to add flat-sided pearls. You can also seal the rings with shiny Mod Podge for a glam look, or even sparkle Mod Podge for a glitter effect.