If there’s one skill every parent could use this time of year, it’s the ability to make a decent book cover. Check out our easy tutorial on how to help your kids get the coolest books in school.

To make a basic book cover, grab some scissors, tape (optional) and a piece of heavy weight white bond paper. This is the stuff your kids use on their art easel at home. Cut the paper so that it’s about 1 1/2 inces larger than the book on all sides when the book lies open.

Fold the top and bottom of the paper so that it is just a smidge taller than the book (we’re talking millimeters here). Tuck the front and back covers of the book into the pockets created on each side. That’s it, easy-peasy. Reinforce the corners with tape if you wish.

To decorate, gather some paint, a piece of construction paper, and something small and square wrapped in yarn. We used a block that we didn’t mind getting paint on. Simply wrap your square with yarn several times and secure on one of the smaller sides using tape or a knot.

Next cover one side of the block with paint using a paintbrush (yarn tends to soak up paint so apply liberally).

Starting in the corner, press your block down firmly and lift.

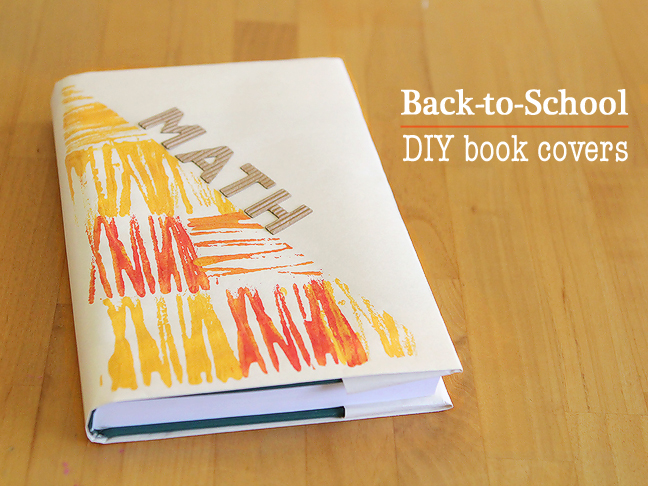
Repeat this process to create a pattern. For interest, we alternated paint colors and changed the orientation of the block (press, rotate 90 degrees, press, rotate back). Place a piece of construction paper diagonally across half of the front while stamping to get a clean line.

Finally, use markers, stickers or stamps to spell out the book subject along your line. These sleek covers will have your children excited to crack open their text books (at least until they get to the chapter on long division).
This post is sponsored by Mott’s.