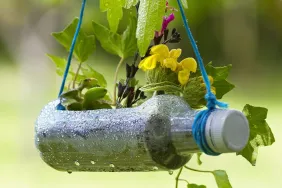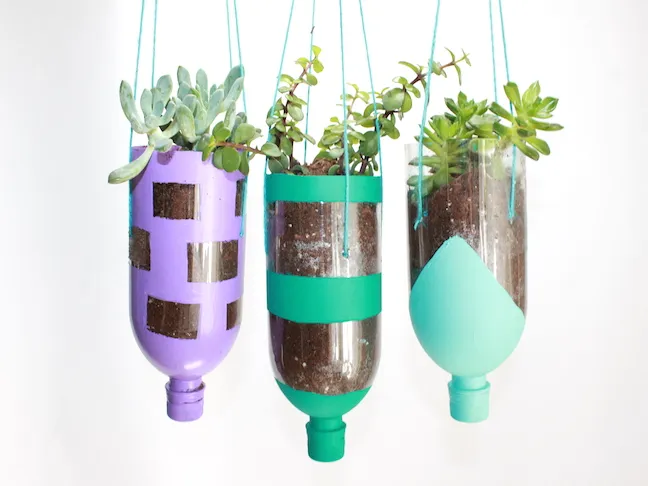
This DIY hanging planters project encompasses three of my favorite things: gardening, recycling, and art! It’s so easy and looks so cool, especially I you hang a bunch of the planters together.

Supplies:
- Used and dried water bottles and caps (I used a large Smart Water bottle. I like these bottles because they are smooth and easy to paint and work with.)
- Craft paint
- Paintbrush
- Painter’s tape
- Yarn
- Scissors or craft knife
Instructions:

Step 1: Cut your recycled water bottle about ⅓ from the bottom.

Step 2: Cut out graphic shapes from your painter’s tape and place on your water bottles.

Step 3: Paint your water bottles. You may need two coats. When dry peel off tape. Some of the paint may have leaked through—if so just scrape it or wipe off with a paper towel.

Step 4: Cut four holes about halfway down the recycled water bottle—one on each side. Thread your yarn through the holes and tie knots on the inside. Tie the pieces of yarn together at the top.


Step 5: Fill your planter with soil and your favorite plant. I planted succulents so I don’t have to water all the time.
Project complete!


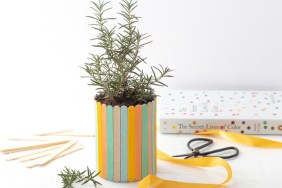
More DIY Planter Projects: