Materials:
- thickish teather
- embroidery floss
- needle
- awl
- pen
- ruler
- cutting mat
- rotary blade


Instructions:
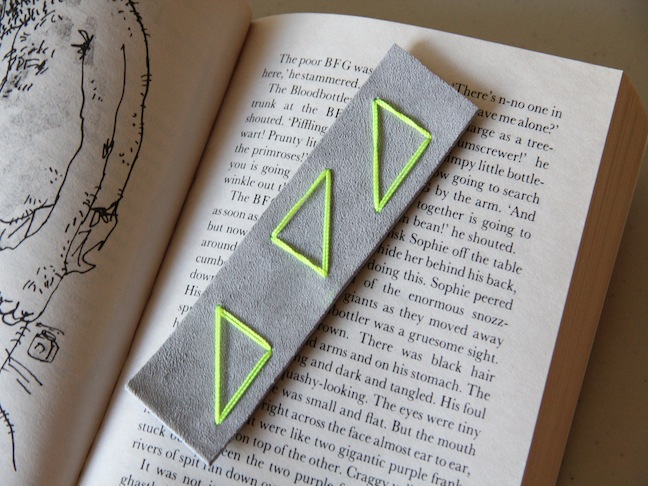
Step 1: Cut the bookmark from the sheet of leather. I made mine 1.5 inches wide and 5 inches long. Use the ruler and the cutting mat to ensure you cut a straight line.

Step 2: Mark your design on the back of the leather with a pen. This is a great way to involve the kids in this craft; just be sure the design is formed from straight lines (unless you’re a sewing maven).

Step 3: Take the awl and punch the holes where the pen markings are.

Step 4: Thread your needle and start sewing! Your design may look a little crazy on the back, but the front should look amazing.

Step 5: After you finish sewing your design, tie it of and you’re done! Enjoy your bookmark.

Want more homemade gift ideas?
- DIY Gingered Lemon Curd in a Jar
- Watercolor Paper Flower Bouquet Craft
- Colorblock Earrings Craft
- DIY Embroidered Fish Onesie
- DIY Stitched Wrapping Paper
Find more crafts from Kersey Campbell at ARDOR.