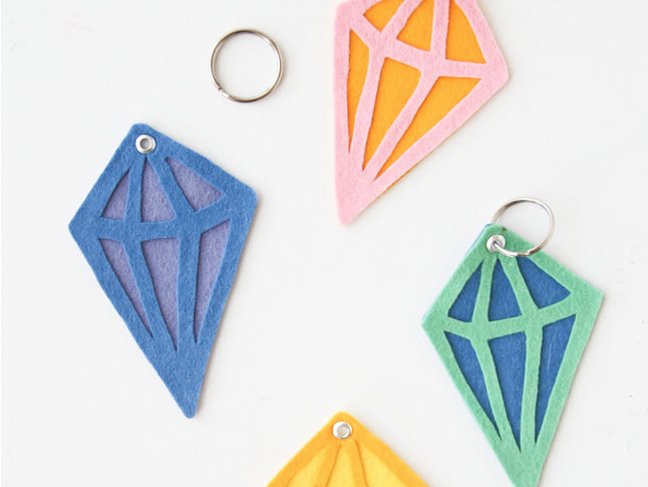


For a great afternoon craft activity with the kids, try these geometric DIY keychains. They’re a great way to review geometric shapes with (or introduce to) your little one. I used a three-dimensional diamond, but try out cubes and rectangular prisms too.
These geometric keychains work really well as bag tags, too! Hang one of these little guys on your child’s backpack or lunch bag for a fun and colorful way to stand out from the crowd.


Supplies:
- Wool felt (available online)
- Chalk pencil
- Fabric scissors
- Craft glue (like Aleene’s)
- Eyelet(s) and setting tool
- Hammer
- Self-healing mat or cardboard
- Key ring
Instructions:

Step 1: First, choose a shape and the color pairs you’d like for each shape. Draw your shape onto the color that you’ve chosen for the top of your keychain.

Step 2: Cut around the lines of the shape, leaving a quarter-inch margin on the sides of each line.

Step 3: Once the shape is completely cut out, glue the shape to the other piece of felt that you’ve chosen for the bottom color.

Step 4: Trim around the shape.

Step 5: Cut a small hole near the top of the shape.

Step 6: Insert the eyelet, and set the eyelet using the setting tool and hammer. Be sure to hammer on top of a self-healing mat or piece of cardboard to prevent damage to the work surface. Add a key ring, and it’s ready!

More DIY Keychains: