With Easter fast approaching, I have the perfect craft project for moms and kids. These DIY glitter Easter eggs are perfect for decorating around your home or at an Easter celebration. The pastel color of the eggs is so colorful and pretty…and let’s be honest, gold glitter on anything is AMAZING! Striped, half dipped, polka dotted, these Easter eggs are cuteness overload.

Supplies:
- Eggs
- Mod Podge
- Glitter
- Food coloring
- Vinegar
- Water
- Paintbrush
- Tape
- Bowls/containers
- A spoon

Instructions:
Step 1: Fill your containers with water and mix with vinegar. This will dilute the food coloring. Adds drops of food coloring into your containers. The more you add, the darker color you will get.
Step 2: Place your eggs in the containers. Let them sit and move them around with your spoon, dyeing the entire egg.

Step 3: Once your eggs are dyed the color you would like them to be, take them out of the water and let them dry.
Step 4: Once dried, decide which pattern you would like your glitter to be. For our first one, we decided to dip the bottom half of the egg in glitter. Take your tape and wrap it around the middle of your egg.

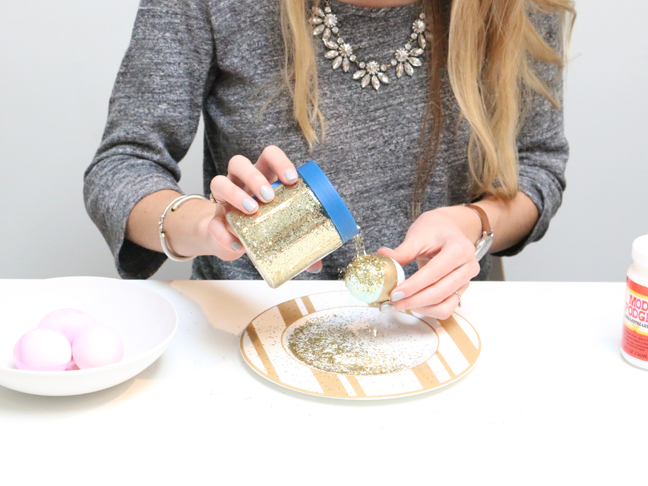
Step 5: Add water to your Mod Podge to dilute it. Take your paintbrush, dip it in Mod Podge, and brush it on to the bottom half of the egg.

Step 6: Pour your glitter on to the brushed part of the egg. After it is fully covered in glitter and it has dried, you may peel the tape off of the egg….and you’re done!!

More DIY Easter Egg Crafts: