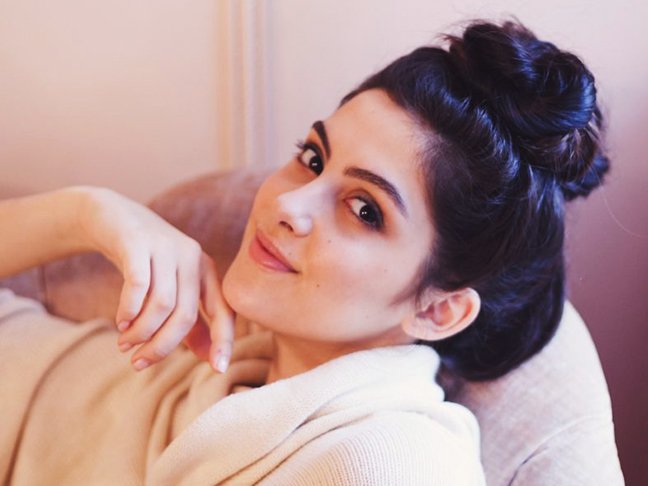
The reverse braided bun looks incredibly polished and it’s so simple to do. Something else that I love about this style is that it’s an easy hack for second-day hair (or even third-day hair!). The style works best on long, straight hair.
Ready to get this look? Here’s how to master the reverse braided bun, step-by-step.


Supplies:
- Two Hair Elastics
- Hair Pins
- Sectioning Comb
- Holding Spray
Instructions:

Step 1: Split your hair into two sections at the crown. Place the top section into a ponytail with an elastic band (so your hair resembles a half-up, half-down look).


Step 2: Tightly twist the ponytail in an upward motion and then let the twist naturally coil back downward into a bun. This is my secret weapon for a getting an instant top knot. Pin into place and set with a light holding spray.

Step 3: Next, gather remaining hair into another ponytail right behind the top knot you just finished. Make a rope braid just like the first one you did—teasing your hair first if you need extra fullness.

Step 4: Then, loop this braid through your first coiled top knot as demonstrated above. Disguise the ends of your braid by pinning them underneath your coiled bun.

Step 5: Hold in place with hair pins and a light spritz of hairspray, tugging at the bun and the braid (if need be) to create extra fullness.

The final look should resemble a wide mohawk-inspired braid.


Lookin’ good!
Hair and Makeup by Maritza Buelvas
Modeling by Gabriella Dini
Photography by Jennifer Coffey
Location Beauty For Bloggers Studio
Like what you see? Don’t forget to Pin it!
")