

Is it snowing where you are? If you’d like to make your winter a little whiter, this indoor snowflake flurry might just be the perfect weekend project for you and the littles! It’s a great little holiday kid craft, and it’ll dress up your home to boot. Just a few materials will have you in the snow business, and you might even have them all around your house already. Let it snow!
Supplies:
- pipe cleaners
- scissors
- clear thread
- clear tape
Instructions:
Step 1: Cut a few pipe cleaners in half. Layer three or four pieces on top of one another, evenly spaced, to make the branches of your snowflake.


Step 2: Grab all of the stacked pipe cleaners and twist the stack so that the centers are all twisted around each other and secure.

Step 3: Cut a few smaller lengths of pipe cleaner. Twist the smaller sections around the branches of your snowflake to decorate it.


Step 4: Keep making more snowflakes in different sizes, shapes, and colors! There’s no wrong way to do it, and the more shapes you have the better. It’s also a great opportunity to talk about uniqueness with your kiddos!

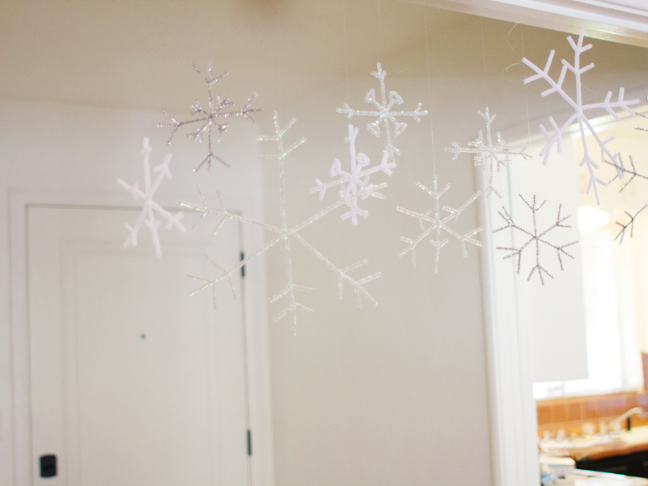
Step 5: Cut a length of clear thread, tie one end around a branch of a snowflake, and tape the other end to the ceiling, a door jamb, or any other spot that could use a little snow.

Step 6: Repeat step 5 with all of your snowflakes until there are enough in your flurry, and have fun!


More DIY Snowflake Crafts: