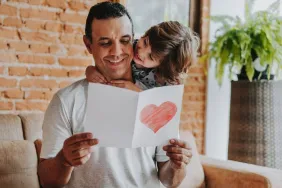
There are many traditional gifts for Father’s Day, and cufflinks have been a dad gift-giving standard for decades! My daughter loves drawing, and I’m always looking for ways to creatively preserve her adorable artwork.
Here’s an incredibly easy way to make a gift that Dad will be treasuring for years to come! Keep reading to find out how to make these awesome DIY cufflinks from your child’s artwork.

Supplies:
- InkJet printable shrink film
- Cufflink blanks
- 3600 epoxy
- Mod-Podge Dimensional Magic
- Parchment paper
- Artwork from your child
Instructions:
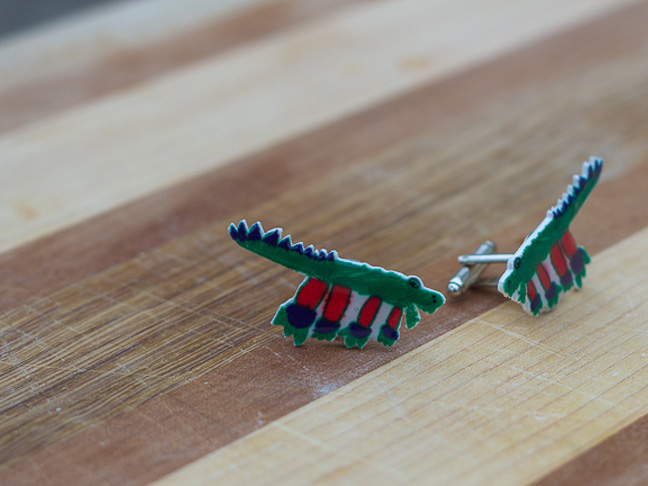
Step 1: Find a piece of artwork that you’d like to use for your cufflinks. It could be a simple object (e.g., an alligator), an entire scene, or just scribbles. Be creative!

Step 2: Photograph or scan the artwork and resize it appropriately. You’ll want your artwork to be three times the size of the end result, as they will shrink to become a third of their original printed size. Therefore, if you’d like a design to be one inch wide, then resize it to be three inches for printing. You may also want to inverse one of the shapes to create mirror images for cufflinks. (TIP: Remember that you’ll need the art to be as tall as the diameter of your cuff link blank.)
Step 3: Print out your artwork on the shrink film. Use your best printer settings for maximum color. Cut out your design, leaving just a small amount of space around it.

Step 4: Preheat your oven to 350 degrees. Cut two sheets of parchment paper. Lay one on your baking tray, and then place your cut plastic on top. Place the other piece of parchment on top. Bake in the oven for three to four minutes until done shrinking.

Step 5: Let your pieces cool.

Step 6: Follow the directions on your epoxy to secure the back of the cufflink blank to the artwork. Wait for thirty minutes for it to be fully secure.


Step 7: Punch holes in an egg carton or styrofoam to hold the cufflinks in place for the final step. Apply Dimensional Magic to each piece of artwork and allow it to dry for two hours.

Step 8: Try them out in Dad’s favorite shirt, and then find a small box or bag to wrap them in for your gift!
More DIY Father’s Day Crafts: