

Make these fun and functional back to school notepads and sketchpads with the kids to get them excited about the upcoming school year. They’re super easy to make and perfect for note taking, sketching, and more.
Add as many sheets of paper as you’d like. Bonus! When a notebook has been filled, you can easily switch out the filled pages for new blank ones and reuse the same cover. And for longer lasting covers that are protected against spills and tears, laminate the covers before using for extra durability.
Want to make your own? Here’s how.


Supplies:
- Decorative paper
- Lined paper (college ruled or wide ruled)
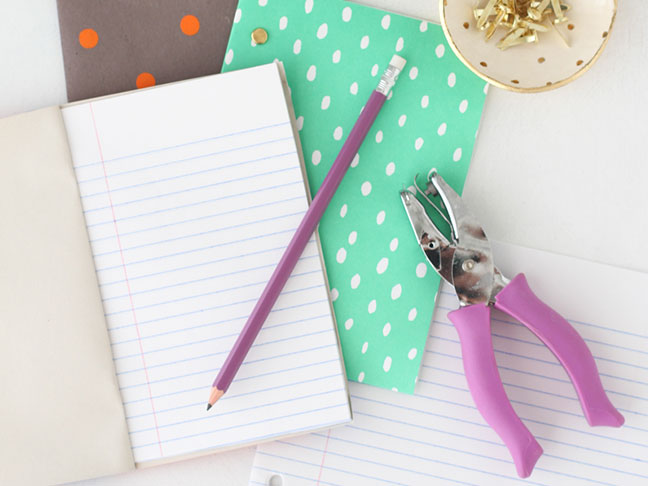
- Hole punch
- Gold brads
- Rotary paper trimmer (or a ruler and scissors)
Instructions:

Step 1: Start by cutting your decorative paper down to size. This will be your notebook cover, so you’ll want to determine the dimensions of your notebook before cutting the paper down. For a small to medium sized notebook like mine, cut the decorative paper down to 10 inches wide and 7 inches tall. Once folded in half (which you’ll do in step 3), this will give you a 5×7 notebook.


Step 2: Next, cut ruled paper down to slightly smaller than what the finished notebook size will be. So, if you’re making a 5×7 notebook, cut the ruled paper down to 4¾ inches by 6¾ inches. Be sure to keep the top two holes that are already in the paper as well. See photos for how to cut properly. I used roughly 25 sheets of ruled paper per notebook, but you can use many more than that, if you’d like.
Note: If you’re planning to make a really thick notebook, with over 50 pages, you may need to cut the ruled paper smaller than the dimensions listed to ensure they don’t stick out beyond the cover.

Step 3: Fold the decorative paper that you cut in step 1 in half. Place the ruled paper inside.

Step 4: Punch holes through the decorative paper cover, on the bottom side, using the holes of the ruled paper as a guide. Then fold the cover back over and use those punched holes from the bottom as a guide to punch holes through the top of the cover as well.

Step 5: Next, add gold brads to the holes, making sure the brads go through the cover and the holes of the ruled paper.

Now your notebook is ready to use. What I love most about this project is that you can customize it in so many different ways, with different paper patterns, different color brads, and different size notebooks.


More Back to School Crafts: