
Spring is officially here and the warmer weather is on the horizon! One way to celebrate an end to snowstorms, wind chill, and sub-zero temps is with a DIY flower garland with twinkle lights. And the nice thing about incorporating twinkle lights is that they can be repurposed from your Christmas tree. Whether hung over an entryway, draped over a mantel, or featured at a backyard barbecue, spring garlands add a pop of color to any room or event.
If you want to skip the garland assembly part, simply buy a store-bought one, and wrap it with twinkle lights. Make it work for you! I didn’t find a garland I liked, so I found pretty white and pink ranunculus, eucalyptus and lamb’s ear stems, and made my own. Another option is to put those standard Christmas lights to good use, and remove the flower petals from each stem, and place them around the actual lights.
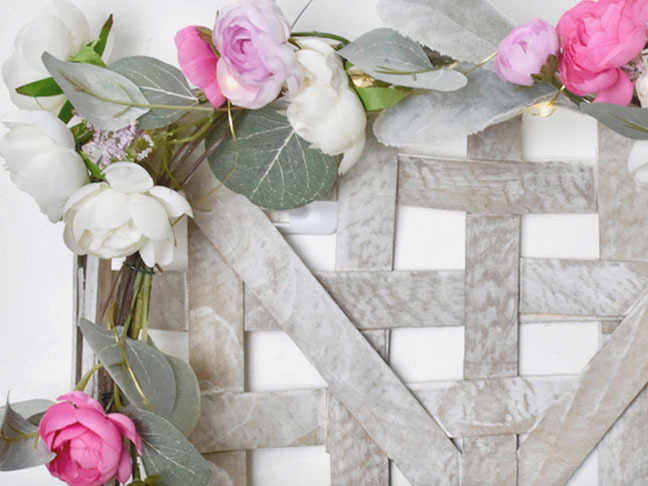
Here’s how to welcome spring with this easy DIY flower garland with lights.
Materials:
- Faux flowers (Michaels has good stems, which is where I found mine, plus and 50% off coupons. Pier1 Imports has good options, too)
- Floral wire, green
- Long, pliable stem from a store-bought flower (used for the garland base)
- Twinkle lights, battery-operated
- Scissors or wire cutters
Directions:

Step 1: Gather the supplies, and cut the flowers at the base of the stem. Don’t cut the flower stem too short because it helps to have a long stem to wrap with wire.


Step 2: Begin to hold flowers in place along the garland base. I had a long stem of Eucalyptus that was pliable, so I used it for the garland base. If you have thick floral wire, that will work, too, for the base of the garland. Use one hand to hold the small bunch of flowers in place, and use the other to wrap the floral wire around each stem so it stays in place.


Step 3: Continue to line the garland stem with flowers. Layer each bunch of flowers over the floral wire, so it’s invisible to the eye when you hang your garland up.


Step 4: Once the garland is complete, begin to wrap it with twinkle lights. The light wire is easy to move around, so you can make the lights go where you want.


Step 5: Find a good spot to hang it, or wrap it, and light the day and night with a Spring flower garland. As you can see, it works for grown-up decor (above), as well as a child’s room decor (below).