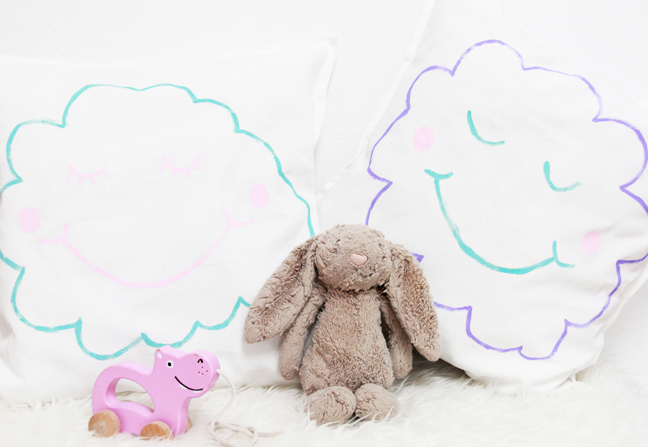
Once you paint your own pillow designs and see how easy it is you will never want to purchase store bought again! My daughter recently graduated from a toddler bed to a twin bed, and I thought some new cloud pillows would make the adjustment easier. And by adjustment, I mean my adjustment—she is doing fine. Anyone else paint or craft to forget that your little baby is getting so big?
Supplies:
- Pillowcase
- Pillow
- Craft paint
- Paintbrush
- Pencil

Instructions:
I chose cloud designs because anyone can make a cloud shape. My drawing skills are pretty much limited to stick figures, but I can do a cloud!
Step 1: Create your outline with pencil before painting, that way you can erase and change as needed before painting your final design. If you can paint freehand, go for it—this step is not necessary!

Step 2: Put a sheet of paper/cardboard inside the pillowcase to prevent paint from leaking to the other side. Paint your pillow and let dry.


Craft paint IS washable! Two options:
- Heat Setting to Cure Technique – Allow your decorated fabric to air dry twenty-four hours, then heat set using either one of two recommended methods.
- Dryer Method – Turn garment inside out; place item in dryer for thirty minutes on highest setting allowed for the type of fabric used.
Iron Method – Place decorated item right side up on ironing board; cover with dry pressing cloth. Set iron to highest setting allowed for fabric used. Place dry iron (no steam) on area pressing for thirty seconds, and lift iron, moving to another area until all sections are heat set.


More DIY Pillows:


