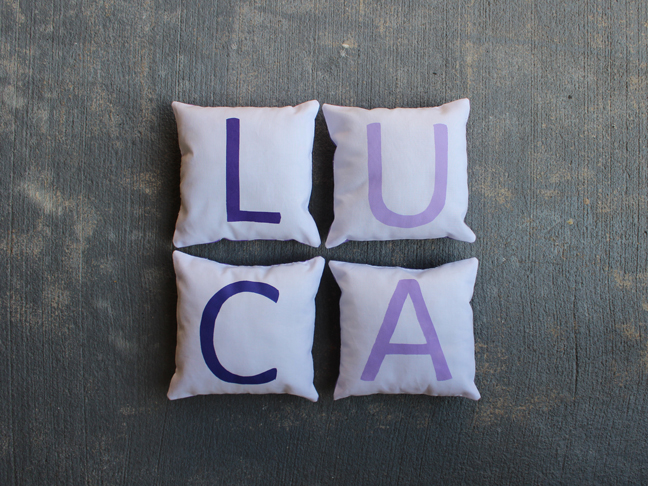


These cute little DIY Alphabet Pillows make an adorable addition to a child's room or nursery. In just a few short hours you can create these mini decor pieces to showcase your child’s name or the ABC’s. Keep these adorable bite-sized pillows for yourself or make them as the perfect baby shower gift. This DIY tutorial is below:
Supplies:
- white fabric (for pillow front; 1 fat quarter will do)
- colored fabric (for pillow back; 1 fat quarter will do)
- fiberfill (for stuffing the pillows)
- rotary cutter and ruler
- fabric paint (in any colors you choose)
- sponges
- disposable plate
- freezer paper
- printed letters to trace
- X-Acto knife
- marker
- cutting mat
- 1 piece of cardboard
- sewing machine and related supplies
- iron
- ironing board
Instructions:
Step 1: Lay your fabric flat. Hand press to smooth out any wrinkles. Using your rotary cutter and ruler, cut out squares measuring 7 inches x 7 inches. You will need 4 white squares and 4 colored squares.

Step 2: From your computer, print off letters in approximately 450 font size.
Step 3: Using a marker, trace letters onto the freezer paper. Trace the letters with the shiny side of the freezer paper facing down.

Step 4: Using an X-Acto knife, cut each letters out. Save the middle pieces. Make sure to be as careful as possible, as any knicks or cuts into the freezer paper will make the fabric paint run.

Step 5: Place freezer paper onto white fabric with the shiny side down. Using a hot iron, gently press the freezer paper onto the fabric. Make sure that all areas/corners adhere well to the fabric. Do not use steam.

Step 6: Place a piece of card board under the fabric. Squirt a small amount of fabric paint onto a disposable plate. Dip sponge into ink and gently brush onto the open area of the letter. Work fast, but do not goop the fabric paint. Too much paint will make the fabric paint run.

Step 7: While paint is still slightly wet, gently peel off the letters. Wait a few hours to dry.

Step 8: Place white fabric on top of colored fabric, right sides facing each other.

Step 9: Pin at edges.

Step 10: Place into sewing machine and stitch along the sides with a ½ inch seam allowance. Leave a small 2 inch – 3 inch opening at one end (this remains open so you can later stuff the fiberfill into the pillow).

Step 11: Lay pillows flat on ironing board and press with a hot iron. Trim each corner with scissors.
Step 12: Turn pillows right side out. Jiggle corners into place. Press again with a hot iron.

Step 13: Stuff fiberfill into each pillows through the opening. Stuff to desired pillow thickness.

Step 14: Using a needle and thread, hand stitch opening closed.