These handmade rainbow crayons are a fabulous and easy craft to make that your kids will love! I find myself making these crayons when we have a bunch of little crayon stubs laying around that my kids don’t go for anymore (my kids like to grip their crayons pretty hard, and when they get too short they find them too hard to color with). This is a creative and fun way to reuse all your broken crayon pieces that collect at the bottom of the bin. This DIY is so easy—it only takes minutes—and the result is very beautiful. The clunky shape is perfect for toddler hands, making it easy for your little to draw and to stack the stubby crayons.
Materials:
- 4 clean tin cans
- 4 empty Rx pill bottles or film canisters (my local pharmacist gave me a few empty pill bottles for free)
- old and broken crayons in 4 different colors

Instructions:
Step 1: Choose one color to start. Here I started with orange. Remove the paper wrappers from all the broken crayons in your chosen color and break into smaller pieces.
.jpg "DIY: Make Your Own Rainbow Crayons")
Step 2: Place the broken crayon pieces (making sure they are all the same color) in a clean tin can.

Step 3: Boil some water in a medium saucepan. The water level should be low; just a few inches of water should do the trick.
Step 4: Once the water is boiling, gently place the tin boiling water so the bottom part of the tin can is immersed. Keep a very close watch as the crayons melt; it will only takes only a minute or so.

Step 4: When the crayons have completely melted, work quickly to pour the colored wax in equal parts into the pill bottles or film canisters.

Step 5: Allow the wax to harden; it should harden very quickly (it will take just a few minutes or so) but if you want to spee dup the process you can stick them in the freezer briefly.
Step 6: Repeat steps 1 – 5 again, this time with again with a different color crayon: break the pieces of crayon, melt them in a new clean tin, and pour the melted crayon into the bottles on top of the previous color layer (being sure the previous color has completely hardened). Continue doing this with all you crayon colors. You can make as many layers as you like.

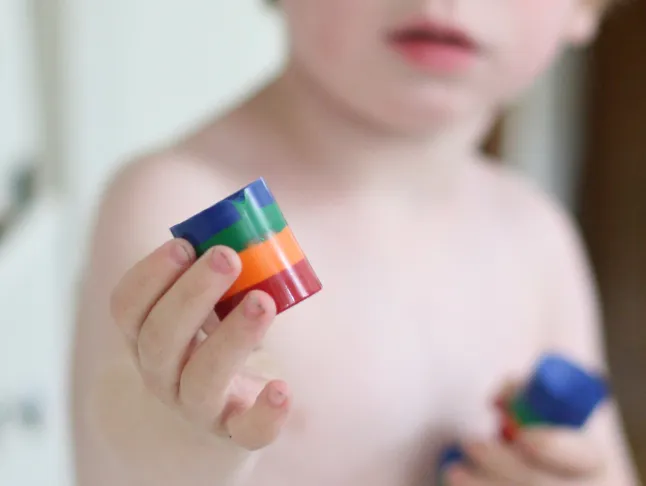
Step 7: Once the last layer has hardened, these are surprisingly easy to pop out of the bottles. Carefully stick a knife down into one side and it pop it right without damaging the wax shape at all. Aren’t these just the prettiest thing to happen to your drawer of broken crayon pieces?!

Tip: They’re easy and for toddlers to hold and fun to stack too!