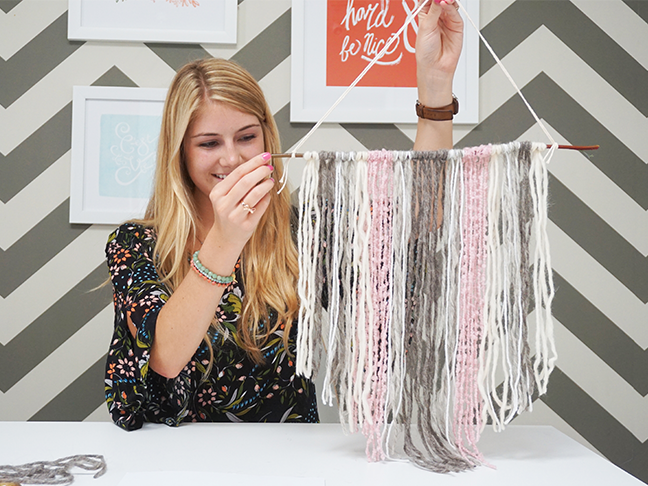


I’ve been seeing these super cute yarn tapestries everywhere, and I couldn’t wait to learn how to make one myself! It didn’t seem too difficult, so I tried it out. And what do you know…it was so simple to put together! All it requires is a few materials and a little bit of time, and you get a pretty decor piece for your home. This DIY yarn tapestry would look great in any room, especially a nursery or kid’s room. I went with a couple shades of gray, pink, and white yarn to match our room’s gray chevron wall.
Supplies:
- Yarn
- A dowel or stick (about twelve feet long)
- String

Instructions:
Step 1: Cut your yarn double the size of your desired length.

Step 2: Start at the middle of the stick and work outward. Fold each each piece of yarn in half and place the loop under the stick and fold over the top.

Step 3: Slide the ends of the yarn through the folded loop.

Step 4: Pull down to secure the knot.

Step 5: Lay out the rest of your folded yarn pieces to plan out your desired pattern and repeat steps 2–4 until all yarn is knotted.

Step 6: Trim the ends to your desired length/design.

Step 7: Take string and tie a knot on both ends of the stick to hang the tapestry.

And that’s it, your tapestry is complete!

More Yarn Crafts:
Save
Save
Save
Save