You don’t need to be a sewing expert to master this super-cool DIY craft! This is a fun and easy way to decorate a plain onesie that makes a great baby shower gift. Best of all, it only requires simple embroidery skills!
Supplies:
- 1 plain onesie
- fabric paint
- freezer paper
- paint brush
- embroidery thread
- needle
- pen
- scissors
- round top (you can use a tape dispenser as shown below)
- iron
Instructions:
Step 1: Cut a piece of freezer paper as long as your onesie is wide and about 2 inches high. Using a round surface like the top of a tape dispenser, draw circles onto the freezer paper.

Step 2: Cut out the freezer paper along the lines you have drawn, and iron it onto the onesie.
.jpg "alt")
Step 3: Stuff a piece of paper inside the onsie and lay it flat, so it serves as a protective layer in between the front of the onesie and the back as you paint. Paint the front of the onsie—from the freezer paper to the bottom—with blue fabric paint.

Step 4: Wait for the paint to dry and then tear off the paper.

Step 5: Grab your embroidery thread/needle, and poke holes with the needle into the onesie where you want to embroider.

Step 6: Start embroidering! Need help? Click here for for detailed embroidery instructions.

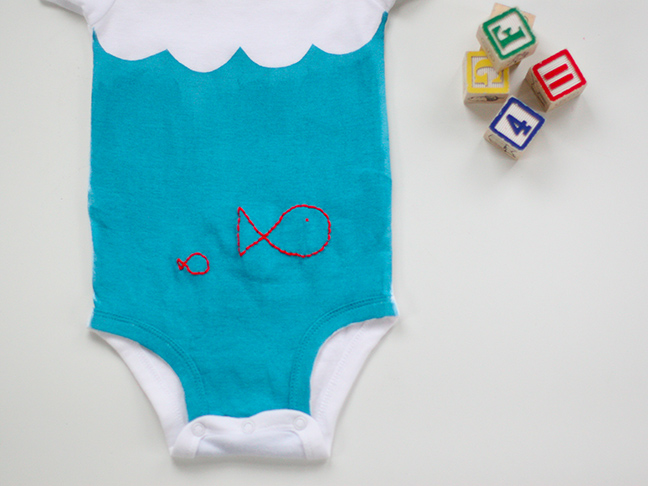
Step 7: Use your imagination! You can make a big fish, a little fish, and even some bubbles!