Today I’m sharing a tutorial to sew a simple bread bag made from two kitchen towels and some rope. I’ve included instructions and a pdf to stencil on ‘bread’ as well (if you’d like to go the extra mile!).
Supplies:
- Two kitchen towels (I bought mine at a dollar store)
- Rope ( I actually used shoelaces because I had them on hand)
- Scissors
- Sewing machine
- matching thread
- freezer paper
- exacto knife
- Bread pdf here
- iron
- fabric paint
- brush

Lay each kitchen towel down. About 2 ½ inches down, snip about ½ inch for both the top right and top left sides on each towel.

Now fold the top section down to meet the snip. This will be where the rope will be threaded through.

Pin as shown on both towels and sew along the edge. Make there’s room for the rope to be threaded through.

Place both towels together, right sides together and sew along the edge with about ½ inch seam starting right under the scissor cuts. After sewing together, turn right side out and press.

Thread your rope in from the left hand side along the top towel

When you come to the other side, loop it and thread it through the back towel

Both ends of the robe should now be on the left hand side. Tie a knot about 1 inch from the towel.

Do the same with the second piece of rope, but start from the left front side. The ends should be on the right side. Tie a knot as well.

Print out the bread pdf, tape it to freezer paper and cut out with an exacto knife. Only cut out the outline of the shapes to make it a true stencil. To see detailed instructions on freezer paper stencils check out this previous tutorial here.

Iron on top of the bag. Place a piece of waxed paper between layers of the bread bag.

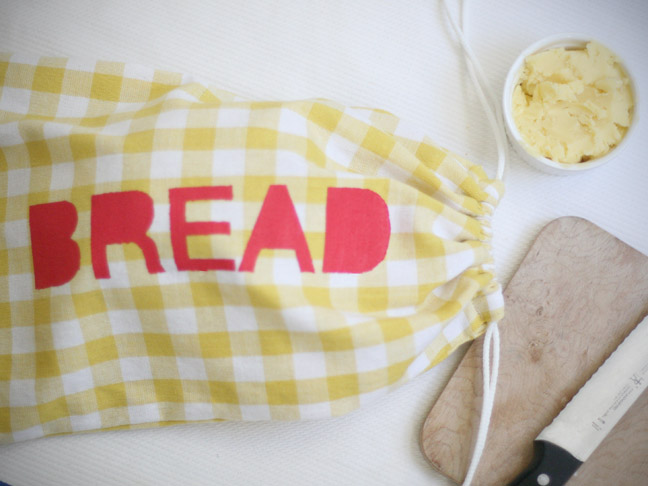
Apply fabric paint with a brush. More than one coat may be necessary. Let it dry and peel off paper.

Place fresh bread in the bag to keep it fresh and delicious throughout the day!