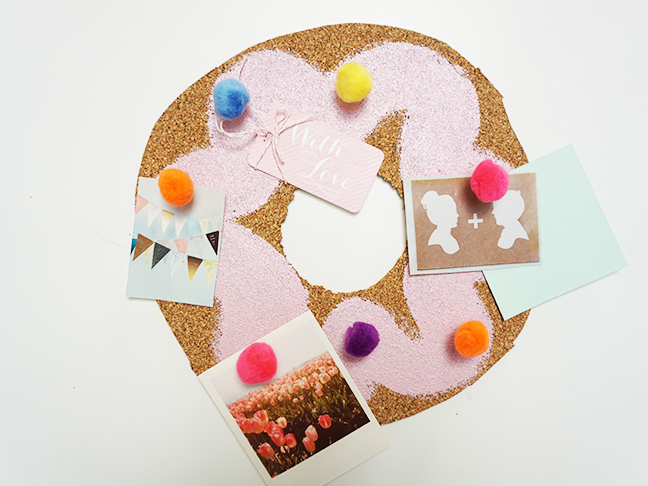
If there is one thing I love more than a bulletin board, it’s a donut. Today, I am combining the two: Introducing donut bulletin boards! These are the perfect bedroom or locker accessory for the new school year. This DIY is super easy and affordable. It’s time to create something that you won’t be able to find in any store. I love getting creative, and don’t worry, I didn’t forget the sprinkles!

Supplies:
- Cork board
- Scissors
- X-Acto knife
- Tacky glue
- Pushpins
- Pom poms
- Paint (I chose a baby pink)
- Paintbrush

Step 1: Take your piece of cardboard and cut out a large circle. Don’t worry if it’s not perfect—you can touch it up after!

Step 2: It’s time for the middle of the donut. To help trace a circle, use a circular cup or glass.

Step 3: Cut the inner circle with an X-Acto knife. Clean up the outer edges of the large circle.

Step 4: Use your paintbrush to brush the “frosting” on.

Step 5: Put a small dot of tacky glue on to the top of a pushpin.

Step 6: Place your pom pom on top. Repeat with remaining pushpins. Once dry, press your pushpins into your bulletin board. These are the sprinkles!

I’m hanging this one up in my daughter’s room.
P.S. Donut forget to smile! (See what I did there?)
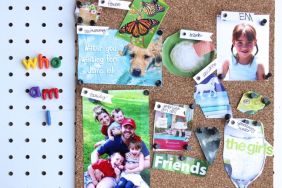
More Ways to Organize for Back to School: