

I know you’ve been seeing the crazy nail art trend that’s all over the place these days! I think it’s pretty fun, but I also think that some of the designs we’re seeing are either way over the top or just not easy enough to DIY. So here’s a quick and simple way to dip your toe into the crazy mani pool, without much commitment. And bonus—you can wear this gilded manicure to work and not get the side-eye from your boss. Here’s how ya do it!

Supplies:
- two different but complementary shades of nail polish
- liquid gilding
- small paintbrush
- washi tape
- nail supplies (clippers, file, etc.)
Instructions:
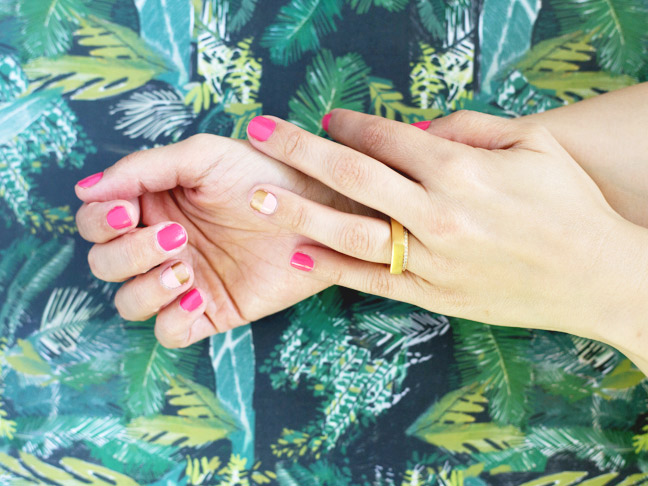
Step 1: Trim and file your nails to your desired length. With a statement mani, I like to keep mine pretty short. Paint your two ring finger nails with an accent color, and the rest of your nails with another color of your choice.

Step 2: Allow your nails to dry completely (don’t skimp on drying time!). On your ring fingers, place a small piece of washi tape so that it creates a border halfway up the nailbed.

Step 3: Over the washi tape, carefullly paint on a layer of liquid gilding. Remove the washi tape immediately.


Step 4: Let the liquid gilding dry completely. Paint a layer of clear polish over each nail and let it set.

Step 5: Rock out your springy new mani!


More DIY Nail Ideas: