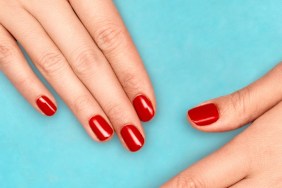
There’s no shortage of things to love about gel manicures—no dry time, how long they last, never having to worry about chips, you get the picture. Their big drawback? The removal process, which needs to be done carefully and correctly in order to not cause damage. (Read: peeling the polish off is a major no-no.) And if you usually rely on the pros to do said removing, you might found yourself in a tough situation with salons everywhere closed due to COVID-19. But don’t stress. Ahead, celebrity manicurist Geraldine Holford walks us through a simple, five-step gel manicure removal process that won’t take a toll on your tips.
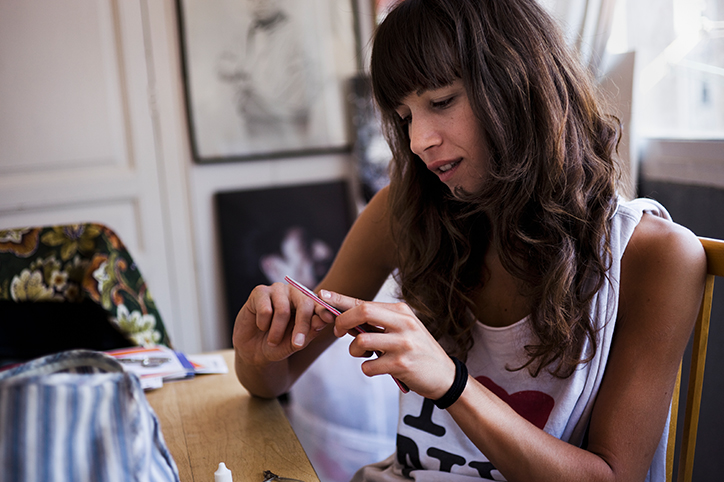
- Start by lightly filing down the shiny top layer of polish; this will help the acetone you’re going to use better penetrate. “File until you see the shine gone, then carefully keep going to take down as much color as you can, without hitting the nail,” says Holford. Next, slather your nails with oil. Jojoba oil is ideal, but any cuticle oil, or even olive oil, will work. Try: Desert Essence Organics Jojoba Oil ($10, vitacost.com) or Essie Apricot Cuticle Oil ($9.50, cvs.com).
- Prep your nail wraps. Get 10 small pieces of aluminum foil and two to three cotton balls, torn into 10 pieces. Pour 100% pure acetone (you can find it on Amazon) into a small bowl, then dip each piece of cotton in it until it’s completely saturated. Place one on each nail and wrap it tightly in foil. Repeat on each nail, then set a timer for 20 minutes. Have kiddos running around? Holford suggests doing one hand at a time so that you can have one hand free in case any type of “crisis” pops up. You can also try wrapping your nails right before a Zoom call, she says. Your co-workers won’t be any the wiser, and it’s a great way to multi-task.
- Soften the polish. After the 20 minutes are up, remove the cotton one finger at a time. “Acetone evaporates instantly, so once the nail is exposed to air it will harden, and the leftover polish will become difficult to remove,” Holford explains. At this point, the polish should be very soft and peeling off. If it’s not, rewrap your finger and give it a few more minutes. You can also try wrapping your hands in a warm towel to help speed up the process.
- Remove the polish. Using an orange stick or cuticle pusher, like Jonard Orange Sticks ($4 for 10, walmart.com), gently ease off the polish, scraping ever so lightly. It shouldn’t require a lot of elbow grease; if it does, rewrap and let it soak for a little bit longer. Once the polish is off, buff the nail, then move onto the next one.
- Hydrate. After all your nails are clean, wash your hands, then slather on a generous amount of the oil you used in step one. Repeat daily to keep nails hydrated. “Post removal is also the best time to build up your natural nails again,” says Holford. If they feel thin, sensitive, or are easily breaking, swipe on a nail strengthener. We like: OPI Nail Envy ($18, opi.com).