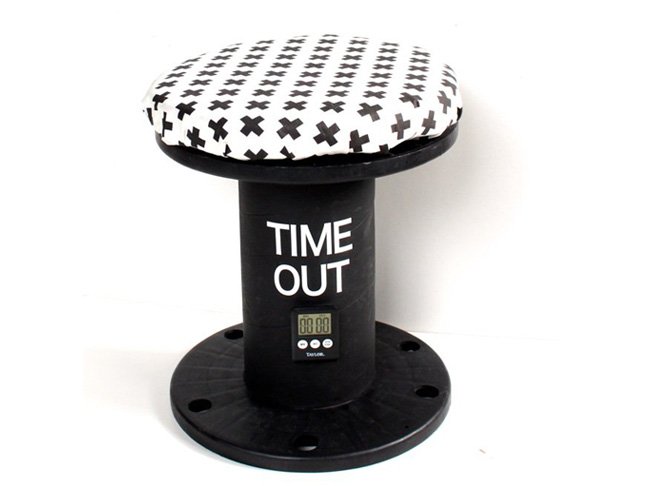

The letter X marks the spot for our new DIY time out chair. I’m not sure if it’s something in the air, or the fact that my kids love the new chair, but they seem to be frequenting the chair more often lately. It’s a somewhat unconventional time out chair, but it meets all my “time out” criteria – it’s safe, quiet, comfortable enough, within my sight, and practical.
If you need an affordable and reliable time out chair for your sanity, and a place for the kids to self-calm and reflect; this is for you. It can also can be referred to as a “cooling off chair ” (or whatever terms works best) for your family to effectively encourage good behavior.
Materials:
- Plywood Reel with Fiber Drum (spool)
- Black paint
- Fabric, ¾ to 1 yard
- Hot glue gun and hot glue
- Craft and Cushion Foam
- Electric or kitchen time
- Velcro, small strips
- Vinyl letters, white
Directions:


Step 1: Trace the base of the drum onto the cushion foam.


Step 2: Cut the foam circle. Set it on the fabric, and cut the fabric. Make sure you cut the size of the fabric large enough to cover all the sides of the foam, but not too big with excess fabric.


Step 3: If you know how to sew, that’s awesome. You can sew the seat pad. Sewing skills are not in my repertoire, but lucky for me hot glue totally did the trick. Simple is key, and this was so simple. To make the seat cushion with a hot glue gun, pull the fabric together (on the bottom side of the foam pad). Make sure the sides are as seamless as possible (considering its round), and glue as you go. You will need to glue the fabric to the foam, as well as under folds in the fabric so it stays in place.


Step 4: Paint the fiber drum. I scored a FREE (I never get anything for free, so I was stoked) reel with a fiber drum at Home Depot because it was used for storing cable, and the cable was gone. So, I just had to paint the fiber part of the drum. If your Home Depot doesn’t have any extra drum’s lying around, you can buy a Plywood Drum for cheap. Once the black paint is dry, paint the words time out onto the drum, or use vinyl letters like I did. Add velcro to the drum, as well as your timer, and stick it to the drum.


Step 5: Set the cushion on top, find a spot for it in your house, and when necessary, put it to thoughtful use.
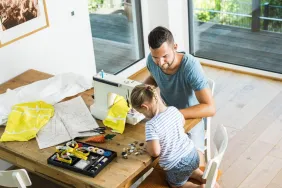
This is my son, in a 4-minute time span, on the new DIY time out chair. Enjoy.
Minute 1: Emotional

Minute 2: Angy and/or frustrated

Minute 3: Thoughtful and/or reflective

Minute 4: Happy (and hopefully a lesson learned)

I’m considering a Time Out chair for me (the mom). I’d love a safe place to take a quiet break, especially when my frustration levels rise. Wouldn’t you?
Like what you see? Don’t forget to Pin it!