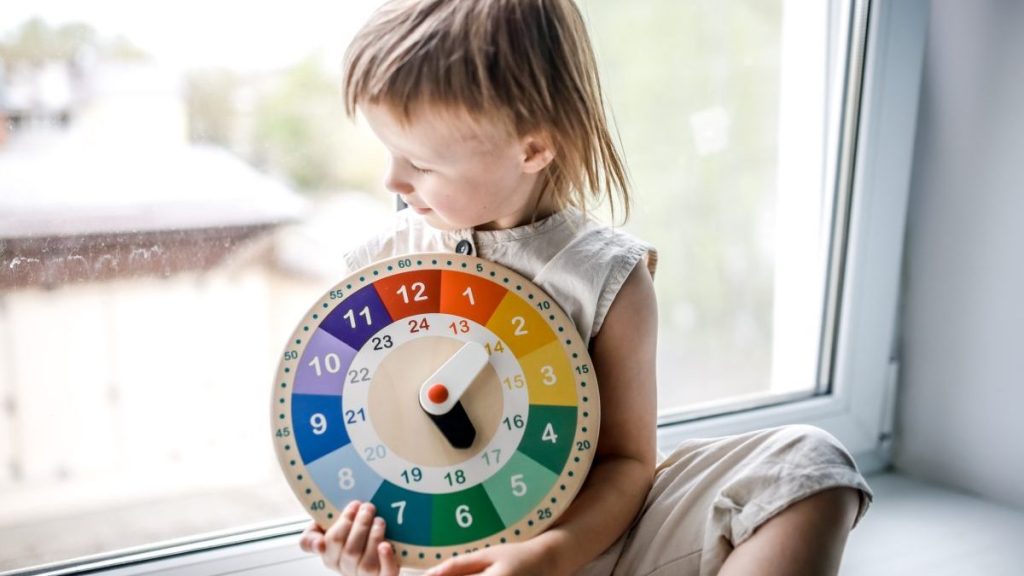
If you want to stop reminding your kids constantly about their bedtime, playtime, etc., then try incorporating this DIY time management clock into their everyday routine. It’s easy to make and will help your little ones keep track of their to-do list without your assistance.
Use different colors on the time management clock to pinpoint their routine for easy understanding of kids, especially toddlers. While coloring the tasks directly onto the clock face might sound easier, it would also restrict you to one set schedule. By printing out a clock face to put over the original, you can easily change the order or time length of each task as per your kiddo’s needs.
For instance, on school days the sleep or homework schedule of your child may be different from that during school holidays. With a DIY time management clock, you can easily make the changes and stick it on the clock without any trouble.
Top Tip: Before you allot the time for activities, discuss with your child how they would like to set their schedule. This will avoid any temper tantrums later. You can even discuss which color they want their time management clock to be. Also, let them color the paper clock to get them involved in this DIY project.
Materials
- 6-inch analog clock
- Printable clock face
- Printable task list
- Scrapbook paper
- Colors (paint, crayons or markers)
- 1⁄4-inch hole punch
- Scissors
- Flathead screwdriver or plastic pry bar
- Glue stick
Procedure
- Using scrapbook paper, print the time management clock face and task list. If you are good at graphic design, you can also design the clock face and task list yourself. Don’t forget to take feedback from your kids to ensure it suits their tastes.
- Carefully cut inside the black border around the paper clock face and set aside.
- Remove the face of the clock by gently prying a flathead screwdriver between the outer ring of the clock and the inner ring and set it aside. Be careful not to break the glass face of the clock.
- Based on the schedule, draw segments of time to coordinate with your tasks on the time management clock face. Also, color each slice a different shade to keep it bright and kid-friendly.
- Cut a line from the outer edge of the paper clock face to the center point.
- At the center point, punch a hole. This hole will let your paper clock face wrap around the base of the clock’s hands and sit flat on the clock’s original face.
- Rotate the printed time management clock face around the base of the hands until the colored task segments are aligned with the correct times.
- Lastly, use a glue stick to paste the paper clock face into position before reassembling the clock.
Place this DIY time management clock and your kid’s schedule side by side in their room. This little DIY project will make it easier for kids to follow a set routine without you having to remind them every few minutes. So, wait no more, grab the materials, make this easy DIY with your child, and help them follow a fixed schedule diligently.


