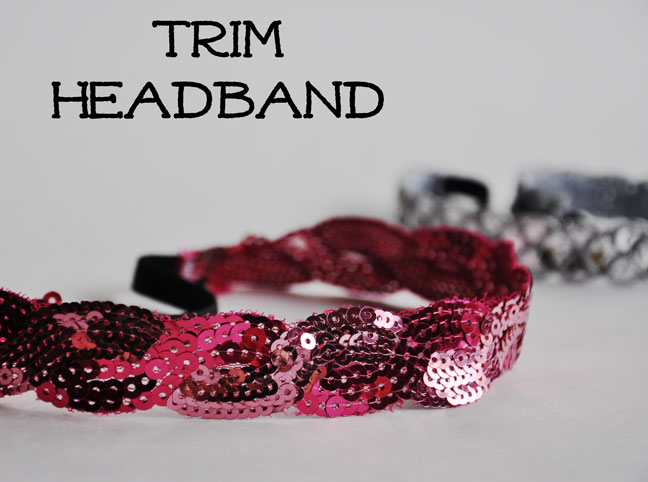
Let’s get started!
MATERIALS
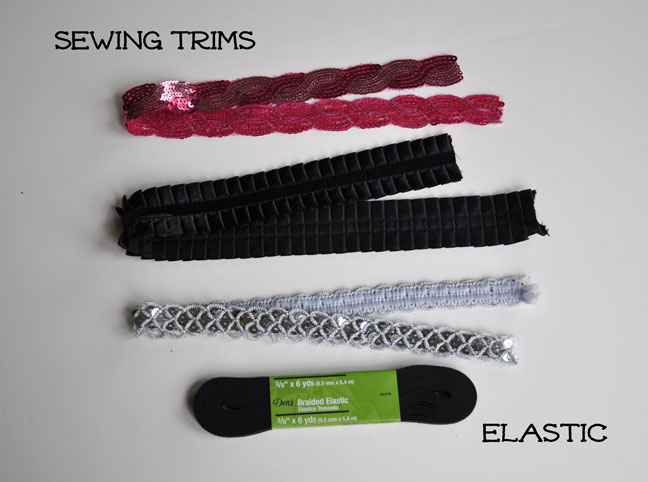
- 18″ trim of your choice. (Make sure that the trim will lay flat once on your head)
- 5″ – 8″ piece 3/8″ elastic
- Sewing machine
INSTRUCTIONS
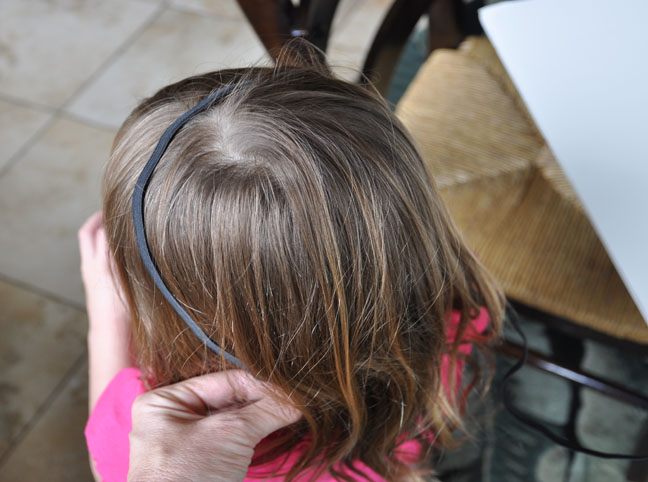
Measure your child’s head. Or yours, if you are making for you!
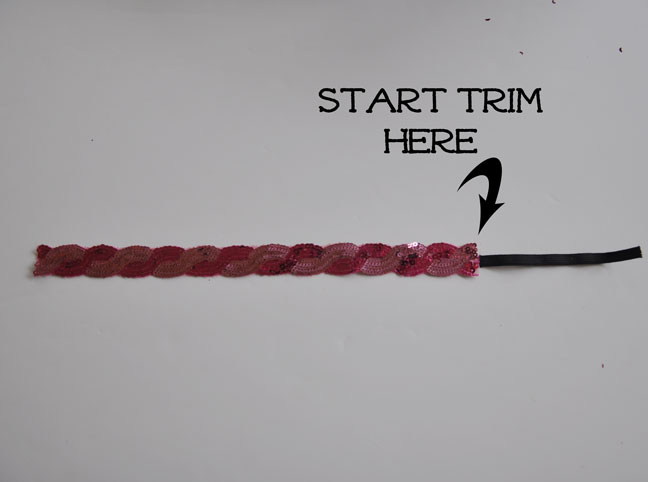
Her head was 19.5″. Because the headband needs to fit snugly, 1″ needs to be subtracted to 18.5″. I determined the trim needed to be 13.5″ to fall just below the ears. That leaves 5″ for elastic. Cut a piece to size.
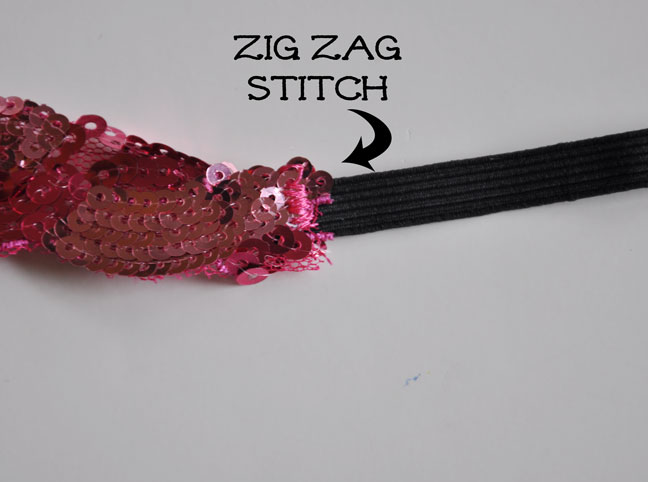
Place the elastic on top of the wrong side of the trim and using a zig zag stitch, secure the trim to the elastic (Right side of headband shown after sewing)
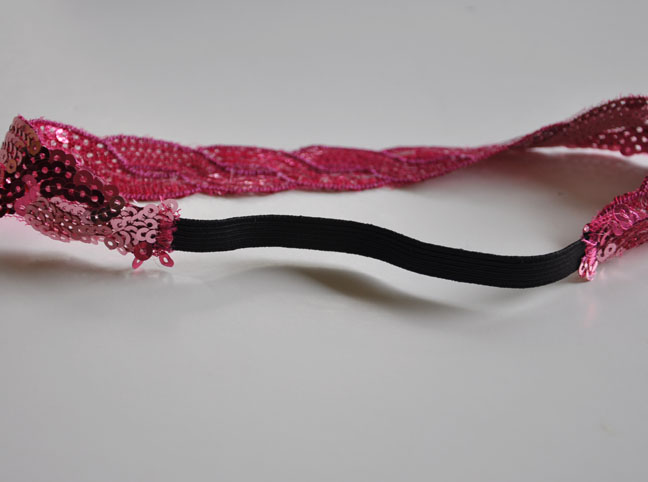
Attach the other side of elastic to the other side of the trim. Simple as that!
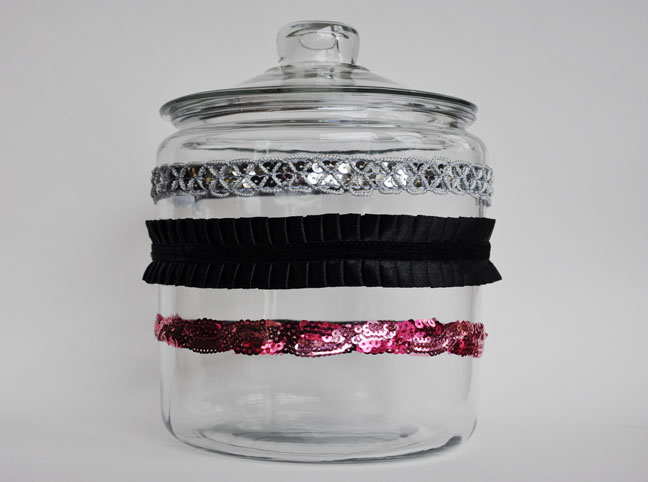
Make some more! I have the perfect outfit for my little girl to wear with the black one. Have fun!