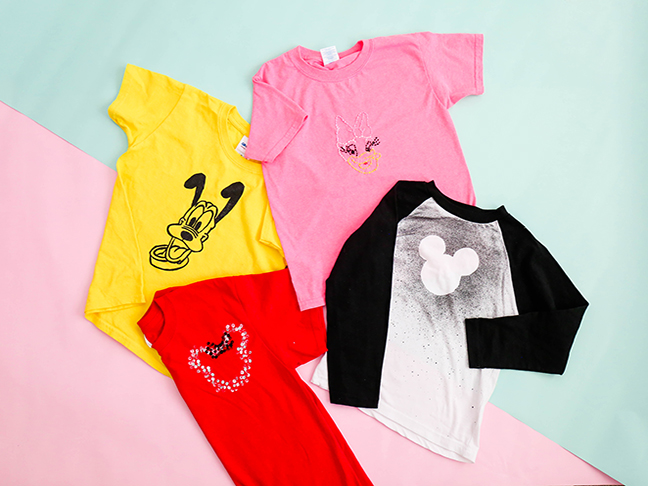

Mickey Mouse T-Shirt


This final tee design is the best and the easiest! You can’t go to Disneyland without repping Mickey Mouse! So we decided to create matching family shirts with the same design so that we will be ready for a family photo at the front of the park!
Materials needed:
- Silhouette of Mickey Mouse (we used this one!)
- freezer paper
- marker
- scissors
- iron
- black spray paint


Simply print out the Mickey Mouse in different sizes according to family members (Dad – large, Mom – medium, child – small). Once your image is printed, lay a piece of freezer paper over and trace the outline of the image. Cut it out and carefully keep the edges as smooth as possible.

Once you’ve cut the stencil, attach the freezer paper to the shirt in your desired spot by smoothing over it with a hot iron for 20 seconds. Place a foam board or old towel inside the shirt to protect the back and get ready to paint!

Lightly press down the nozzle of the spray paint to create a “splatter” effect. Spray around the stencil and keep the paint as even as possible. Allow to dry for one hour. I added a little sparkly black paint to mine and my daughter’s shirt so we could be truly glam.

Once the paint is almost dry, gently peel away the freezer paper stencil to reveal awesome Mickey underneath! Repeat for as many shirts as you have family members so you all can be matching and cute as can be.


I feel like we just belong at Disneyland now, don’t you? Better get to planning!
Love this? Don’t forget to Pin it!