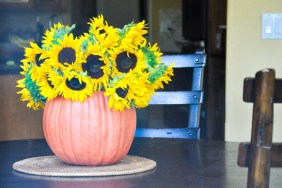


A scarecrow can make a great addition to your garden. It can help scare away creatures and stand guard over your vegetables. It can also make a great fall outdoor decoration on its own or be a part of your fall backyard decorating setup. Keep reading to find out how to make a scarecrow for your garden this autumn!
Supplies:
- 1 long narrow board, about 2-4 inches wide by about 6-7 feet long
- 1 long narrow board, about 2-4 inches wide by about 5 feet long
- 6-8 nails
- old pair of jeans
- old long sleeved shirt
- piece of burlap, approximately 2 feet by 2 feet
- piece of dark brown or black felt
- piece of red felt
- straw
- twine
- old hat
Instructions:
Step 1: Gather together some old clothes, long boards, and straw to help you bring your scarecrow to life. You’ll also want to pick a location in your yard or garden where you want to place the scarecrow and carry your materials there. It can be difficult to move your scarecrow once it’s been assembled.
Step 2: Build the scarecrow’s frame by nailing the shorter board horizontally about 3/4 of the way to the top of the longer board.

Step 3: Cut a hole in the seat of the jeans, and slide it up over the bottom of the longer board.

Step 4: Pull the jeans up so the bottoms of the legs of the jeans are at least 8 to 10 inches from the bottom of the board. Nail the top of the back center of the jeans to the board to hold them in place.
Step 5: Stuff the legs of the jeans with straw.

Step 6: Put the shirt over the horizontal board, with one arm of the shirt going over each side.
Step 7: Set the scarecrow upright and use a large hammer to carefully pound the long board several inches into the ground to hold your scarecrow in place.
Step 8: Tuck the tail of the shirt into the jeans.
Step 9: Raise the collar of the shirt up, and nail the center back to the board to hold it in place.
Step 10: Unbutton the front of the shirt, and stuff the shirt with straw.

Step 11: Place a large handful of straw into the center of the piece of burlap. Wrap the burlap around the straw to form a ball. Tie the ends of the burlap together tightly with a piece of twine.

Step 12: Use another piece of twine to tie the burlap ball to the top of the scarecrow board to form the scarecrow’s head.

Step 13: Cut two 1 inch triangles from the brown felt, and one 1 inch triangle from the red felt.
Step 14: Glue the brown triangles to the scarecrow’s face for his eyes.
Step 15: Glue the red triangle to the center of the scarecrow’s face for his nose.
Step 16: Cut a 1/4 inch by 4 inch strip from the brown or black felt, and three to four 1 inch by 1/4 inch strips. Glue those strips to the scarecrow’s face for his mouth by gluing the 4 inch strip horizontally and the 1 inch strips over it vertically about an inch apart.

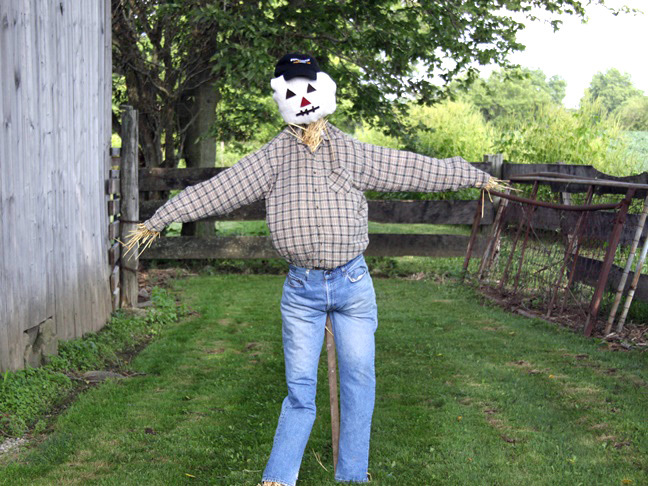
Step 17: As a finishing touch place an old hat on top of the scarecrow’s head, securing it with a little glue or twine.

More DIY Fall Decor: