
Supplies:
- canvas
- paints
- washi tape
- paint brush
- pencil with new eraser
- ruler (optional)


Instructions:
Step 1: Use your washi tape to mark your letter onto the canvas. You want to make sure you make the letter is very clean and straight on your canvas, and you can do this by measuring and marking, or you can just eyeball it. The great thing about this tape is that you can remove it easily and reposition it if it’s a little crooked.

Step 2: Use the paint outline the letter.

Step 3: Create your stripes, by adding the washi tape in a striped pattern. Again, you can use your ruler, or eyeball it. Once the your’ve added all the tape, start painting! (Tip: in retrospect, I should have left the letter taped up to make painting easier, but this way works, too!)

Step 4: Toward the end, your canvas should look a little like this. Let it dry for a few minutes before touching it.

Step 5: Remove the tape to reveal your almost-finished masterpiece!

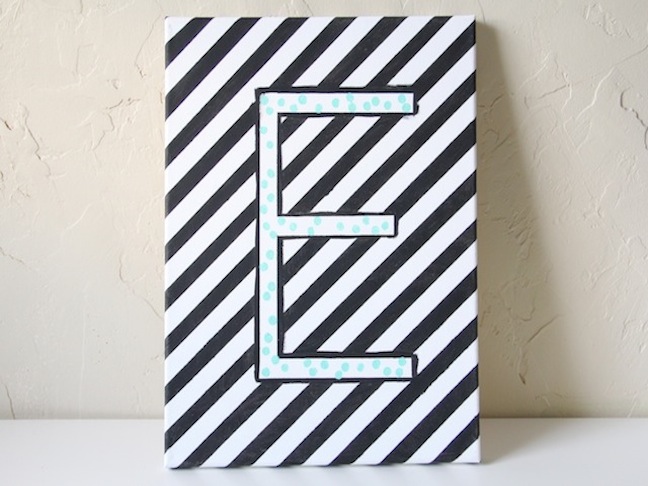
Step 6: You could definitely leave it as is—it looks pretty cool, but I wanted to add a punch of color so I dipped my pencil eraser in some pretty paint and stamped some polka dots inside the letter.

Once it’s dry, you are done and can hang your new painting! Enjoy!


