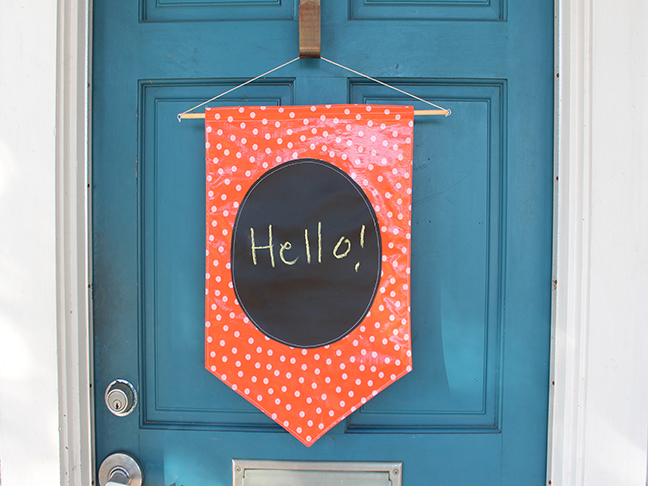
Sew this one of a kind fabric sign for your front door. Chalkboard fabric is just like regular chalkboard—easy to sew with and super fun! This sign is perfect for the fall season, calling out to your neighbors and wishing them a warm “Hello.” The craft can be made in an afternoon.
Supplies:
- Oilcloth or durable fabric – ½ yard
- Chalkboard fabric – ½ yard
- Ruler and pen/pencil
- Sewing supplies
- Sewing machine
- Wonder Clips (optional)
- Scotch tape
- Dowel and supplies for hanging sign
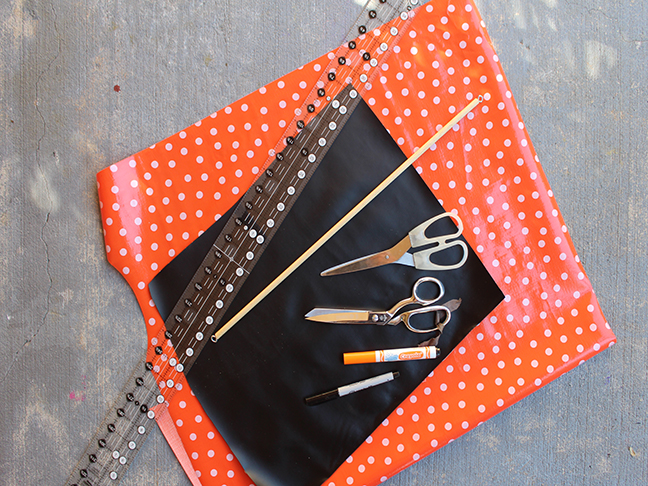
Instructions:
Step 1: Lay the oilcloth on your work surface. On the backside, draw a rectangle measuring 17″L x 15″W. Find the center of the rectangle and draw a five-inch line. Connect the lines—it should look like an upside down house. Add a half-inch seam allowance to the entire outside edge. This creates the back of the sign. Cut it out. Lay the back piece on top of the oilcloth and cut out a second piece for the front. NOTE: Be careful drawing with the pen on your fabric; the lines may bleed through to the front side of your oilcloth and/or fabric.

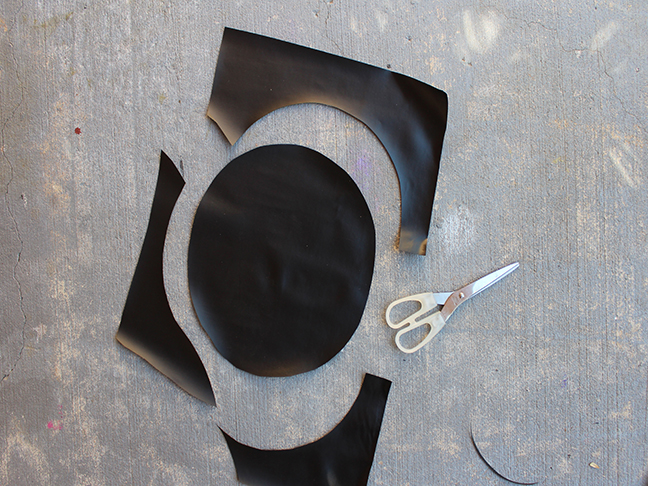
Step 2: Lay the chalkboard fabric on your work surface. Draw a large oval on the backside of the fabric. The oval needs to be smaller and fit nicely inside the 17″ x 15″ rectangle. Cut out.
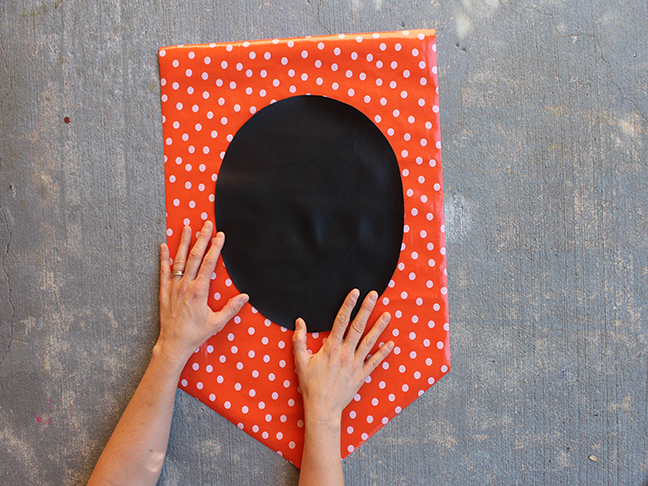
Step 3: Center the oval chalkboard fabric piece on the front side of the sign. Secure down in the middle with small pieces of Scotch tape. Do not pin, as pins will leave holes. Place into your sewing machine and stitch the oval down around the outside edge.
Step 4: Place the front and back sign pieces together, right sides facing. Pin at the edge, but do not pin past the half-inch seam allowance. Place into your sewing machine and stitch together. NOTE: Start sewing at one top corner, 1½ inches down. Make sure to backstitch at the top. Continue stitching around the outside edge until you reach the other top corner 1½ inches down. Backstitch. DO NOT stitch/close the top edge seam.

Step 5: Trim the fabric from the bottom point. Also trim at the sides.

Step 6: Turn right side out. Finger press seams in place.

Step 7: Measure 1½ inches down from top edge. Stitch a straight line from one side to the other. Turn under the top edge ½ inch. Finger press seams to lay flat. Place Wonder Clips to hold in place. If you chose to use pins, place only a few pins along the stitch line. Place into sewing machine and edge-stitch along the top edge. Backstitch at each end. This creates the opening for the dowel.

Step 8: Topstitch around the outside edge. Insert dowel, attach string, and hang.

That’s it! Think of all the fun messages you and your family can write.
More DIY Door Crafts:


