Pop-up cards are always fascinating to look at. Moreover, they make the perfect personalized gift for Valentine’s Day. So, instead of buying a card from the store, make this DIY pop-up card for Valentine’s Day and surprise your partner. This will surely leave an impression, and they will be swooning over your artistic skills.
Top Tip: First, try making the DIY pop-up card with rough paper. Once you nail it, then start working on your final card so you don’t run out of materials by mistake while winging it.
Materials
- White paper
- 8 ½ x 11″ glossy paper for the inside
- 12 x 12″ card stock for the outside
- Any kind of paper for embellishing
- Scissors
- Ruler
- Glue stick
Procedure
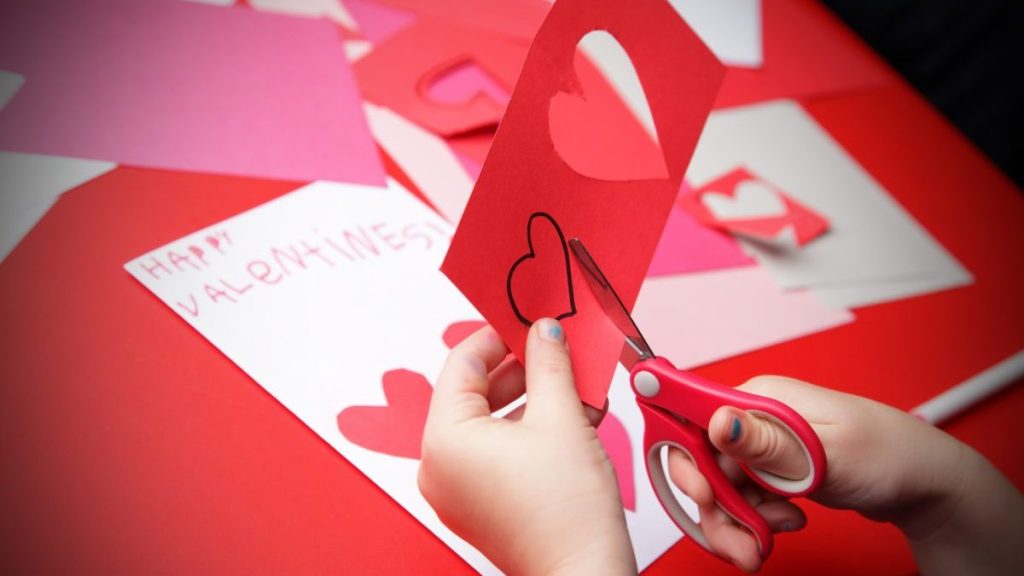
- To make the DIY pop-up card, fold a 4 x 4″ piece of paper in half, draw one of a heart, and cut it for a symmetrical heart shape.
- Fold the 8 ½ x 11″ piece of glossy paper in half. Place the heart halfway down the side of the paper so the folded edges match up.
- Trace the heart shape.
- Use a ruler to draw a line from the outermost edge of the heart to the other edge of the paper.
- Cut along the rounded top of the heart and the straight line to the edge of the paper.
- Now make another cut along the rounded edge of the heart and stop when you get a little past halfway down the side of the heart (just to where the bottom of the heart turns into a straight line).
- When done, make a fold along the bottom straight edge of the heart. The rounded top of the heart should not stick up past the top edge of the paper (where you made the line with the straight edge).
- Open up the paper. You can now see your pop-up card taking shape.
- Take the heart and turn it so the center fold pops out toward you. Fold the bottom edges of the heart so that they fold away from you. Finally, fold the card in half.
- Once it’s all folded, place it on the bottom edge of a 12 x 12″ piece of card stock so that a 1⁄4″ border shows around the edges of the pop-up portion of the card.
- Use a straight edge or a ruler to measure another 1⁄4″ border along the top of the pop-up.
- Cut the card stock and then fold it in half to create the outer portion of the card. Use a glue stick to glue the side of the pop-up portion of the card that is facing up.
- Making sure the inside folds of the outside portion of the card and the inside portion of the card match up, press the card stock firmly onto the pop-up portion of the card.
- Open the back side of the card and repeat the process. Allow to dry.
- Open up your DIY pop-up card, and the heart should pop out at you!
- Use more paper and markers to embellish the DIY pop-up card however you choose. And your DIY pop-up card is ready for Valentine’s Day!
Write heartfelt messages and give them to that special someone on the 14th. They will appreciate your efforts and the pop-up card for sure! If you try it out, do let us know in the comment section below how your partner reacted it!


