I also Like it to look nice. I loved the dog and cat food containers that they sell in the Ballard Designs catalog, but didn’t like the price tag. They are pretty basic -I figured they would not be hard to knock-off so I began to look around for inexpensive items I could use to make my own version.
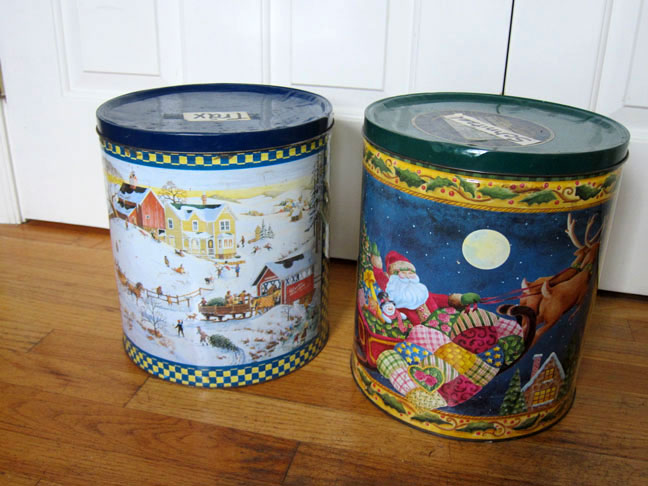
Before:
I found these popcorn tins at a yard sale. You may even have a few as they are big sellers to give as gifts around the holidays. I thought about painting them, but they were pretty beat up and the paint would not hide all the dents and dings so I decided to go to my gift wrap stash and cover them with paper.
Supplies Needed:
- Large tin can
- Decorative Paper – kraft paper, gift wrap or wallpaper
- Spray Adhesive
- Straight edge
- Kraft knife or scissors
- Black spray paint
- Clear contact paper
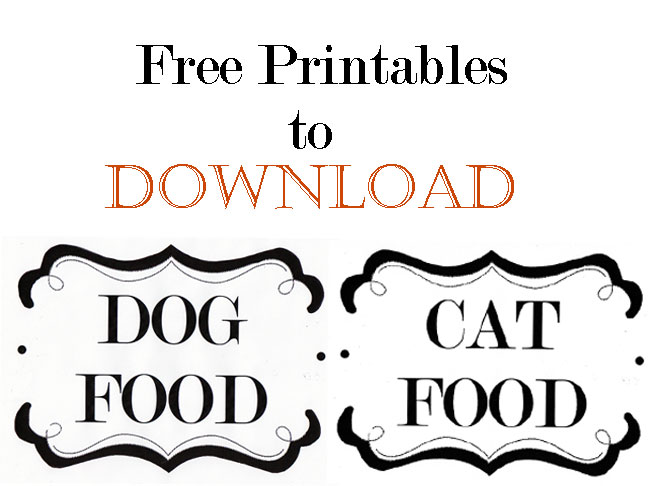
- Computer printouts – you can download below
- 2 brass fasteners
- Optional: Self laminating sheets
1. Spray paint the lid gloss black.
I don’t own a Silhouette or Cricut cutter that can make cool vinyl cutouts that would make it look exactly like the Ballard cans. To make my labels I used my computer to make the design. I used the font Modern 20.
1. Print out Dog/Cat labels below. Trim around design as shown below. Center the label on a piece of giftwrap and cut giftwrap about a 1/2-inch larger all around than your cut-out label. Lamintate your label by using laminating sheets or sandwich the label between a front and back piece of contact paper. Leave about 1/4- inch of contact paper all around the label. – The giftwrap I used is made by Hallmark and available at Walmart. The two dots on the design are where the brass fasteners will go. Set aside.
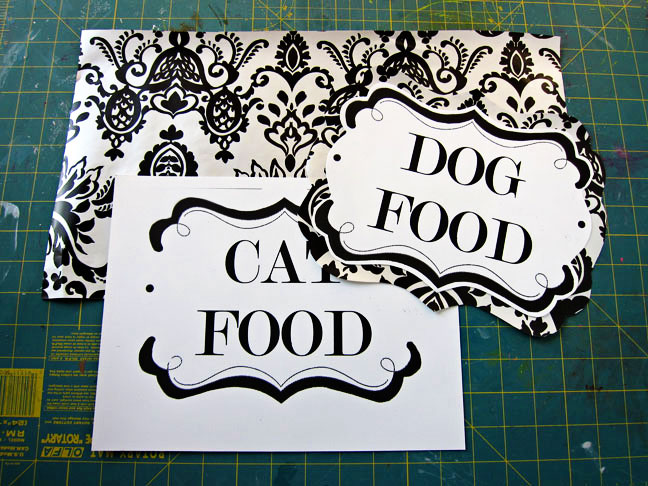
Click to download printable for CAT and/or DOG.
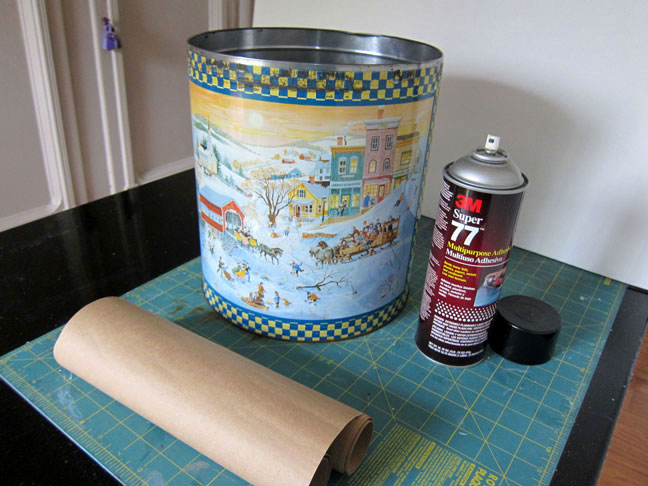
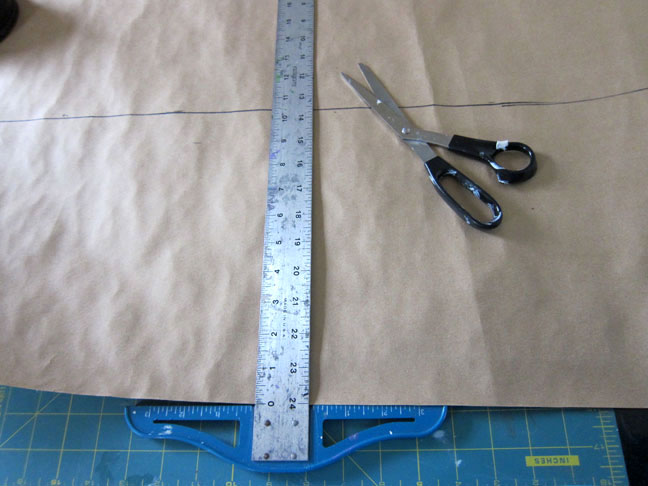
2. Measure your can height and circumfrence and cut your paper slighty larger than those measurements. You can cut away the excess later. I used a straight edge to make sure my cuts where straight.
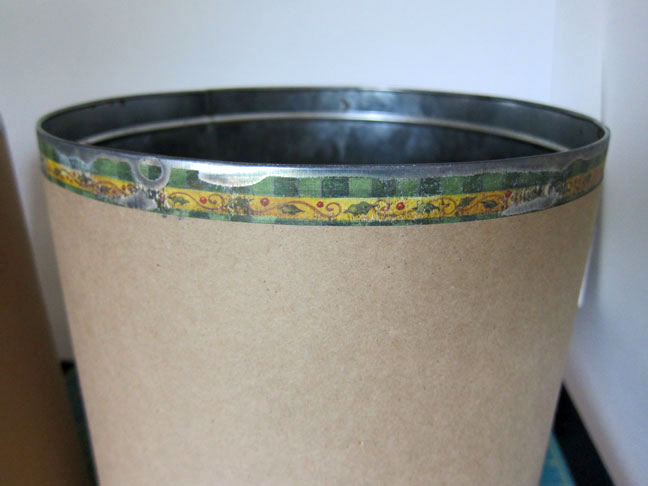
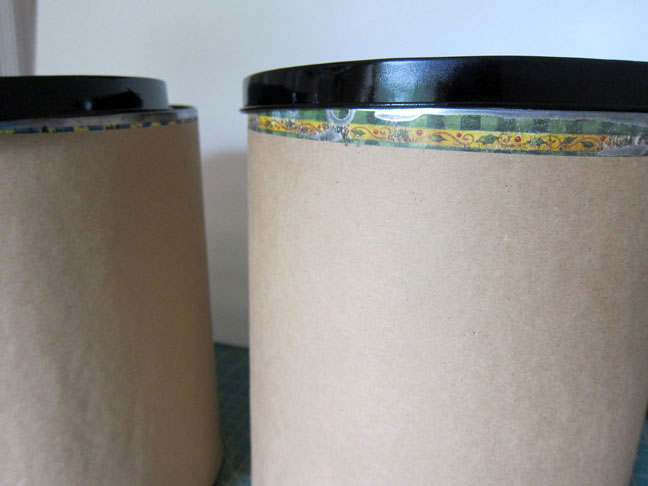
3. Note: You don’t want to cover the top section of the can where the lid will cover. Apply spray adhesive to the can, let it get tacky and cover the can. Smooth paper with your hands as you cover the can.
Optional: I wanted to be able to keep my cans clean so I covered the paper with clear contact paper. If you have excess paper around the bottom of the can once it is covered -use a kraft knife to remove it by cutting around the bottom rim. This will give you the perfect straight line along the bottom.
4. Lid goes on easily.
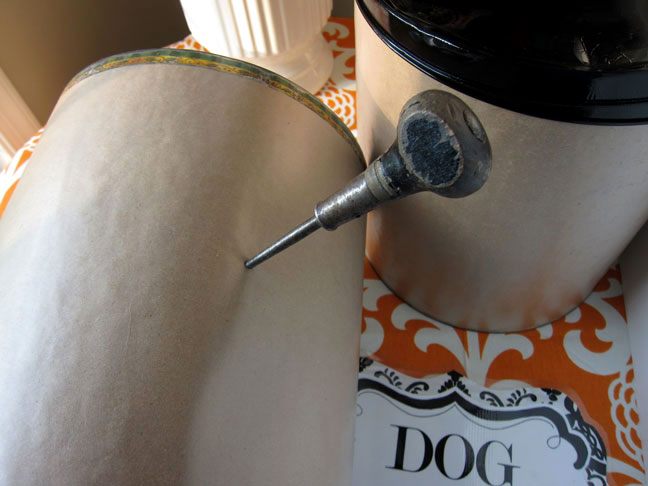
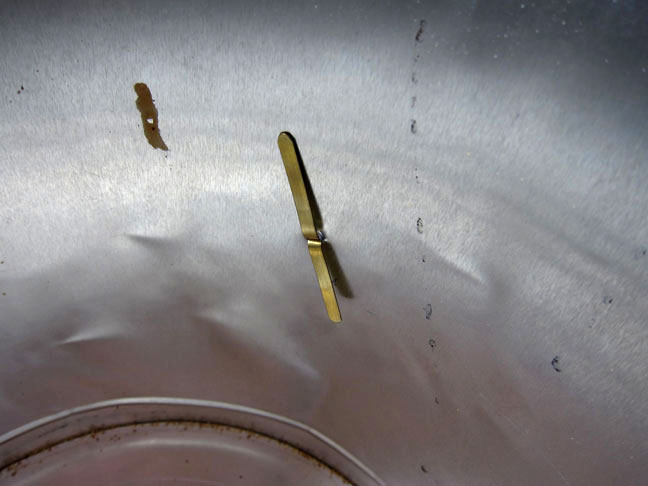
5. Use an awl to make a hole where you want to place the label. Repeat on the other side of the label. TIP: So you don’t bend the can, hold one hand inside the can to push against your other hand that is making the hole on the outside. If you do it this way – you provide some resistance and the can won’t bend.
6. Place the label on can and then attach by pushing a brass fastener through each hole.
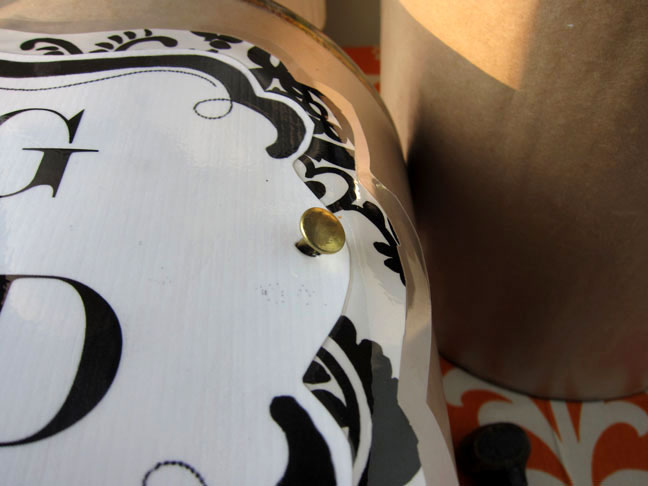
7. Push it all the way in.
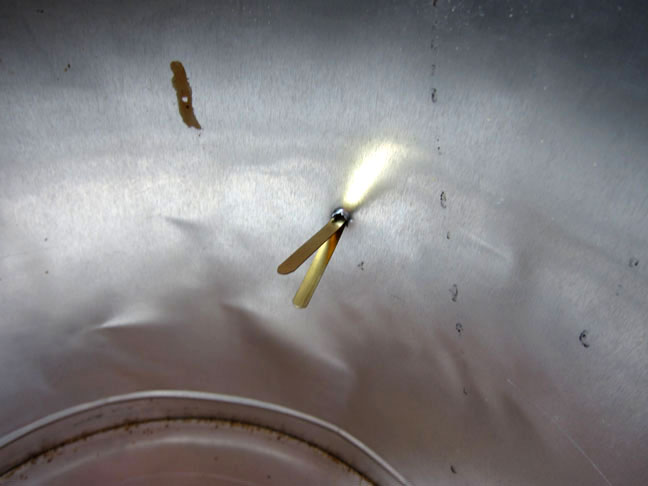
8. Spread the ends to secure.
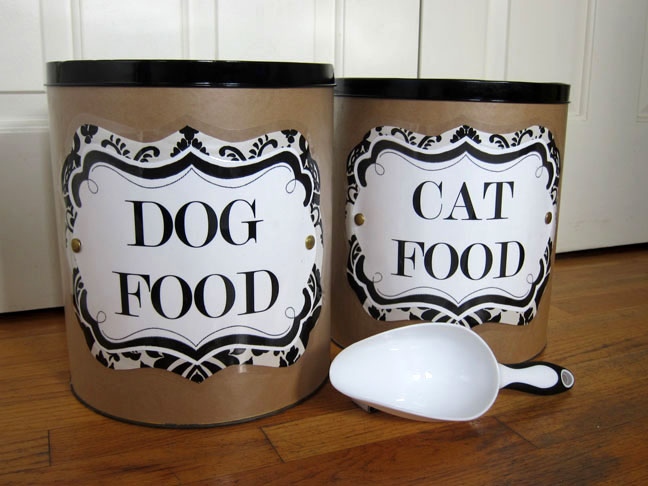
After:
All Done. Now my beat up cans are just as styling as the ones in the Ballard Designs catalog. They can also be wiped clean since I covered them with clear contact paper. My approximate cost – $3 each. I found the big scoop at Walmart.