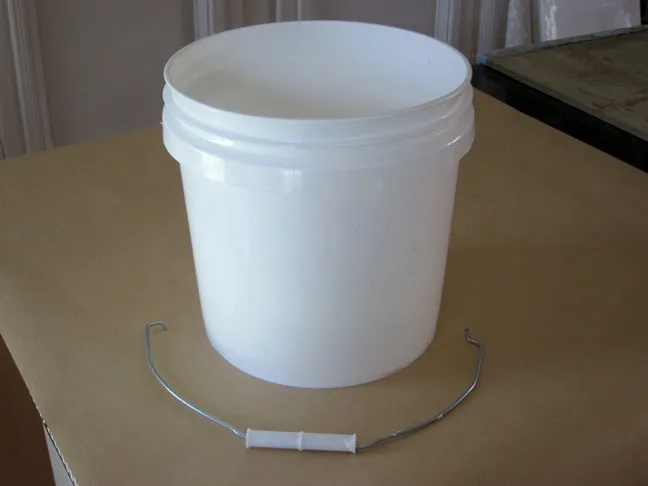
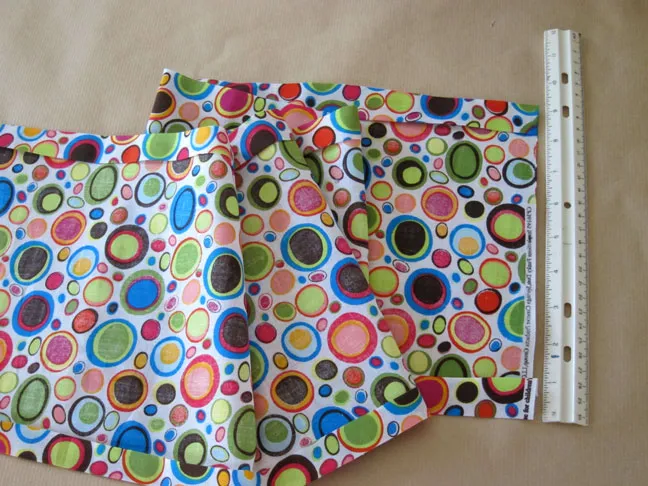
I used a 2 gallon plastic paint bucket to make mine, but you can cover any round cylinder shape using the method I am going to show you in this post. It is super simple to make.
Supplies Needed:
- 2 gallon plastic paint bucket – they sell them at Lowes
- 1 yard of fabric
- Hot glue gun and glue
- Popsicle stick
- Ruler
- Iron
Tip:

It is always a good thing to have a bowl of ice water nearby when you work with hot glue. If you get any glue on your hands while working you can quickly plunge them into the cold water and alleviate the burn.
1. Remove handle from paint bucket. Just pull one side out, the other side you will need to twist and pull down to remove.
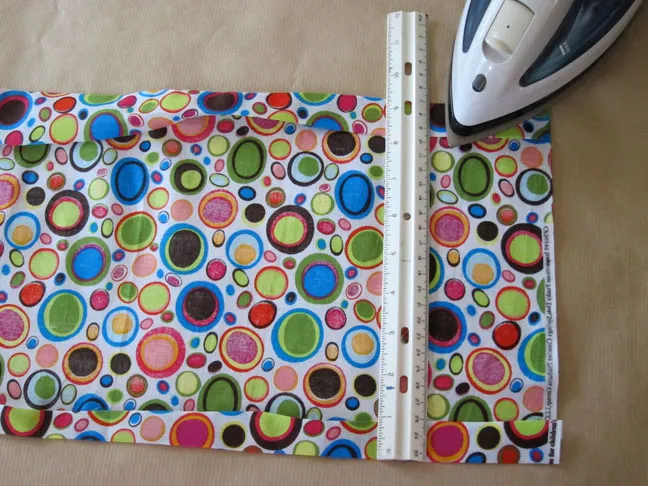
2. Cut fabric so that it is about 2″ higher than your can and double the diameter. If you are using the 2 gallon paint bucket cut your fabric to 11-1/4″ x 56″
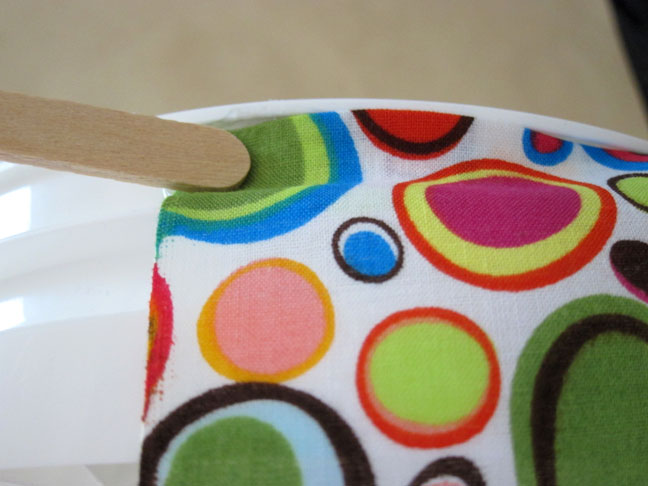
3. Fold over top edge of fabric 1/2″ and press. Fold over another 1/2 “and press to make a finished edge.
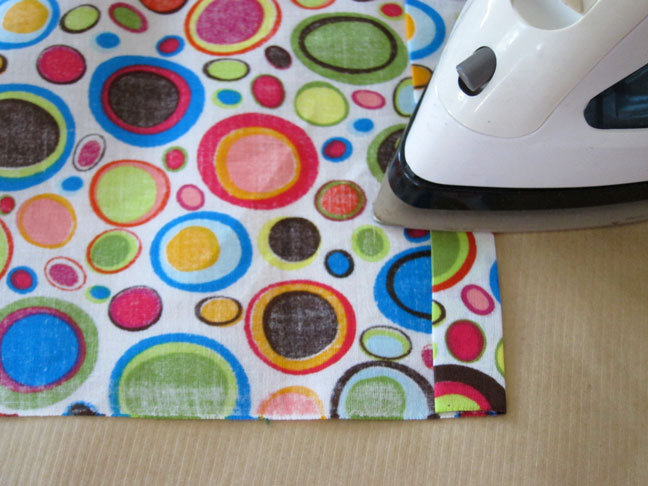
4. Repeat the process on the bottom of the fabric.
5. Lay the paint bucket on it’s side. Place a line of hot glue about 5 – inches long right under lip on top of the paint bucket.

6. Place the fabric over the bucket so that the top corner edge lays right on the hot glue. Gently lay and press the fabric into the hot glue.

7. While the glue is still hot and soft, you are going to push the fabric back over the hot glue with the Popsicle stick to pleat it. If you have asbestos fingers use your fingers to push the fabric back through the hot glue to pleat. Once that 5-inch section is done. Lay another 5-inches of hot glue along the top. Place the next section of fabric over the glue and then repeat pushing the fabric back over the hot glue. Continue this process until you go all the way around the bucket. Let the excess alone for now.
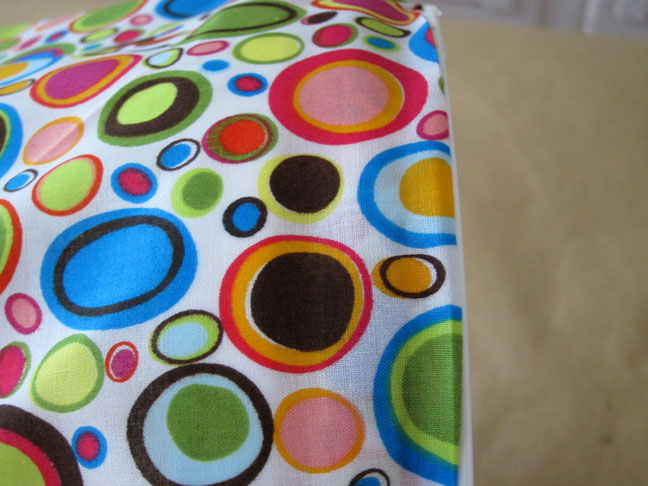

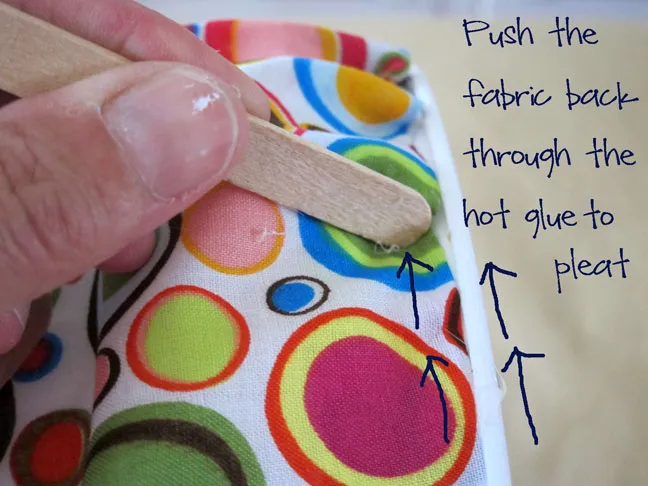
It will end up looking like this. Using the Popsicle stick to push the fabric back keeps you from burning your hands with the hot glue.
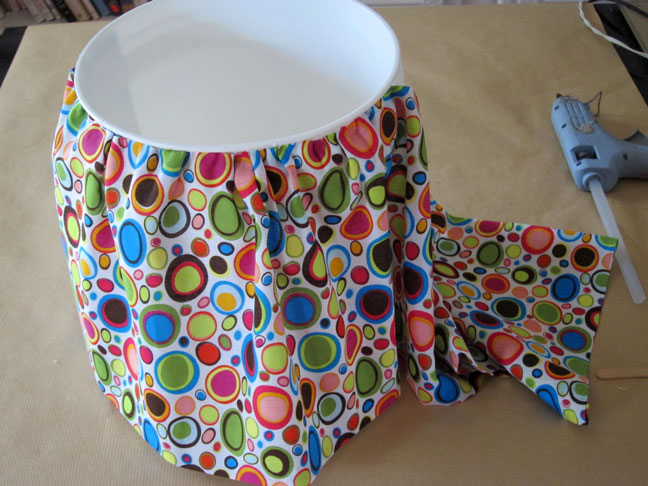
8. At the same place you started pleating the fabric along the top – pull the fabric taut to the bottom of the bucket and then lay a 5 -inch line of hot glue along the bottom edge of the bucket. Line up and lay bottom edge of fabric on glue. You want to make sure the edge meets the bottom of the bucket when pulled taut. If there is any slack, just fold the bottom edge of fabric over a bit more. Push the fabric back through the hot glue and pleat just as you did the top. You do want to make sure you keep the pleats straight up and down as you work around the bucket. Repeat the glue/pleating steps along the bottom until you have the bucket covered.
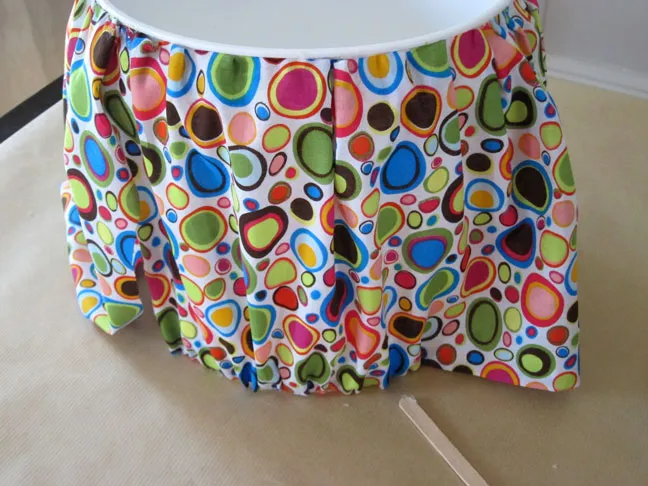
9. When you have both the bottom and top pleated, fold over the excess fabric to neatly hide where the fabric starts and stops. Place glue along the folded edge and layover the unfinished side to hide it.

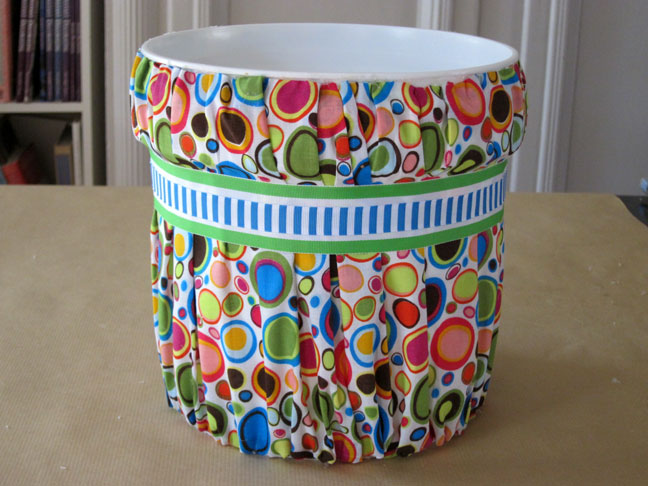
10. Tie or hot glue ribbon around the bucket right under the ridge section.