With Easter egg dyeing season coming up it is time to get a few key egg techniques down pat. If you are really serious about dyeing eggs, I suggest you hollow them out. It is far easier to do than you might think. The result is eggs you can have in your centerpiece without getting smelly or rotten. Be sure to set a aside an egg or two for learning. After just one or two tries you’ll get in a rhythm and will be able to make as many as you like. Keep reading to see how to hollow out an egg.
Supplies:
- fresh eggs
- needle
- water
- colander
Instructions:
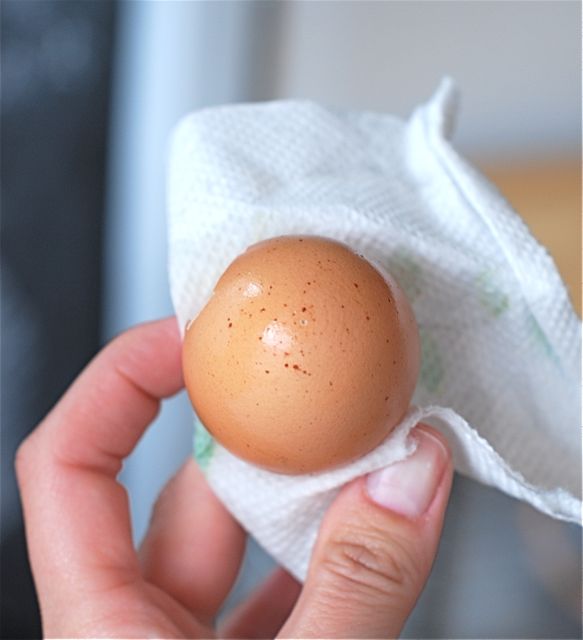
Step 1: Wash and dry the egg. The egg is very delicate once the yolk is out of it. Wash the exterior thoroughly so you don’t have to later.
Step 2: Hold the egg firmly in your hand and use a needle to make a hole on the top and bottom of the egg. Start with the large bottom of the egg, then make a hole on the top of the egg. When making the second hole, wiggle the needle around inside to break the yolk. It sometimes helps to set the needle on the egg and tap the needle with something heavy to crack the shell.
Step 3: Put your mouth on the large bottom of the egg and gently blow the yolk and white out the top of the egg. This will take some effort, but be patient. If you blow it too hard the shell will crack. Then, run a thin stream of water through the egg and blow the water out too.
Step 4: Let the egg dry by placing it in a colandar set over a bowl or sink. Once it is dry you can use it to decorate!
More Easter Egg Ideas: