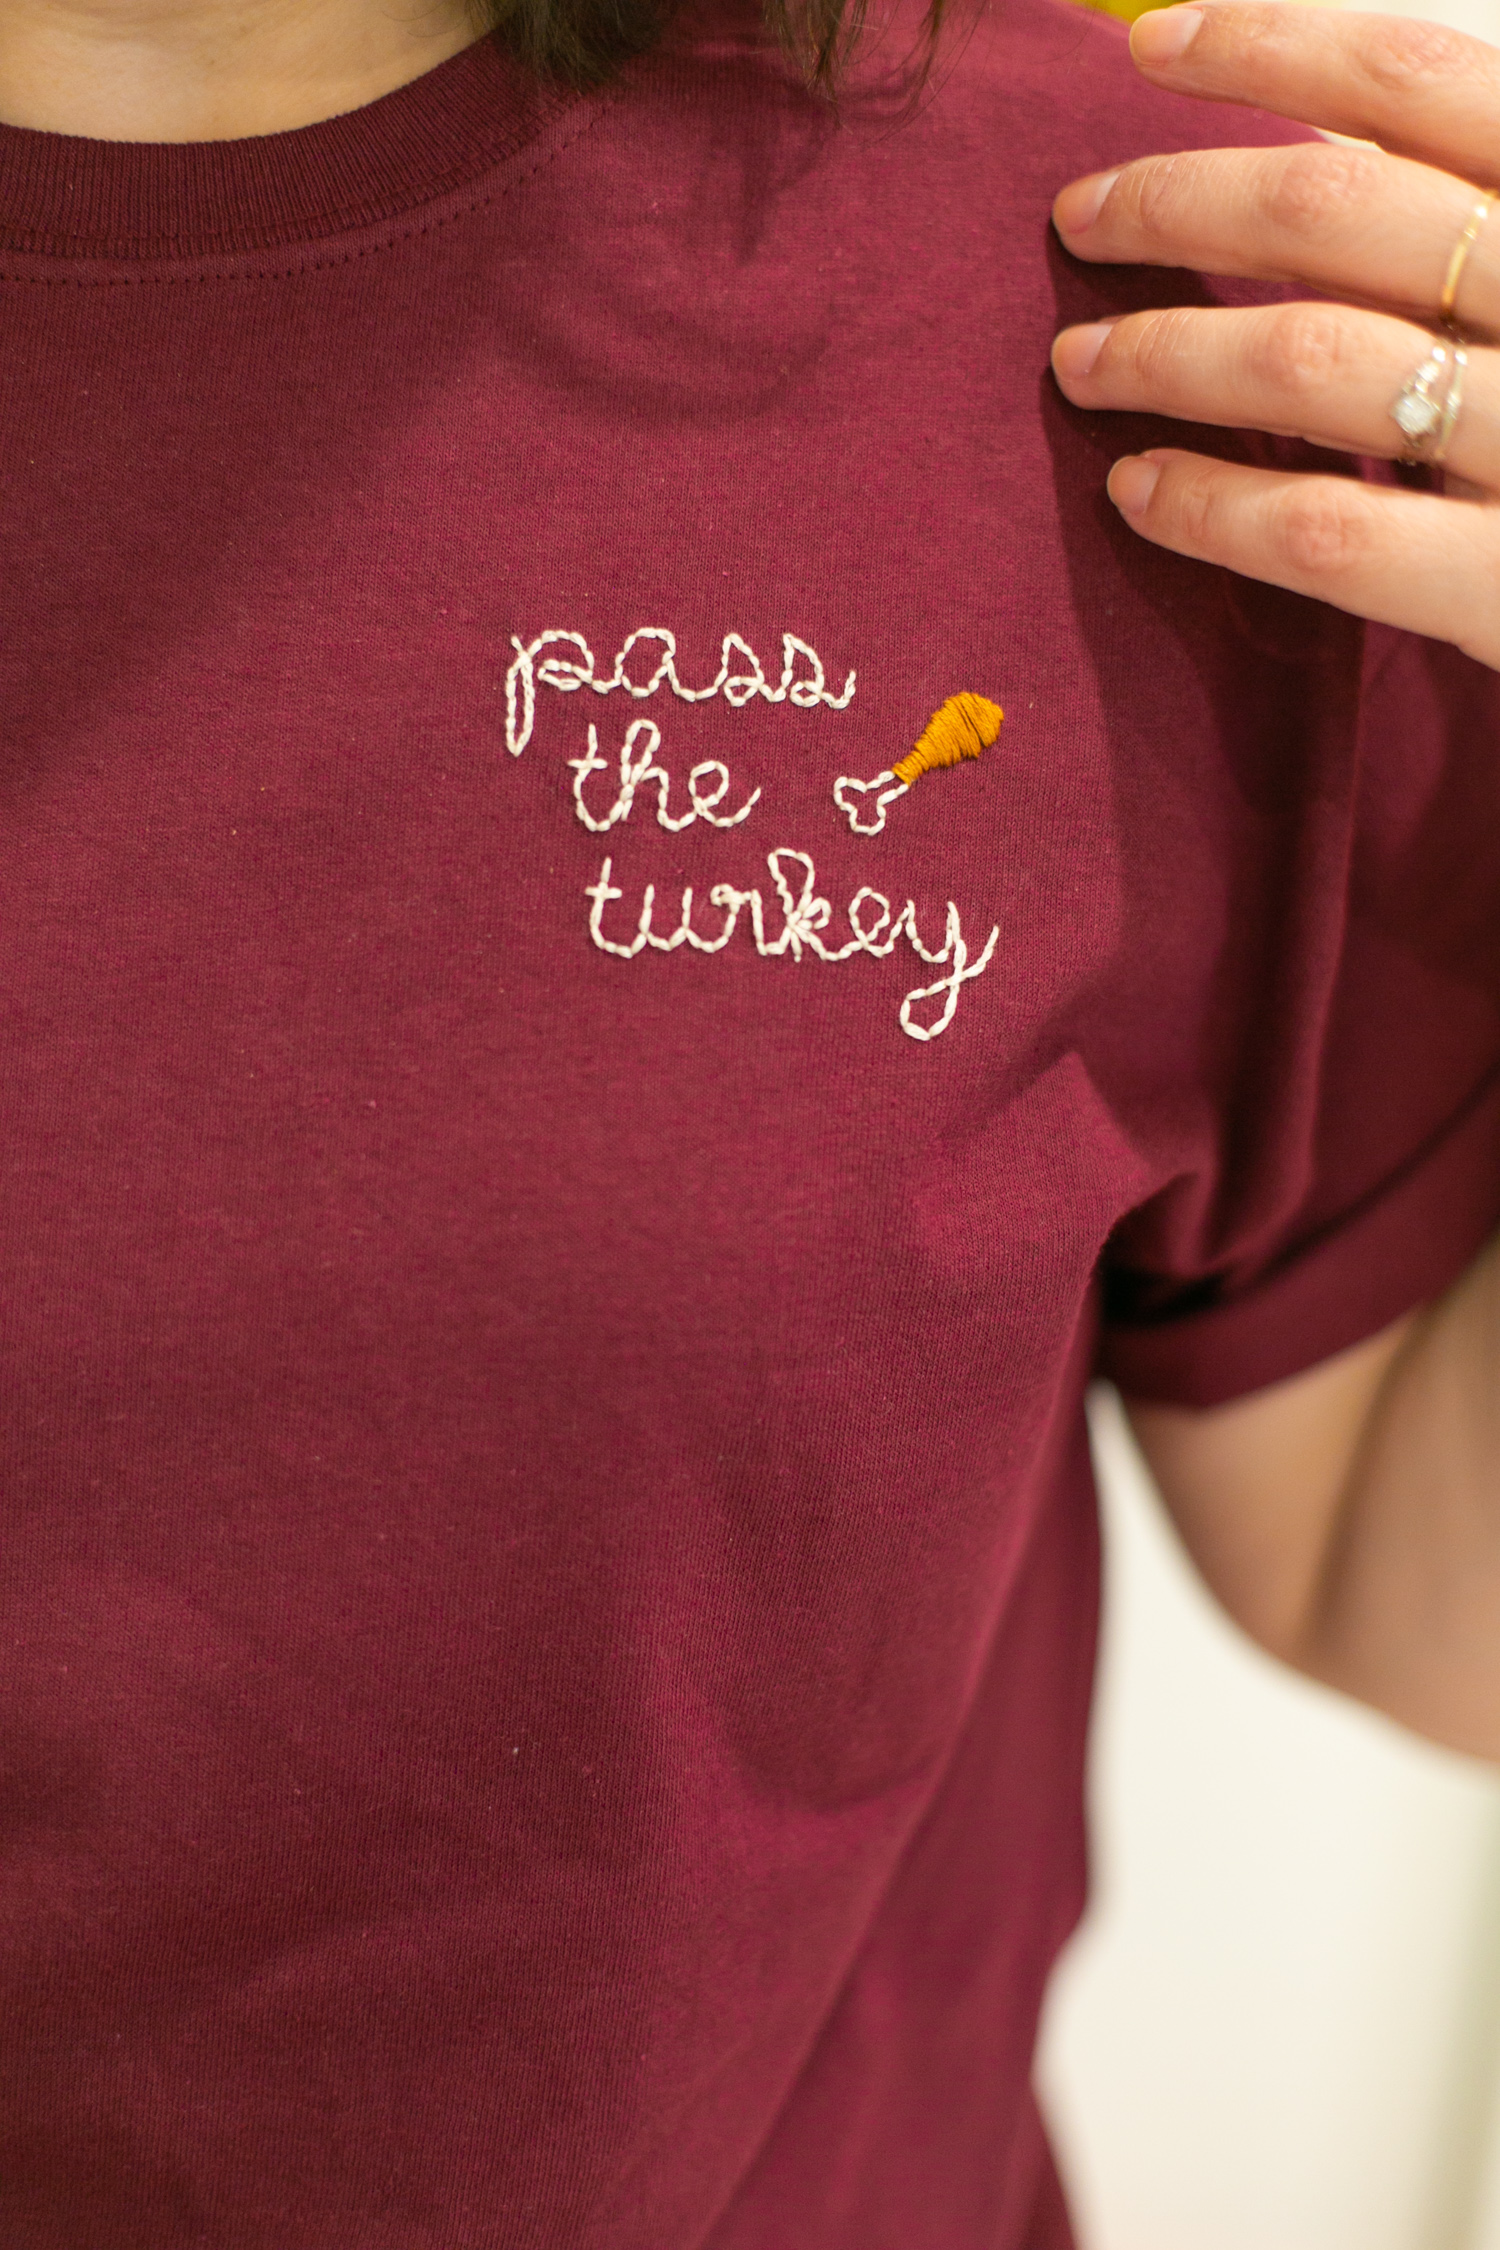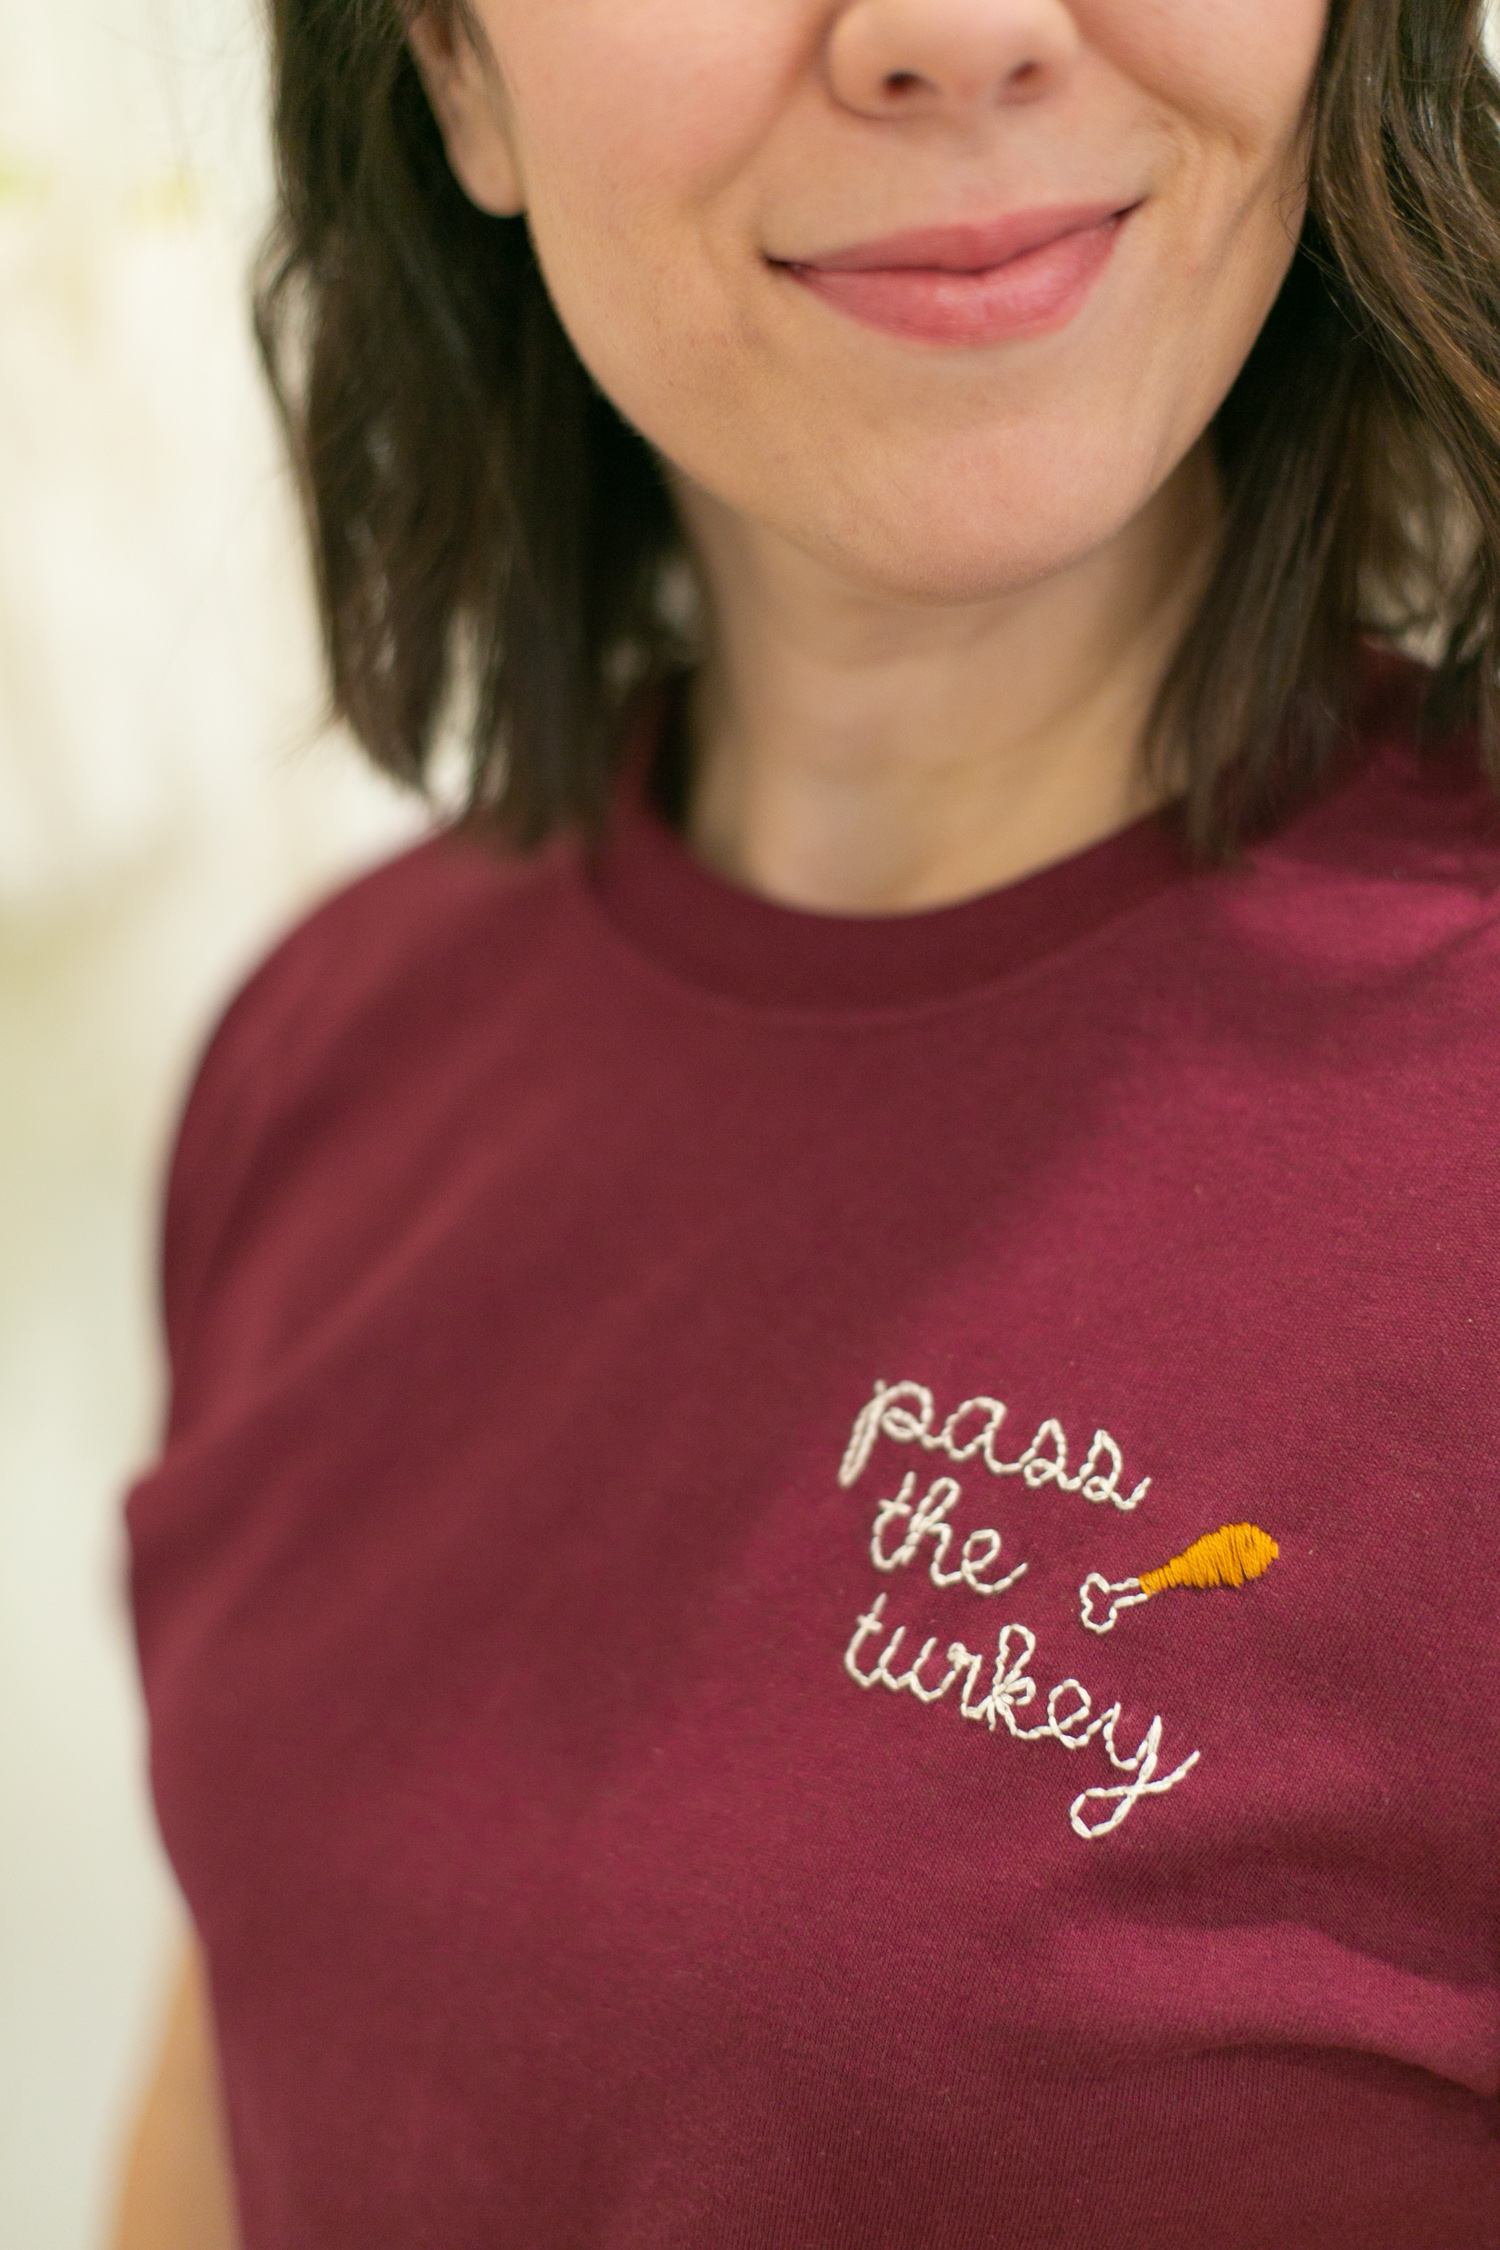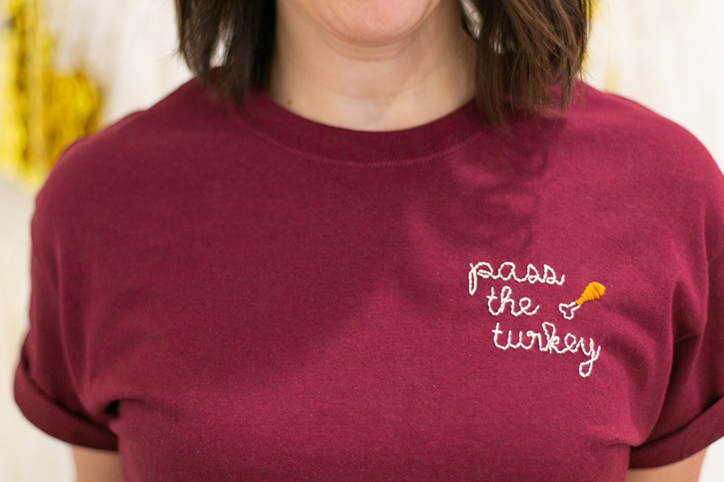
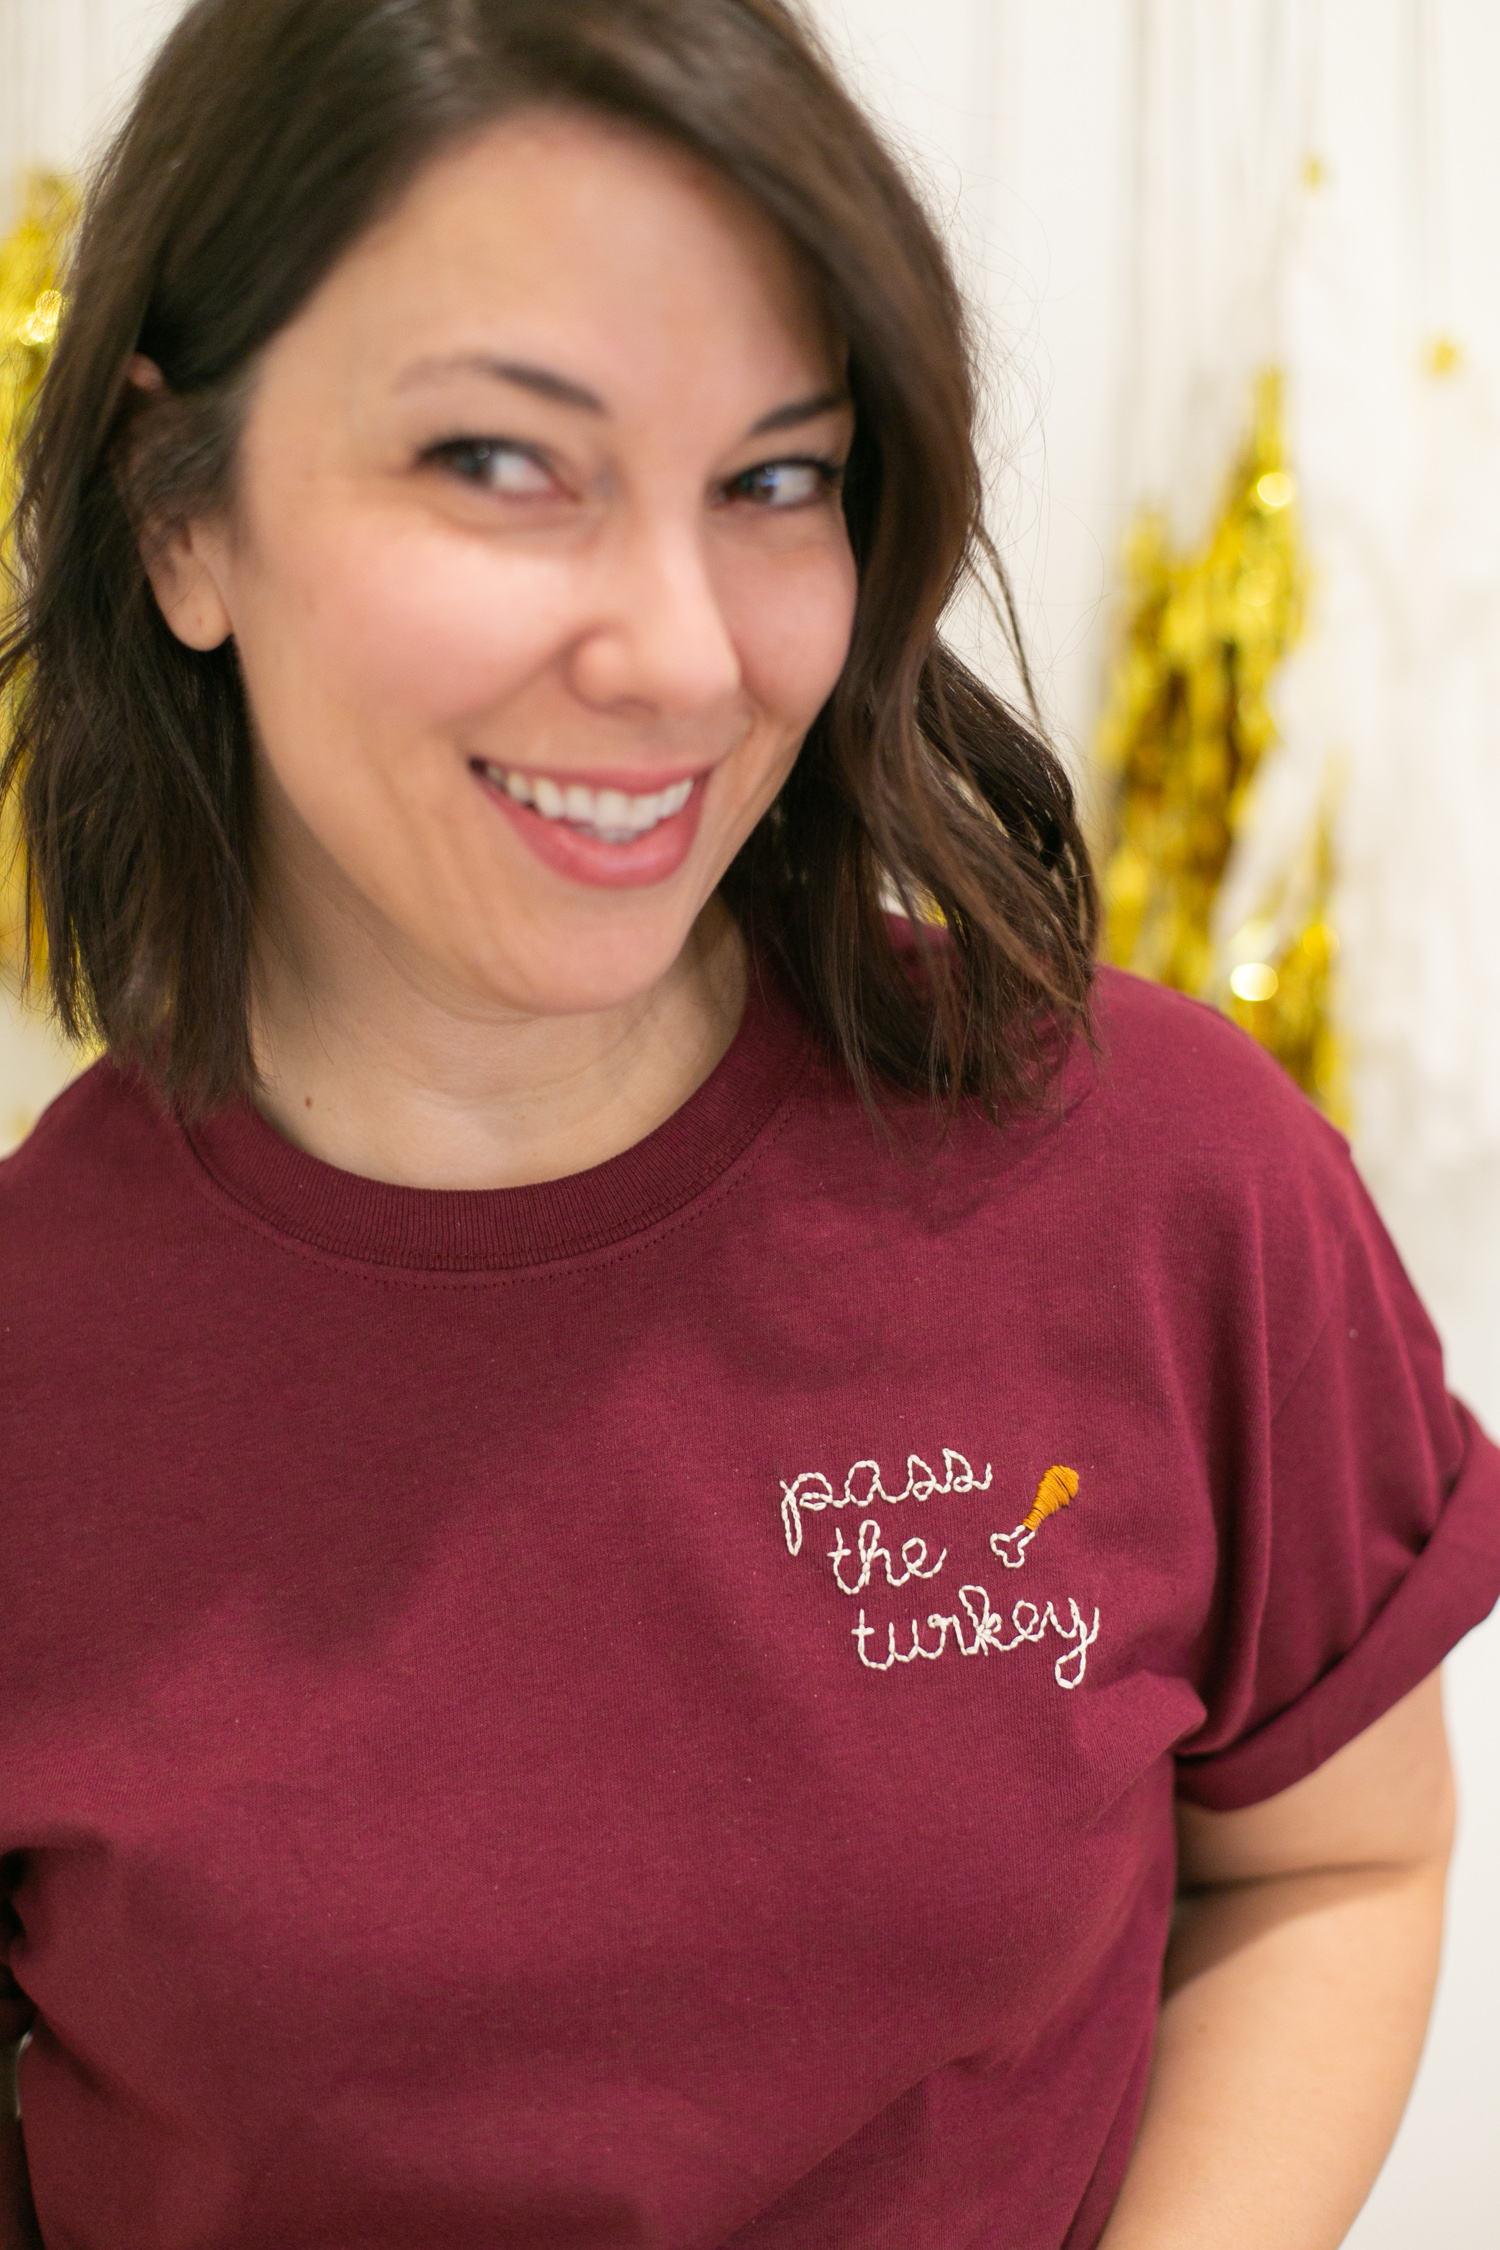
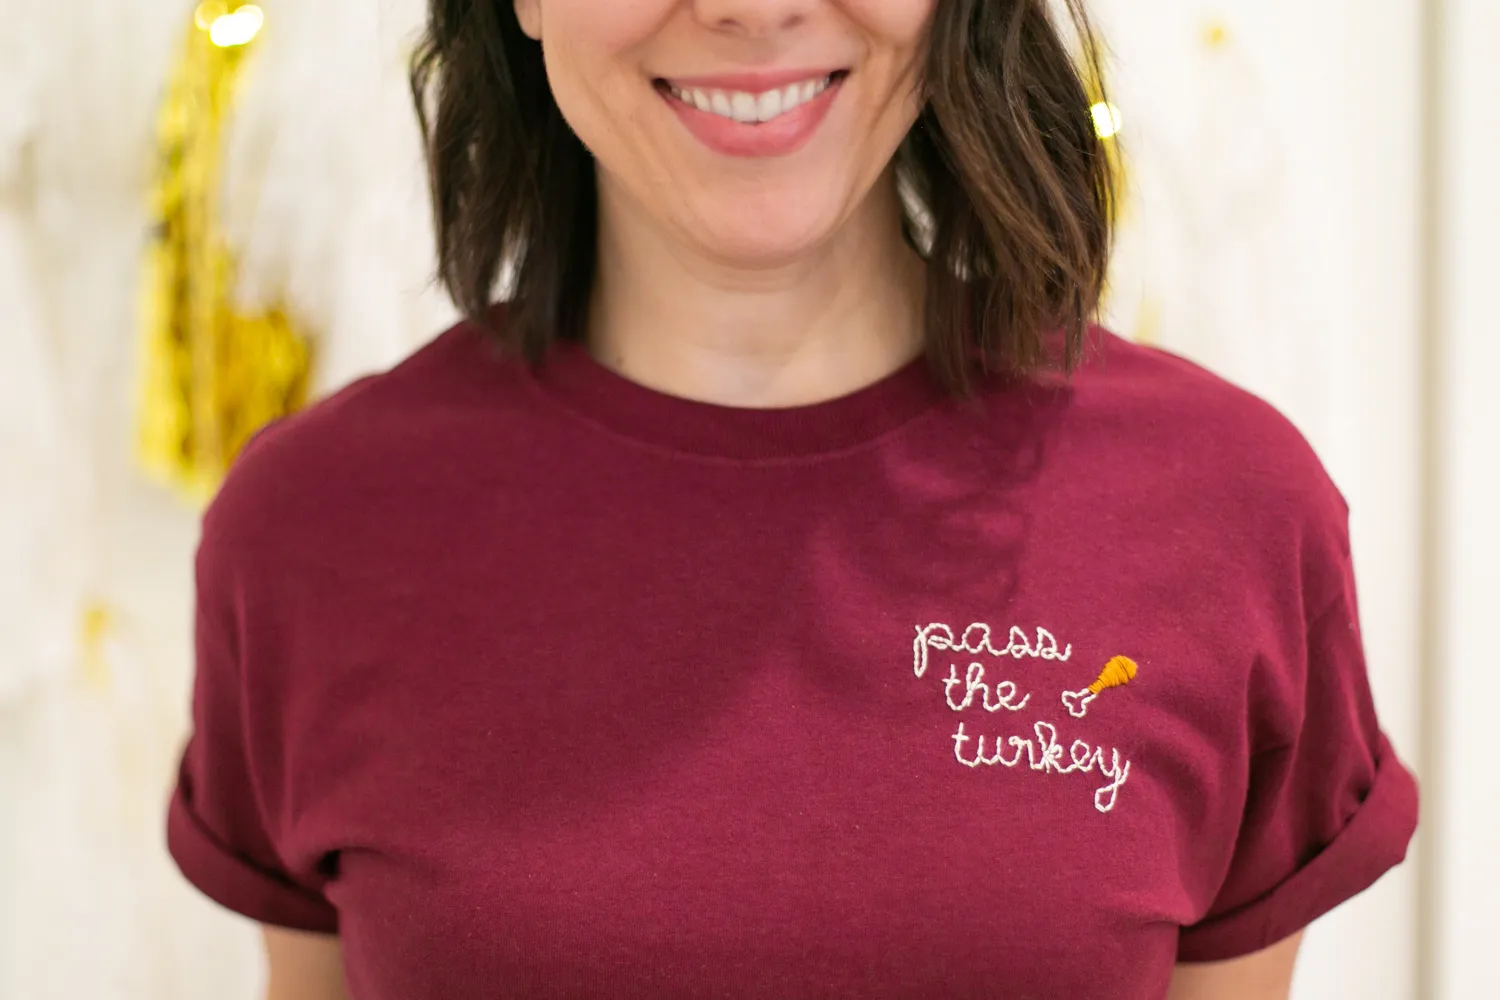
Turkey Day is on the way! How do you celebrate? Do you do all the cooking, or all the eating (or both)? No matter how you’re celebrating, I’m thinking the holiday festivities will be lots more fun when you’re wearing this fun little DIY embroidered Thanksgiving t-shirt. Pass the turkey, please!
Embroidery projects like this one are so fun because it’s a simple addition that packs a punch. It can take a plain t-shirt from boring to eye-catching with just a few steps! And with the Thanksgiving theme, you’re sure to get some giggles from around the table when people realize what your shirt says. Once you learn the basic stitch to create this embroidered shirt, the rest is a piece of cake. Well… pie.
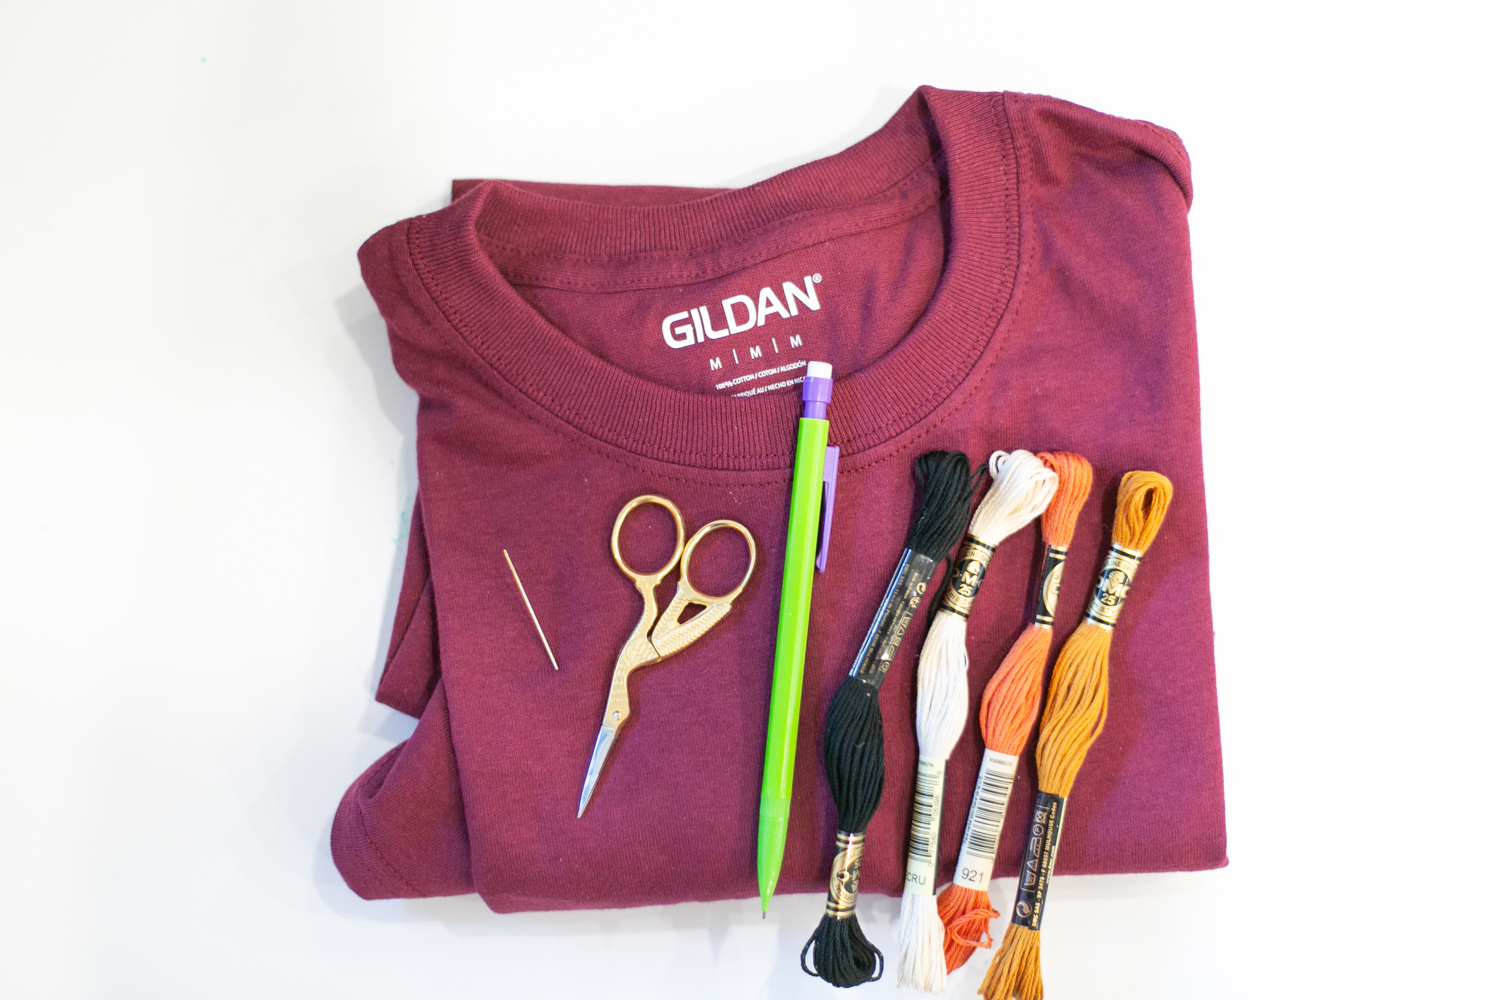
Supplies:
- plain t-shirt or sweater
- embroidery thread in fall colors
- embroidery hoop
- scissors
- pencil or chalk
- embroidery needle
Instructions:
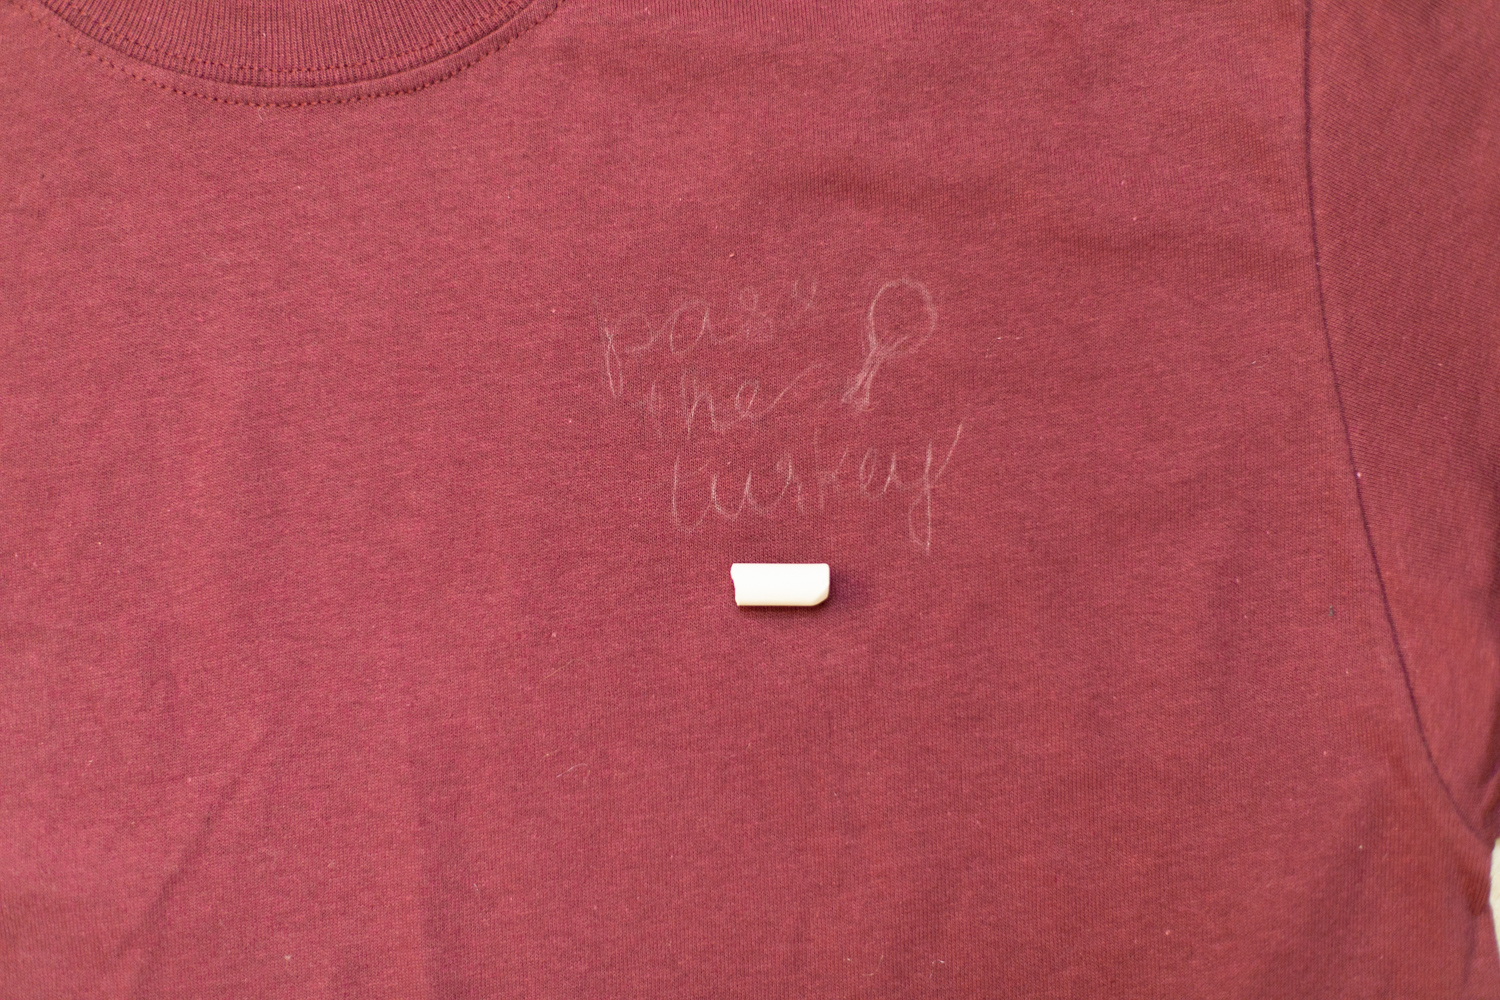
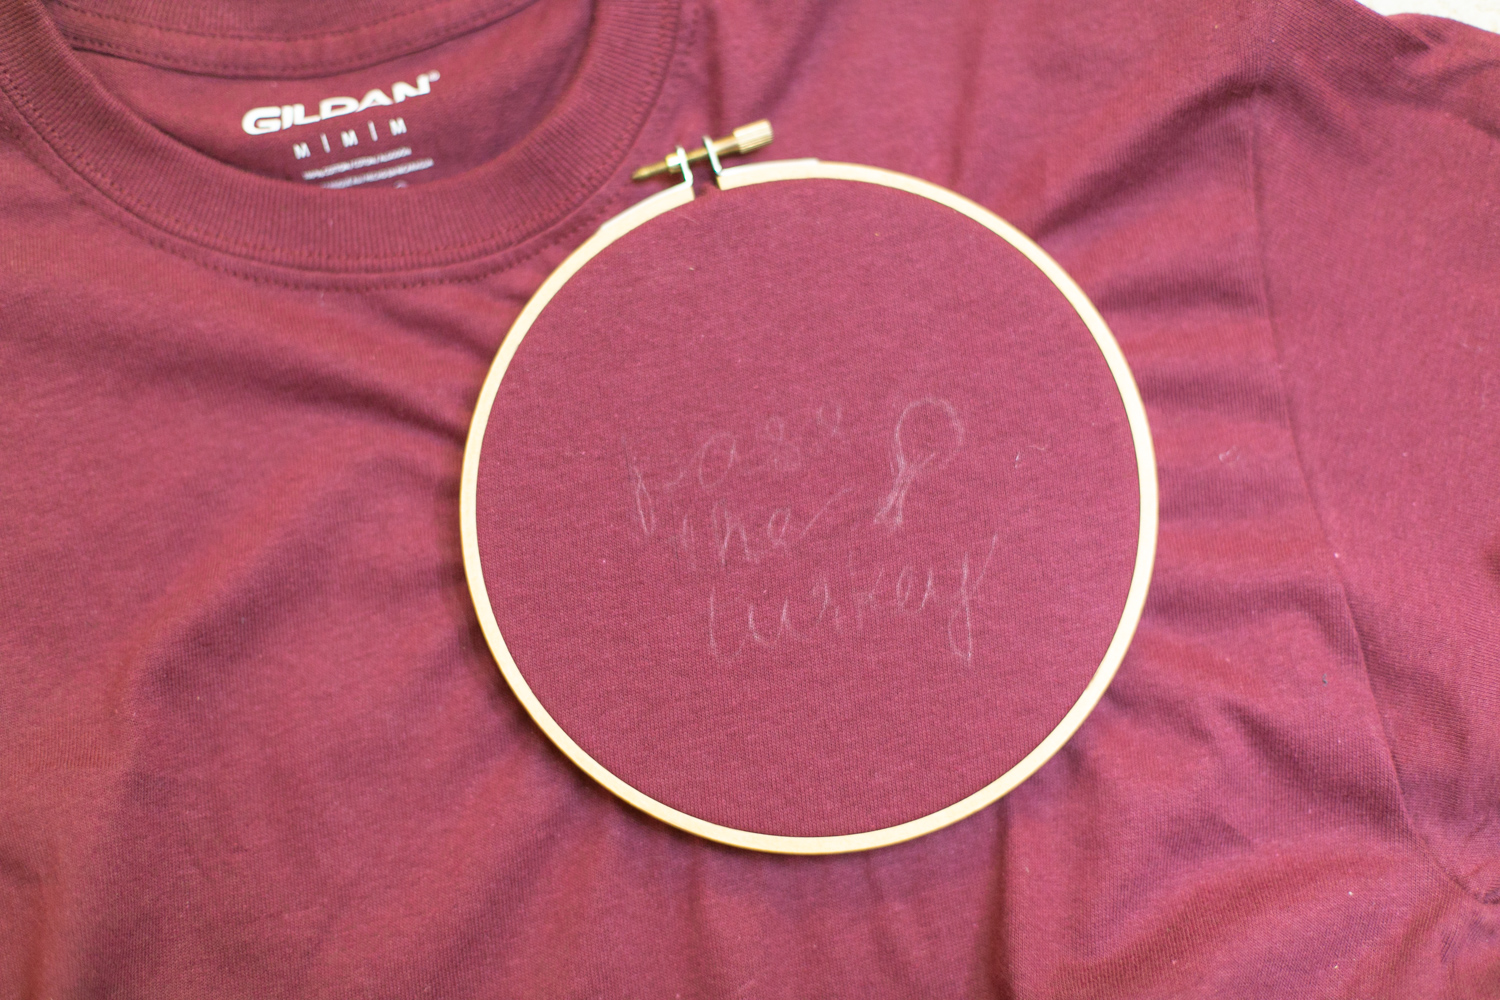
Step 1: Start by deciding what you want your shirt to say! You can copy this phrase and use “pass the turkey,” or think up another fun Thanksgiving phrase that you like. You’ll need to sketch out the phrase on your shirt in the place where you want it. If your shirt is light-colored, you can sketch in pencil. If it’s darker, you can use a piece of chalk to sketch out the phrase. (It’s also helpful to practice a couple of times on a piece of scratch paper first.)
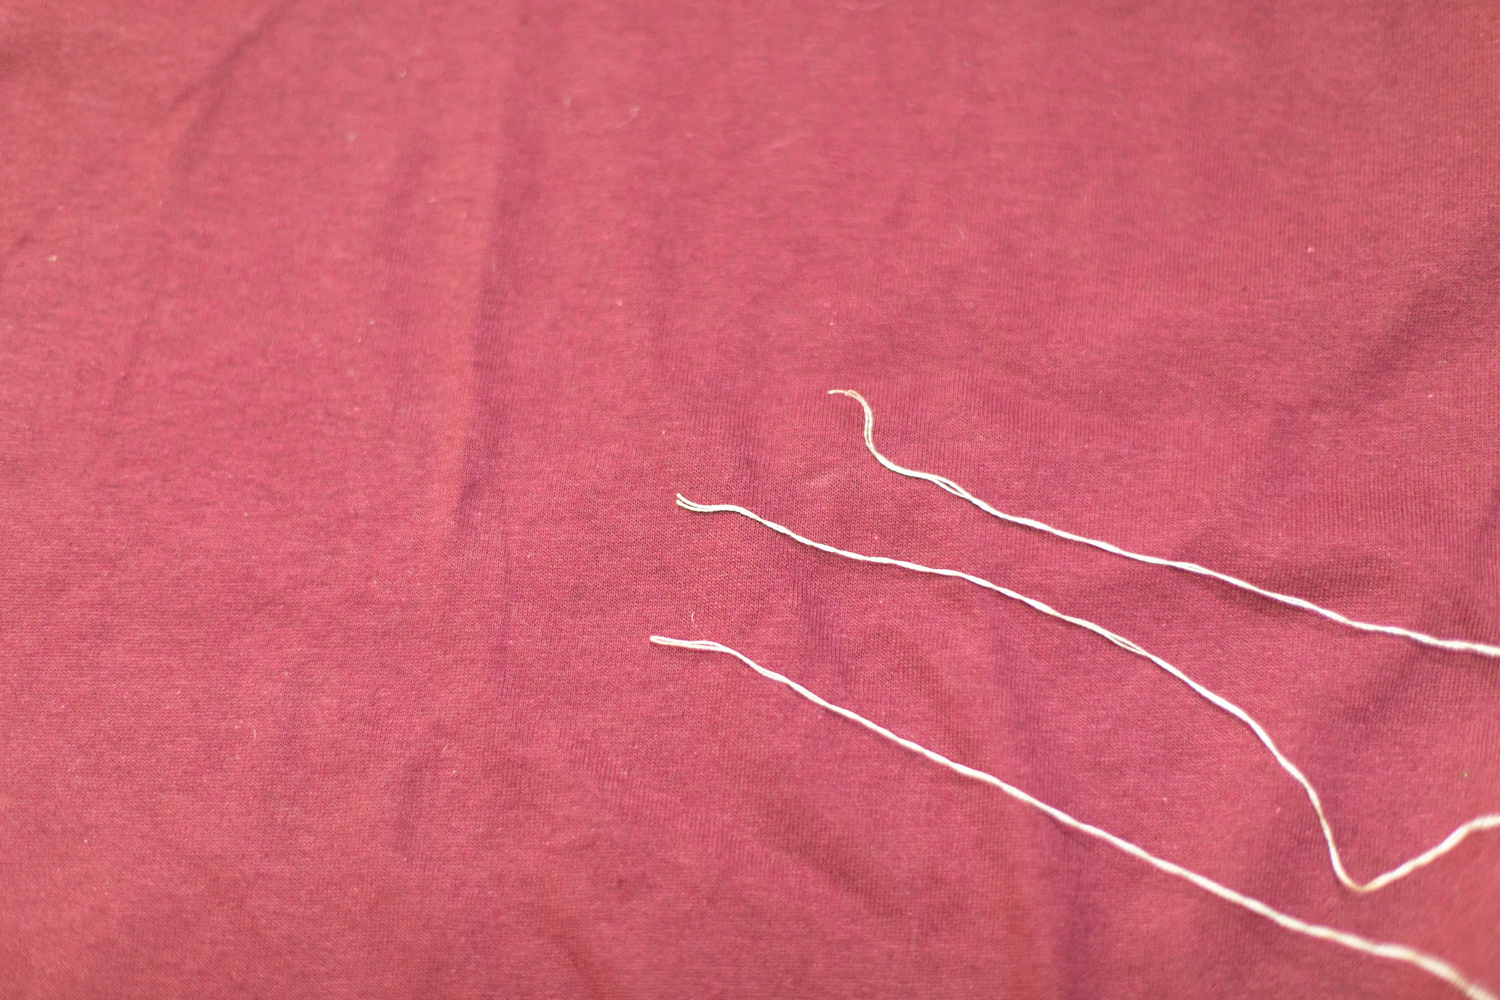
Step 2: Next, separate your embroidery thread. Embroidery thread comes with six small strands within the skein. You’ll need to separate, or “strip” your thread into groups of two strands. To do this, cut a length of thread (2-3 feet long). Separate two strands from the rest of the thread. Gently pull them apart. You’ll have to make sure the remaining strands don’t tangle by unwinding them every so often. Separate your threads until you have three sets of two strands each.
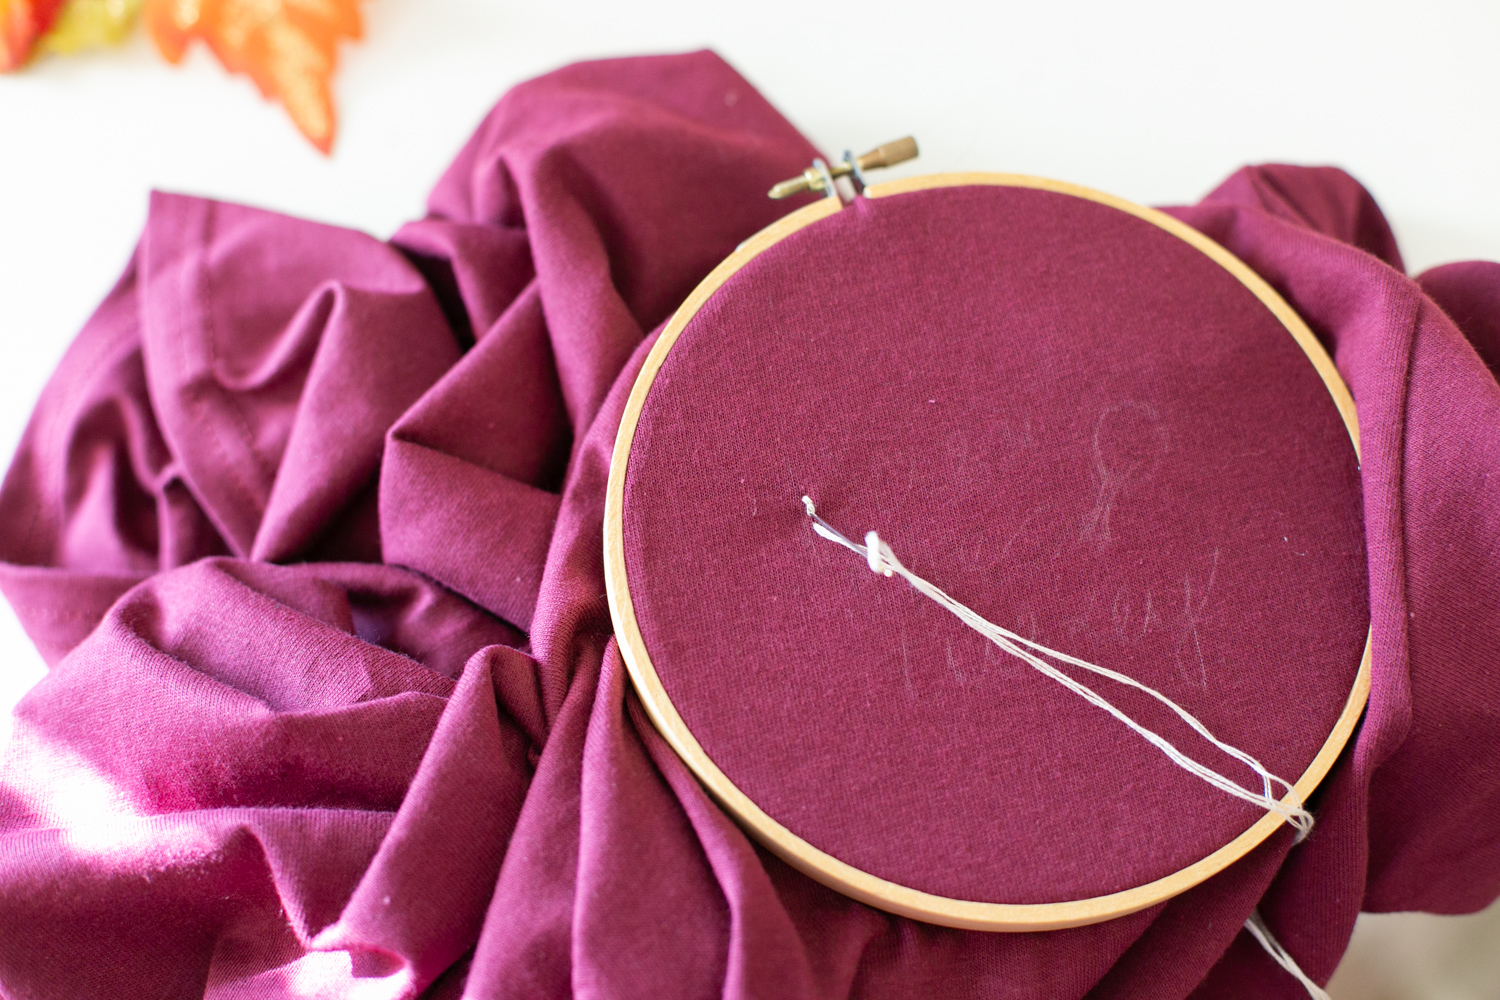
Step 3: Next, insert your shirt with the sketched design into your embroidery hoop. Make sure the fabric is taut enough that you can run your needle through it easily.
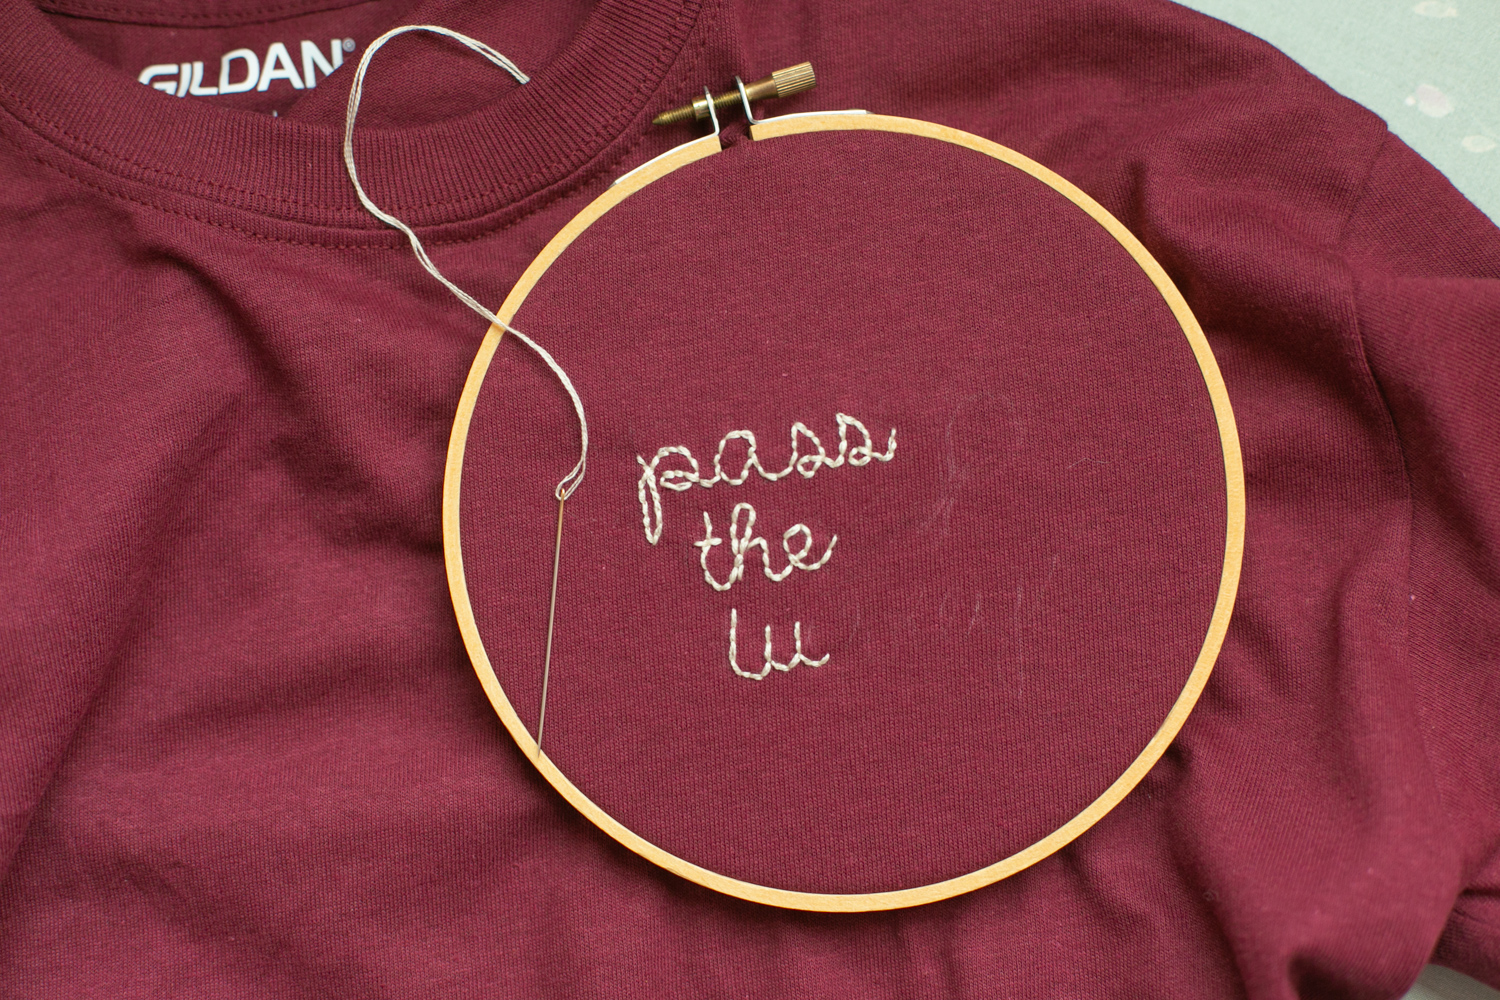
Step 4: Thread your needle by inserting two strands through the eye, pulling the ends even, and forming a knot. Then start your embroidery. You’ll be creating a backstitch. Starting at the end of a letter, create one stitch by coming up through the back and down through the front. Then, from underneath, space the needle out the length of your desired stitch, pull up through the fabric, and bring the needle back down through the end of the previous stitch.
Continue in the same way as you trace the design of your letters.
Step 5: If you want to create a turkey leg like we did here, start by using the backstitch to trace the bone. Then, to create the turkey, you’ll create a satin stitch. To do this, draw out the shape of the turkey. With your needle, create one stitch that extends from one end of the shape to the other.
Bring the needle up again just next to the opposite side of the initial stitch. Keep the stitches close to one another, as required to fill the pattern or design you are working with. You’re basically coloring in the shape of the turkey with thread like you would a pen.
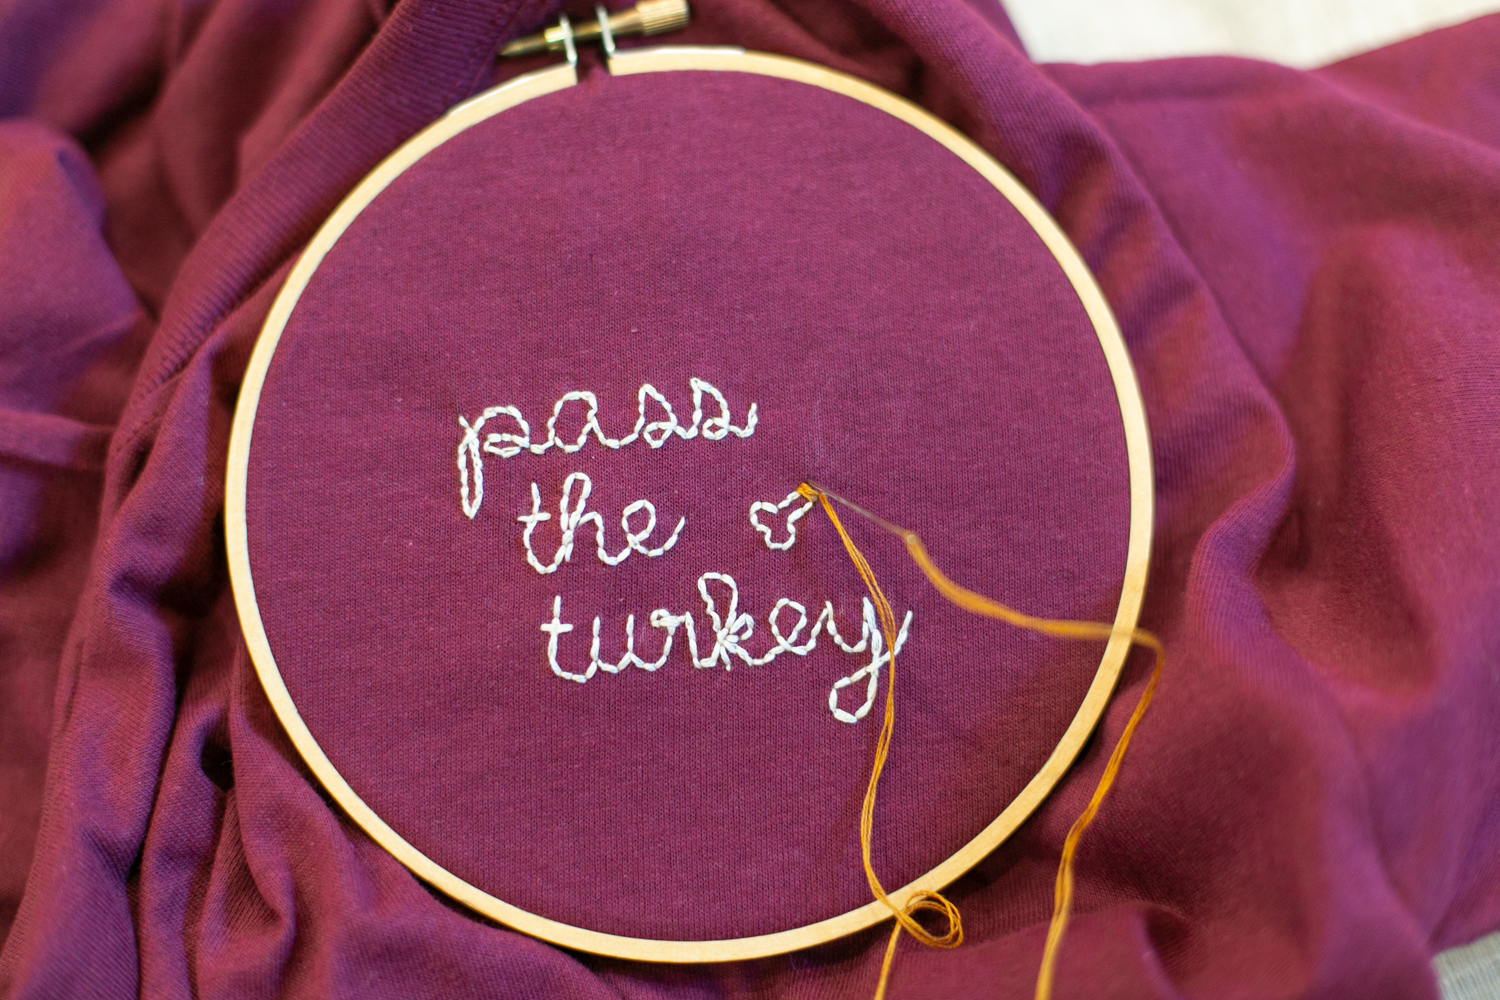
Step 5: Continue filling in the shape of the turkey until it’s complete. Then tie your thread off in the back of the shirt, remove your embroidery hoop, and wear it on Thanksgiving!