 If you are like me, you want your child to practice writing and reading as much as possible. What’s better than a craft with an educational purpose?
This great DIY produces a simple and very inexpensive dry erase board, you can create a place for your child to practice their letters and numbers.

Supplies:
- white board
- ruler
- 2 sharpie markers in different colors of your choosing
Instructions:
Step 1: Using the ruler, measure out the lines and draw them on with one of the sharpies (I used blue). Keep in mind that unless you have a yard stick, the lines won’t be perfect. But that’s ok!
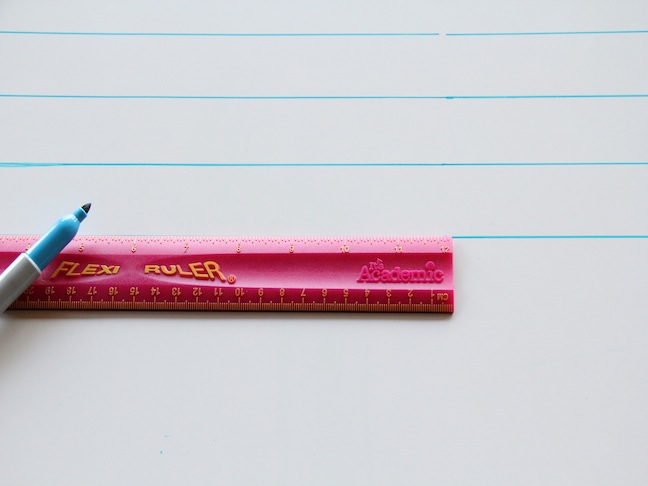
Step 2: Once you have all of your blue lines, use the other marker to add the dashed lines (I used pink). Again, it doesn’t have to be perfect.

Step 3: Make sure you let the board dry completely! Leave out and don’t touch it for a couple of hours. Once it is dry, you are good to go! Your little one will love practicing their writing like a big kid.

Tips:
* We got our white board from a local hardware store. They come in large sheets and can be cut to size for you. Stock up and have ready-made homemade gifts for all the toddlers you know!
* If you are worried about the sharpie coming off, or if you plan to use a strong cleaner on the board, you can cover the board with a clear coat, adding that over top the lines.
Find more fun crafts from Kersey Campbell at ARDOR.


