Trying out simple experiments at home is a great way to introduce science to young children. This classic activity uses food coloring to demonstrate how water travels through plants and flowers.
All you will need for this project are:
- white flowers (carnations, daisies, and mums work well)
- food coloring
- a few containers filled with water.
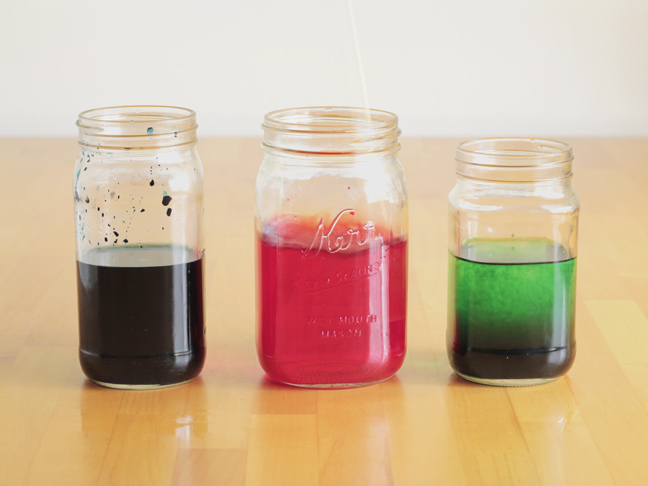
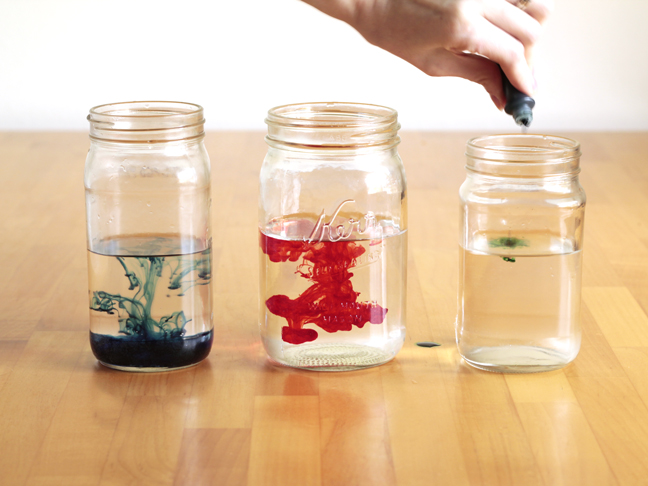
Start by adding 20 – 30 drops of food coloring to the water and stir vigorously.
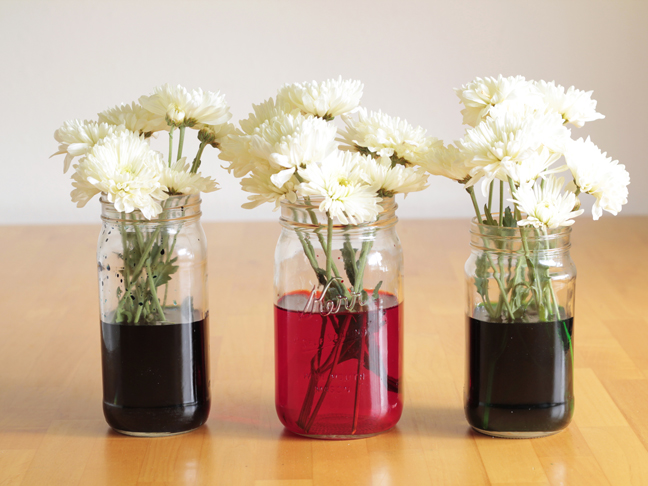
Cut the flower stems at a diagonal to aid water absorption and add them to the colored water.
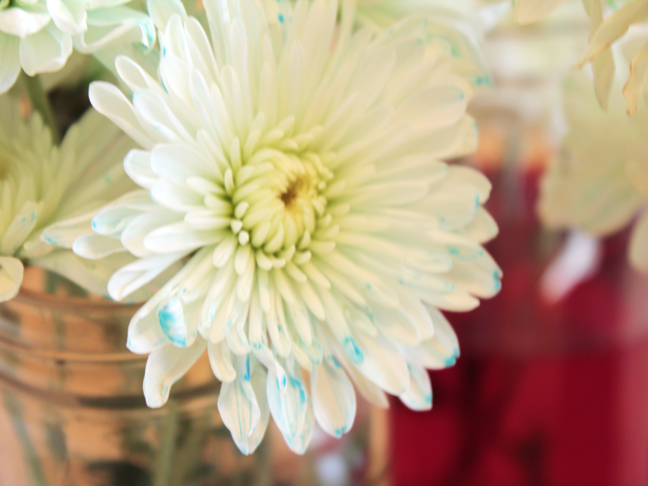
Now sit back and let nature take over. Check on the flowers with your child every few hours.
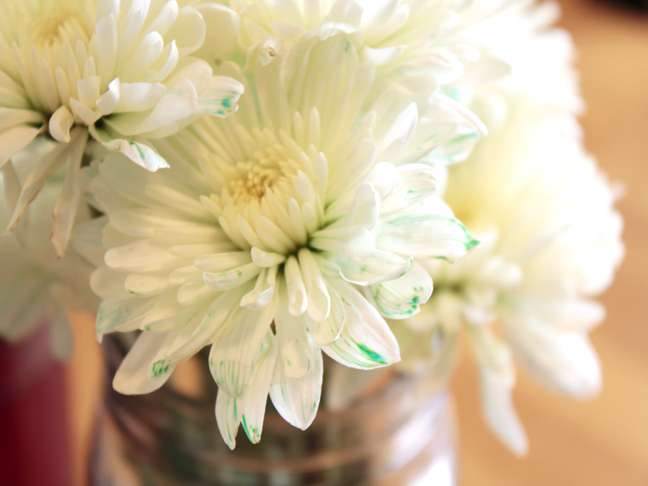
After about 6 hours you will begin to see colors appear at the tips of the petals.
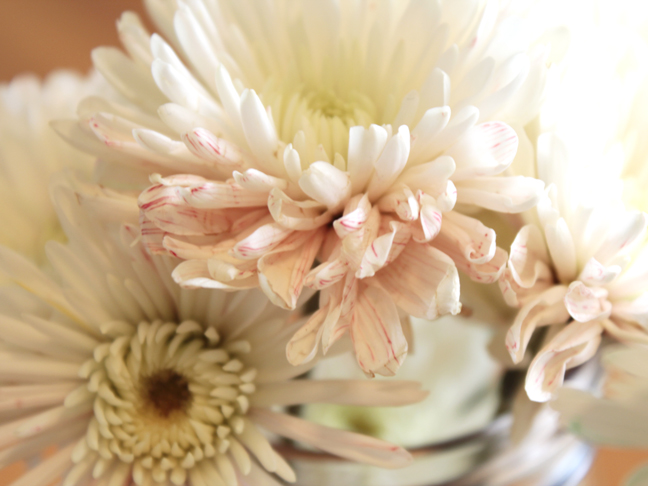
Explain to your child that most plants “drink” water from the ground through their roots. Water travels up the stem into the leaves and then to the flowers.
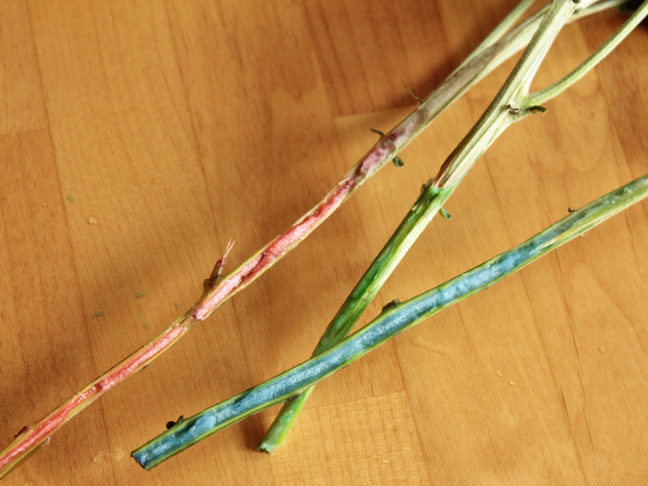
At this point you can also cut the stems vertically to really see how the water travels from the bottom of the stems to the petals.
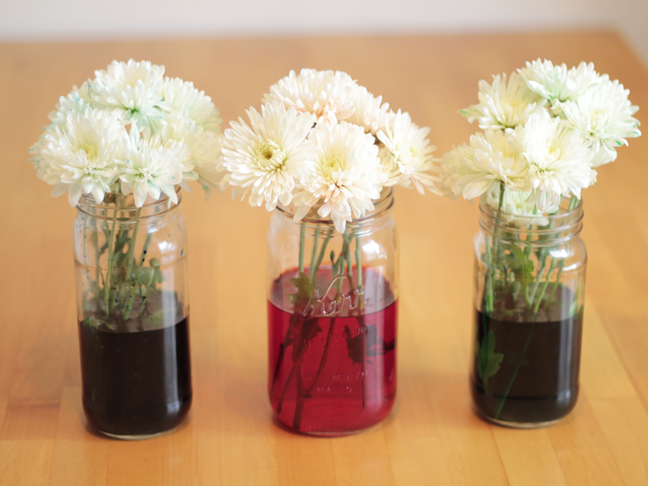
As time goes on the flowers will become more and more infused with color. These mums were mostly affected at the tips of their petals but other flowers, such as carnations, will change more drastically. You can also experiment with splitting the stems in half vertically and dipping each half in different colors. This will produce flowers with petals that are two colors.
It’s so fun experimenting like this with young kids because they are truly amazed by the process. This would also be a great project for the kids to do with Dad as a Mother’s Day surprise.
