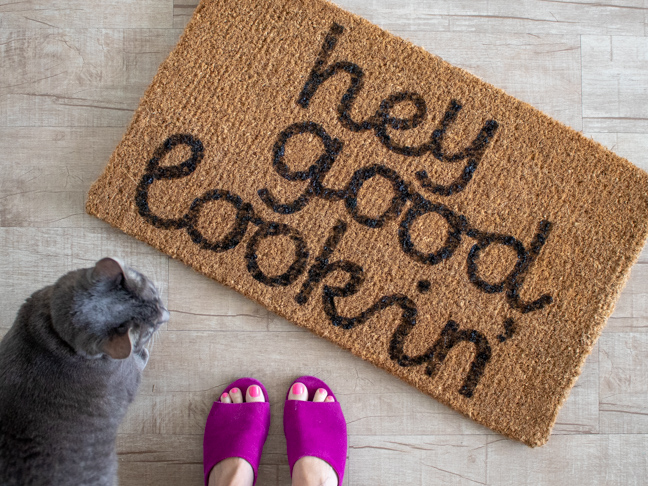
One thing I’ve wanted for a long time is a doormat with personality, but I haven’t been able to find what I was looking for. Luckily, I discovered it’s fairly easy to customize your own DIY doormat with paint to make something completely unique for your home. Whether you want a cheeky saying like “hey good lookin'” or your family’s name, you can design your own doormat in any font or color you want by making your own stencil. It’s a DIY that involves several key steps but the outcome is certainly worth the hour of work.
Depending on your design skill level, there are a few different ways to make your own custom doormat. I use the software Adobe Illustrator to type out my saying in a font I like, then adjust it to the size of my doormat and print it on separate pieces of paper, piecing them together to make my stencil. However, you can do this with a basic word document program or a free software like Canva. Alternatively, you can purchase pre-made alphabet stencils and arrange them to make your desired graphic. No matter your skill level, one of these DIY doormat techniques will work for you.

Supplies:
- Plain doormat
- Thin poster board
- Large letters/words, printed to size OR large alphabet stencils
- Scissors
- Pencil
- Craft knife
- Cutting mat, recommended
- Outdoor paint
- Sponge brush
- Painters tape, recommended
Step 1: Measure your doormat. Mine was 18 x 30 inches. Cut the poster board to the same size.
Step 2: Create a document on your computer according to the size of the mat and type out the letters of the wording you’d like in your desired font. Adjust to size.
Note, this is much easier in a design software but not impossible in a standard word document program. You can separate the letters and arrange them once printed to create your design.
Step 3: Print the document and cut out the letters, including the “eyes” of the letters.
Skip steps 2 & 3 if using alphabet stencils. Choose the letters you will need and move on to step 4.

Step 4: Trace the letters onto the poster board exactly where you want them to appear on the doormat. Don’t worry about super clean lines. You will only be using the poster as a stencil.

Step 5: With a craft knife on a cutting-safe surface (cutting mat recommended), cut along the traced lines to create a stencil of your design. You will cut away the entire letters, then go back to cut the “eyes” of letters and keep them separately.

Step 6: Position the stencil on top of the doormat. Roll up some tape and use it to stick down some of the thin areas to hold them in place during painting. Because of the material of the doormat, it won’t stick much but may help reduce slipping. Then add the “eyes” of the letters and stick in place with tape to reduce slipping.


Step 7: Carefully dap the paint over the stencil, and take care to hold the stencil in place. It will not look like it’s absorbing a lot of the paint (due to the material), but that’s OK as long as it’s clear that the letter will be defined. Paint all over.

Step 8: Once entirely painted and still wet, carefully remove the poster board pieces or alphabet stencils and discard. If needed, use a regular paint brush to make touch-ups.
Let dry completely overnight before displaying in front of your door.

This new custom doormat is the first thing people see when they walk up to my front door now and I LOVE it! It’s like getting a compliment before you even walk inside.