Materials:
- crayons
- kitchen peeler
- iron
- tissue paper
- wax paper
- paper towel or old cloth towel
- ironing board

Instructions:
Step 1: Set up your ironing board, and Unfold a piece of tissue paper on to the ironing board. Remove part of the wrapping from the crayons.

Step 2: Using the kitchen peeler, scrap small curls of each of the crayons onto the tissue paper.

Step 3: Don’t overdo it with the crayon curls—a little goes a long way. The wax will spread out a lot when it melts.

Step 4: Place another piece of tissue paper on top, sandwiching the crayon curls betweeen two pieces of tissue paper.

Step 5: Place wax paper underneath the two layers of tissue paper, so it protects your ironing board. With the iron on the lowest setting, gently press onto the tissue paper for just a second. The wax will melt immediately. Lift straight up, don’t move in a circular motion the way you would normally use the iron. Simply press theiron down and lift it, dabbing the tissue paper.

Step 6: The wax will get on your iron. Simply and gently use a moist towel to wipe it off after each ‘dab’. Make sure the moisture from the towel steams off before dabbing again. If the plate of your iron is wet, the wax won’t stick to the iron permanently.

Step 7: The dots will bleed together, kind of like watercolors.

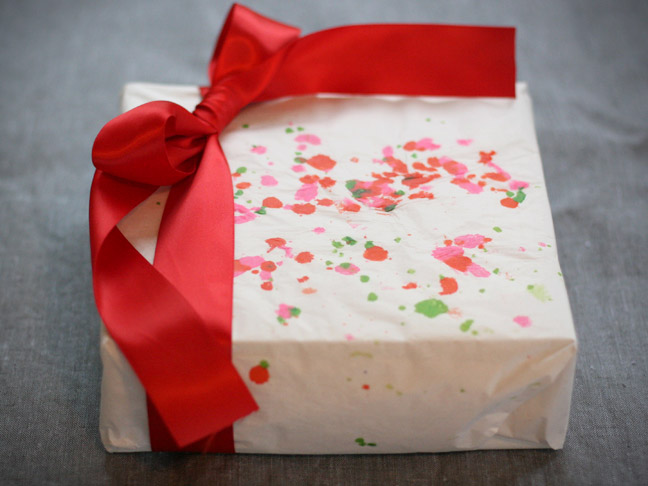
Step 8: The wax will harden almost immediately and you can wrap your gift.

Step 9: Use a pretty ribbon and center the crayon design where you’d like it. Now you’ve made some pretty wrapping for a special holiday gift!

Want more creative gift wrap ideas?