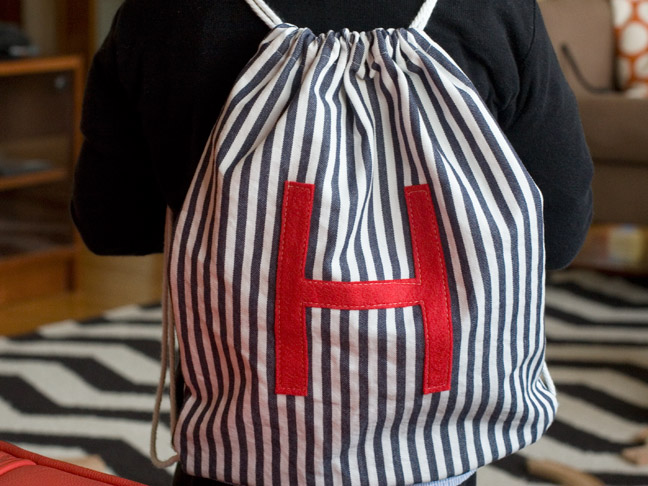
I made one of these drawstring backpacks for my son after he’d noticed that kids in our neighborhood were walking to school with backpacks on every morning. If you have a toddler in the house, this drawstring backpack is a particularly fun sewing project that’ll get them excited abut starting preschool soon. This project makes the perfect sized backpack for a toddler, or a small daypack for an older kid that they can use to hold ballet gear, shoes, or their lunches. The personalized felt letter on the front makes it especially fun for toddlers learning their letters as they easily recognize their pack. Plus you’ll love that they start to carry their own toys and snacks. Who knows—you might be able to finally retire your massive diaper bag soon! (Hey, a gal can wish.)
RELATED: 21 Ridiculously Epic Baby Food Jar Crafts

Supplies:
- Sewing Machine
- Matching thread
- Two 12″ x 14″ pieces of cotton fabric
- Iron on Adhesive
- Handful of pins
- Craft felt
- Two 58” pieces of cording
- Safety pin
- Scissors
- Iron

Step 1: Adhere the iron on adhesive to the back of your piece of felt.
Step 2: Print out a letter on a plain piece of paper, then pin it to the adhesive-backed felt.
Step 3: Cut the letter out.

Step 4: Cut your two 12 x 14 pieces of fabric.
Step 5: Remove paper from the felt letter and iron it onto the middle of one of your pieces.

Step 6: Carefully sew around the shape of the letter with a contrasting color thread and with a long stitch length.

Step 7: On the front piece, press with your iron ¼ inch around three sides, leaving one short side raw.
Step 8: Sew those three ironed sides down.
Step 9: Repeat with the back piece of the backpack.

Step 10: On both the front and back piece, measure 2 ½” from the top of the raw side and mark with a pen. Fold down ½ inch, then press another 2” to meet that pen mark you made.

Step 11: Press and sew close to the edge of this seam.
Step 12: Repeat step 11 on the back piece. You’ve just made the loops that the cording will slide through to cinch the pack closed.

Step 13: Now take both pieces and lay them right sides together with pins, making sure to line up those loops at the top opening. Sew the two pieces together, 5/8”, starting right below the loop on one side and ending right below the loop on the other side.
Step 14: Turn the backpack inside out and press it.

All you have left to do is thread the cording!
Step 15: Attach a safety pin to the end of one of your two 58” cording pieces. Start on the right side on the top piece, and thread it towards the left until the cording comes out of the left top piece. (Hang onto the safety pin as your guide through the hole.) Then thread it through the back piece starting at the left side, so you end up with the string coming out of the right side of the back piece.

Step 16: Both ends of your first piece of cording should now hang out of the right side like the above image. Even them out and tie both pieces together at the end with a knot.

Step 17: Repeat step 15 with the second piece of cording but start on the opposite side. Both ends of this second piece of cording should now end up on the left side as shown in the image above.

You’re almost done!
Step 18: Turn the bag inside out one more time. Unpick a couple stitches in both of those bottom corners. Put both knotted cords inside the bag and pull them each through the corner on the same side.

Step 19: Sew a zig zag stitch diagonally to hold the cord in place. Reinforce it several times, then repeat with the second corner.

Turn your bag right side out and pull the cords on each side to cinch. Your backpack is all done!
More DIY Projects for Babies & Toddlers