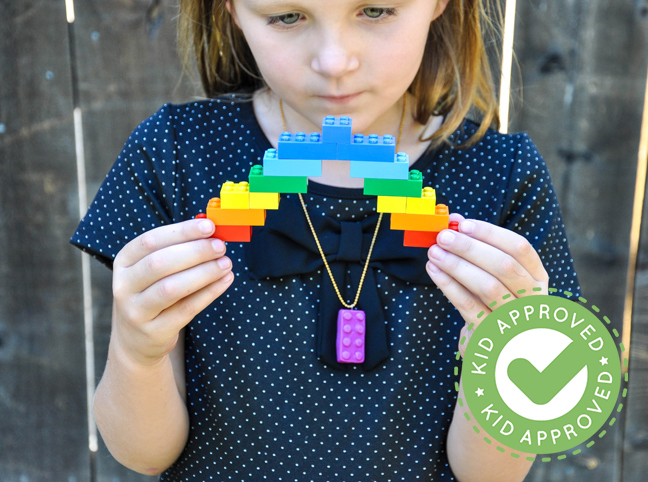
Ever feel like wearing a LEGO necklace?
If you ask my 6-year-old daughter Natalie that question she’ll answer, YES!
So we made one.
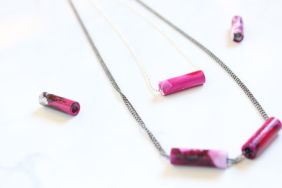
These special necklaces are so fun and easy to make. Natalie decided to make her necklace with a magenta LEGO brick — she’s obsessed with magenta — and we were able to make it in just a few hours (including prep and baking time). She’s been wearing her necklace ever since.
Try this DIY as a playdate project, or an activity during a LEGO-theme birthday party!
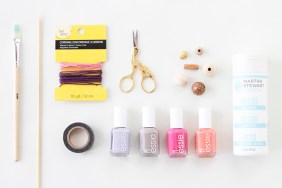
What you’ll need:

- Sculpey Mold Maker
- Polymer Clay
- One LEGO brick
- Eye pin
- Ball chain necklace
- Cornstarch (not pictured)

How to make the necklace:
Step 1: Tear off a LEGO-size chunk of the mold maker clay.


Step 4: Release the LEGO brick from the mold and bake at 275 degrees F for an hour.


Step 6: Take your prepared (kneaded) polymer clay in your choice of color and press it into the mold. Make sure to press firmly down, so that the clay will enter all the nooks and crannies of the mold.


Step 7: Release the clay form the mold (this is where the pliability of the mold comes in handy, so you can work it out) and insert the eye pin into the top of the clay, orienting the pin so that when the necklace is strung through the hole, the LEGO brick will be straight. Place into the oven face up for 40 minutes at 275 degrees F.


Now string it on your munchkin and watch him or her get excited about LEGO bricks!
*This post was sponsored by LEGO