This craft project is perfect for soon-to-be mamas, or if you’re hosting a baby shower. These DIY teacup candles make great decor—and subsequently, great favors. Grab any teacups lying around your house, or hit up Goodwill or the flea market for mix and match finds. Paired with old candles that you melt down, these can be used as table centerpieces, or placed at individual place settings. Bonus: they make great thank you gifts!
Here are step-by-step instructions on how to make teacup candles:

Supplies:
- Teacups
- Tea light candles
- Skewers
- Wicks
- A stove
- A pan
- A bowl
- Scissors
Instructions:
Step 1: Heat your kitchen or portable stove and place your pan on top.

Step 2: Remove the candle from the tin holder and the wick. Repeat. The amount of candles needed will vary depending on how many teacups you’re planning to create.

Step 3: Place the candles into your pan.
Step 4: As the wax is melting, place one of your teacups into your bowl. This is so the wax doesn’t spill everywhere when you are pouring it into the teacup.

Step 5: Once it is completely melted, pour the wax into your teacup. Don’t worry if some spills into the bowl. Just make sure to quickly remove the teacup so it doesn’t dry and stick.

Steps 6 & 7: Wrap the top part of your wick around the skewer. Stick the bottom end of the wick into the candle and rest the skewer on the top of the teacup. This makes sure the wick dries upright!
Step 8: Let your candle dry. Give yourself between thirty minutes and an hour for the wax to completely dry.
Step 9: Unwrap your wick from the skewer and cut the top part off, but leave enough wick for it to be lit.

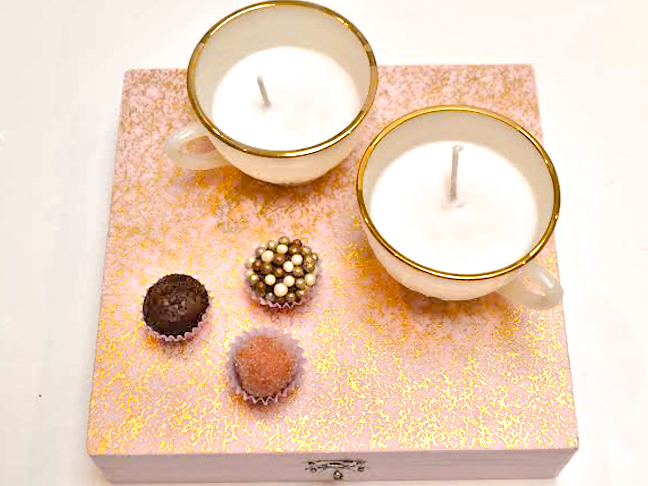
You’re done! This DIY is a labor of love, and I promise everyone will be obsessing over them!
More DIY Candles:


