The weather is turning crisp and the leaves are turning colors — it’s the perfect time of year to get outside with the kiddos before the long winter months set in. In the fall, we’re always looking for ways to stay entertained and enjoy the change of the season. This leaf book project is a great way to do both of those things.
I love this fall kids craft because it covers lots of bases. From getting some fresh air outside while they hunt for leaves, to the hands-on activity of creating leaf rubbings, to putting it all together in their very own “leaf book,” this activity will keep your kids busy all afternoon. And whether they want to keep the book for themselves or give it to grandma as a gift, there are so many opportunities to teach while you’re creating the leaf book together. Help them learn about different types of trees, about the change of seasons, about art techniques like making rubbings and book binding, and so much more.
Supplies:
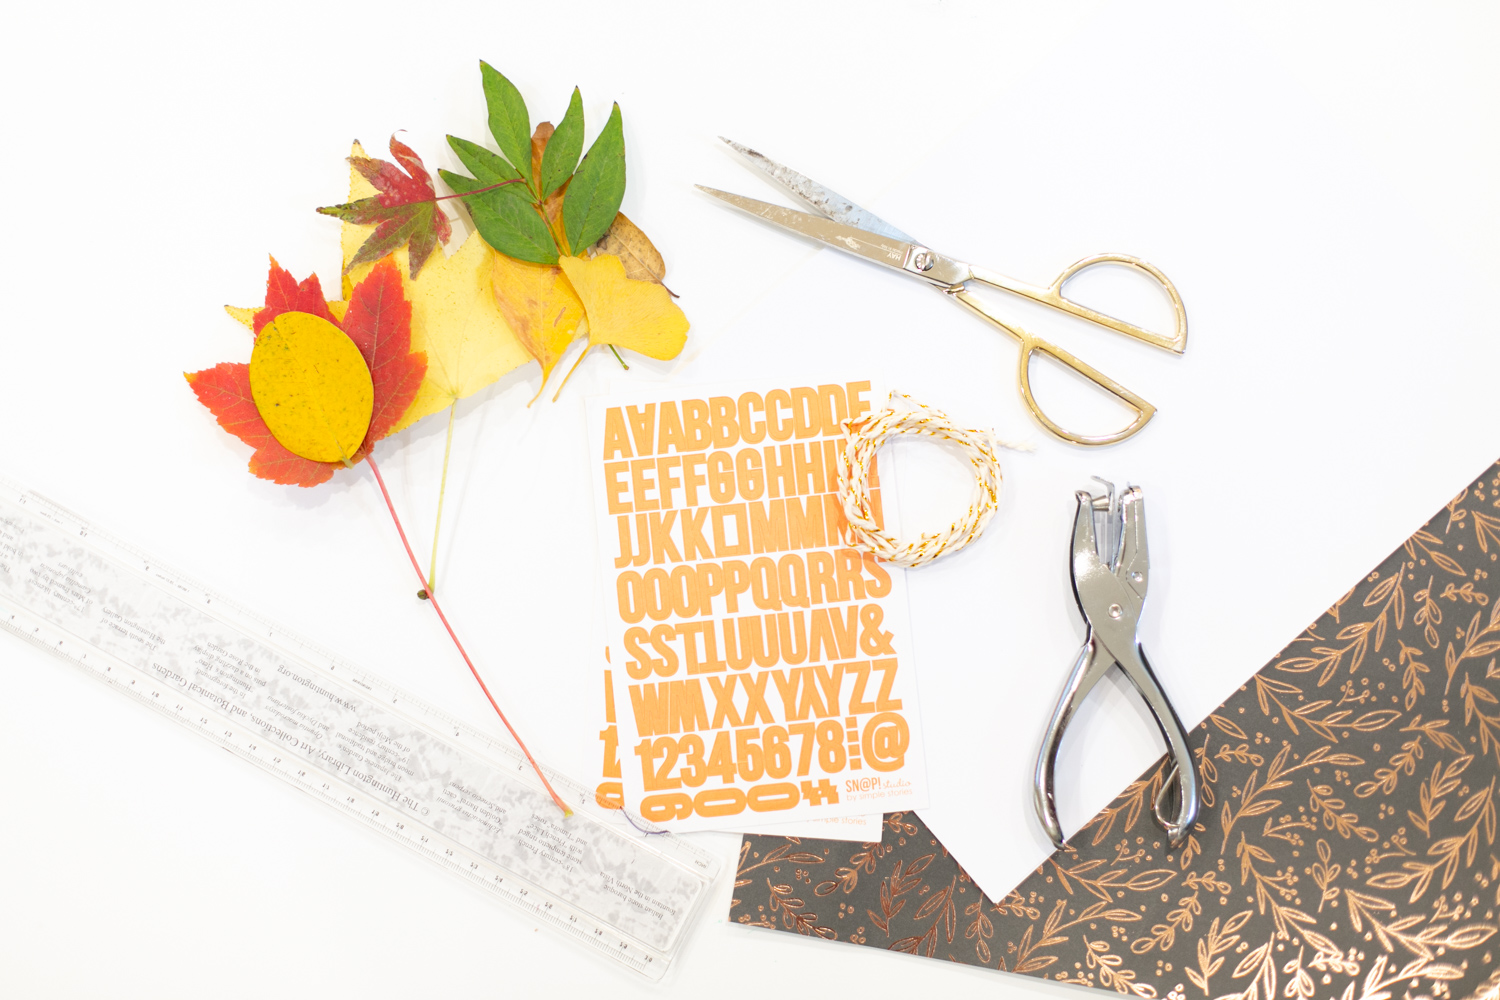
- blank white paper
- crayons
- fall leaves in different shapes and sizes
- scissors
- ruler
- hole punch
- scrapbook paper in a fun pattern
- cotton twine or thin cord
- alphabet stickers (optional)
Instructions:
Step 1: Start by heading outside on a leaf hunting expedition! Take your kids outside and tell them to gather as many different types of leaves as they can. This is a great activity to do while you’re walking around your neighborhood, especially if you can find a place with lots of different types of trees.
Step 2: Once you have all of your leaves, bring them inside and gently wipe them down if necessary. Next, cut your plain white paper into squares, large enough to accommodate your largest leaf. You’ll need as many squares as you have leaves, plus a few extra pieces.
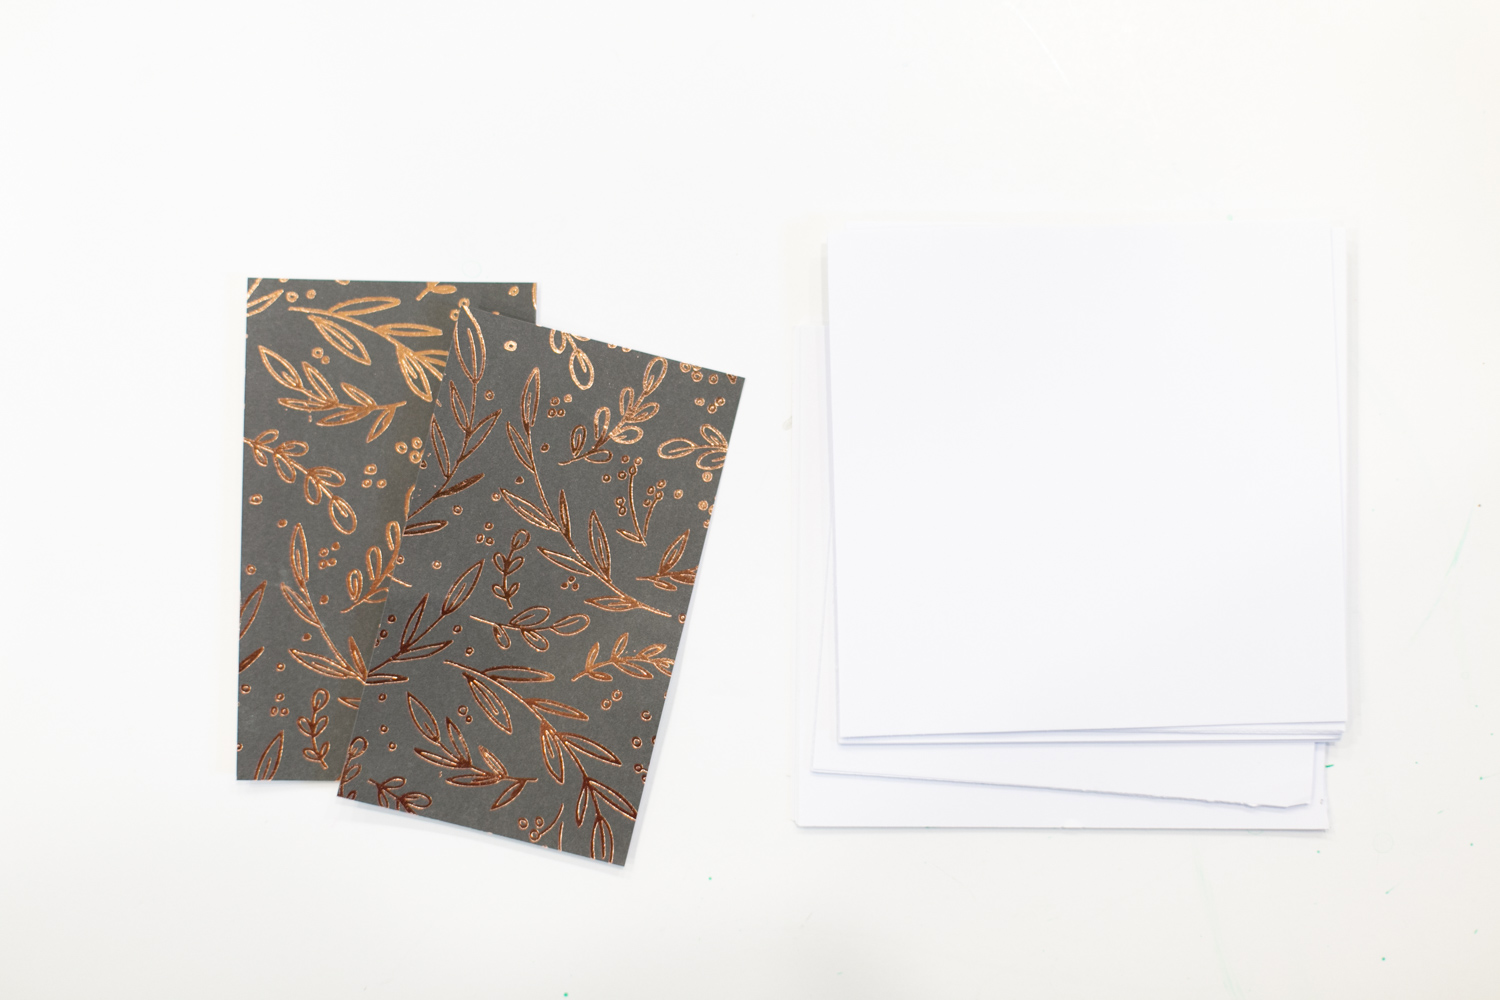
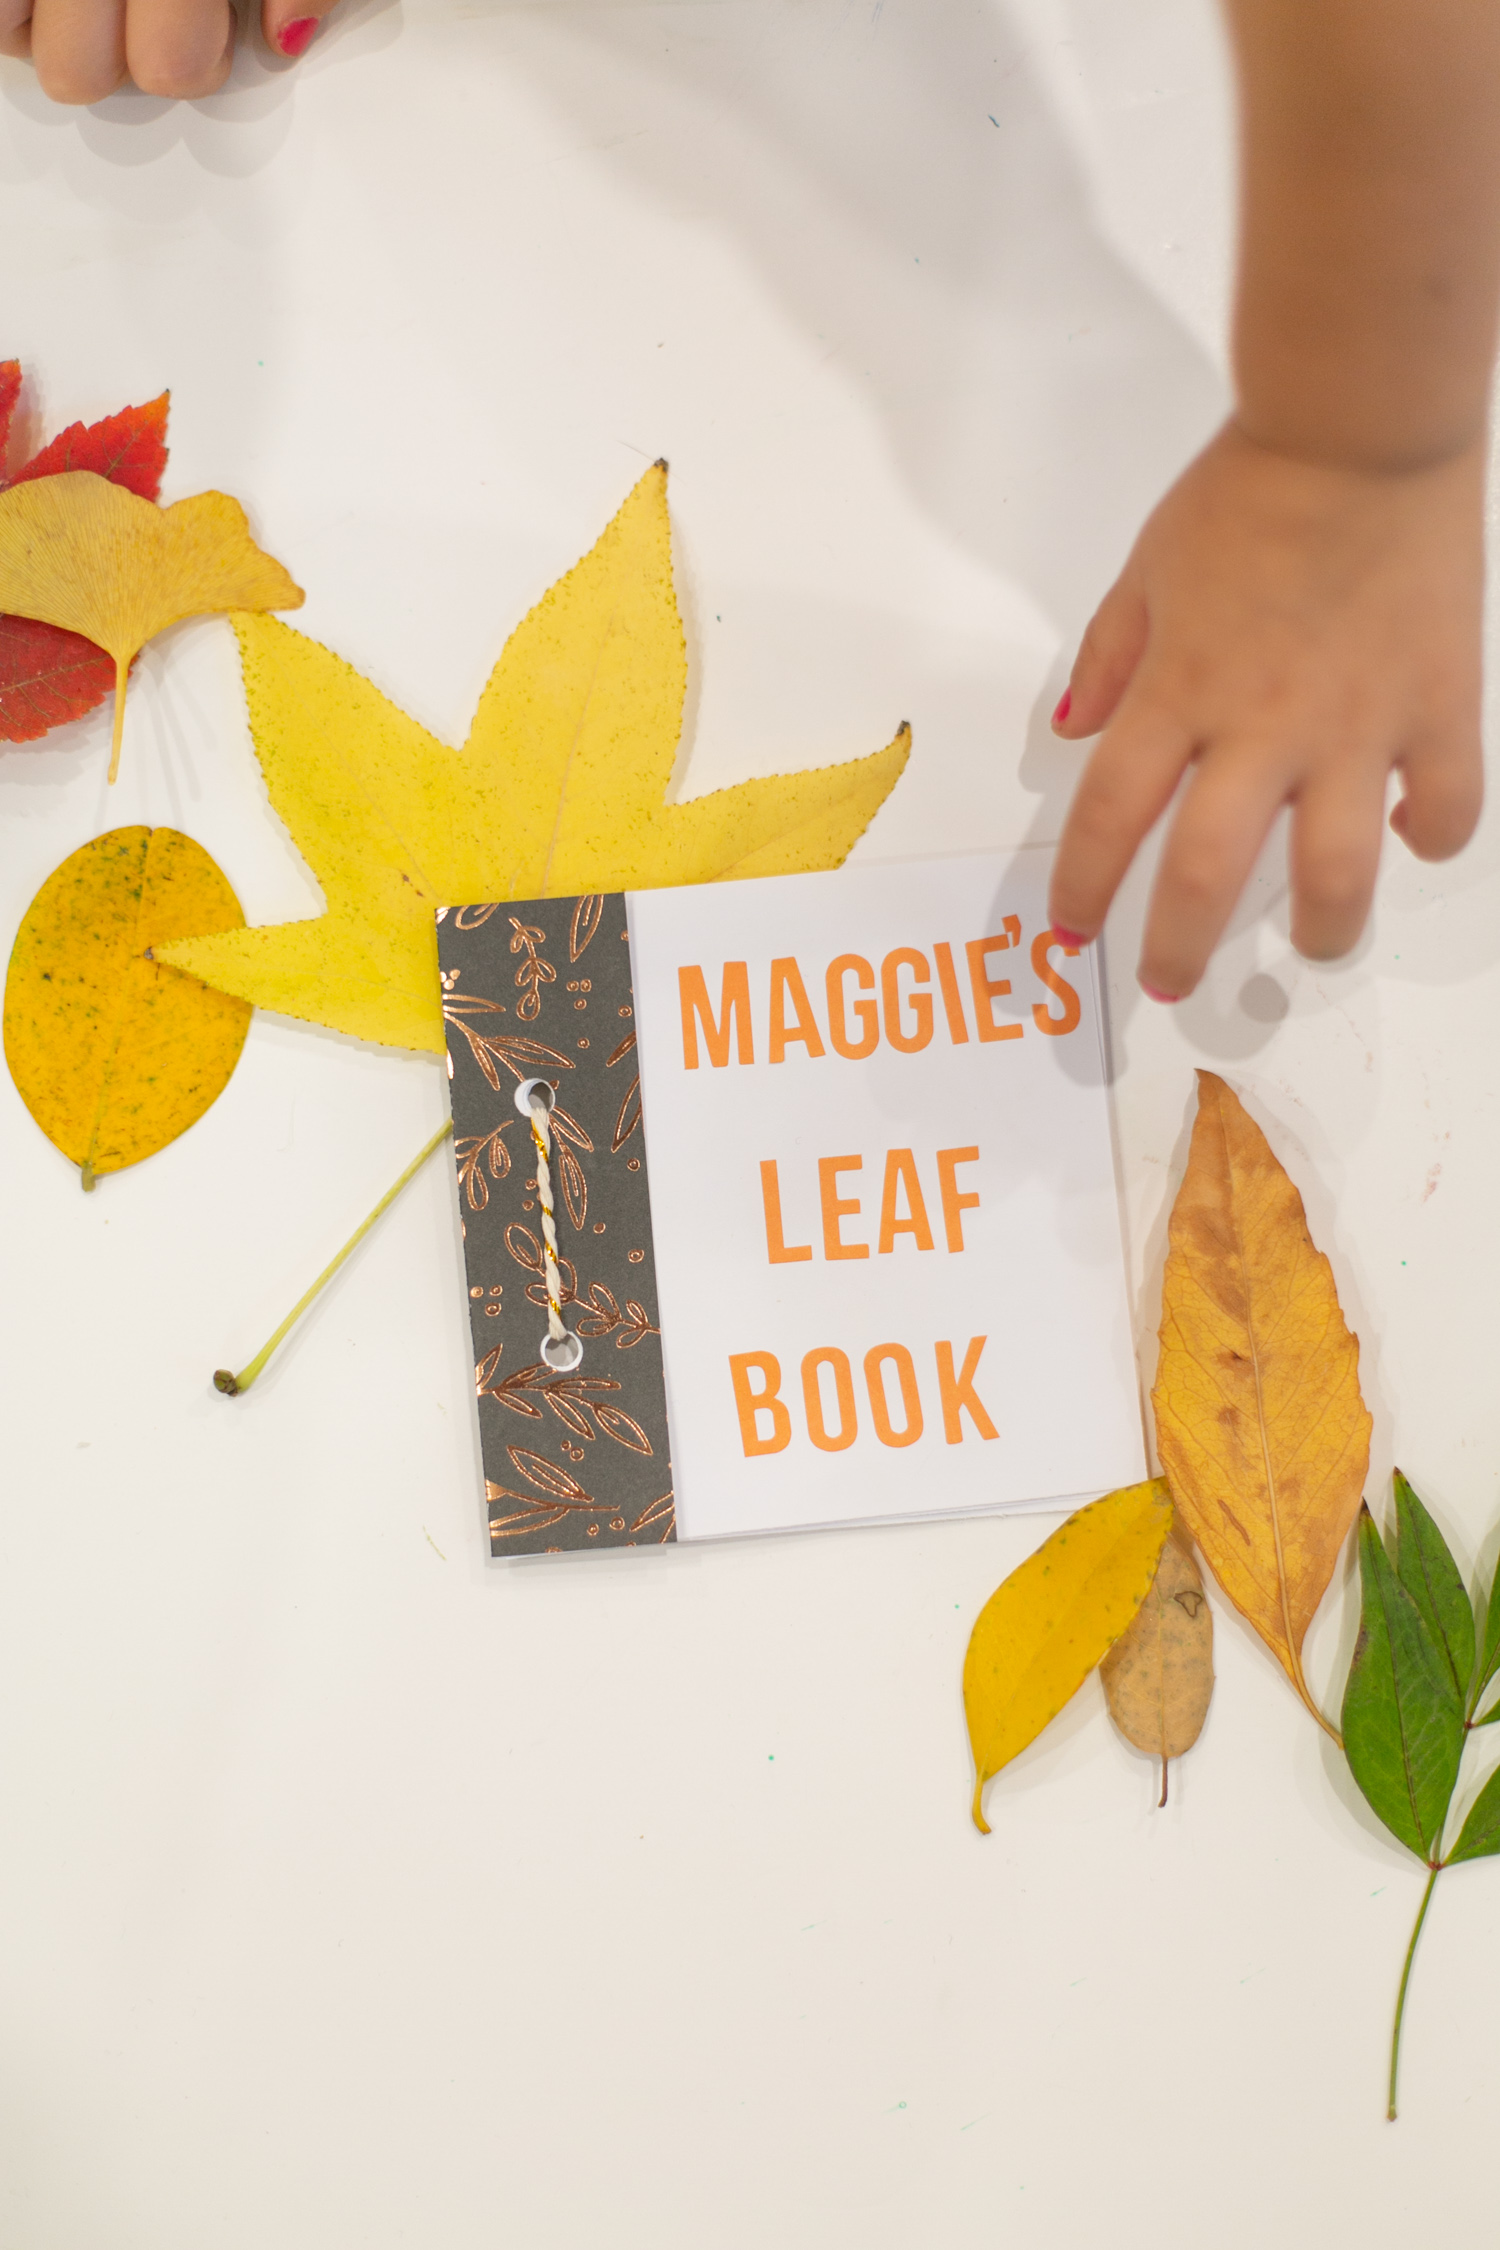
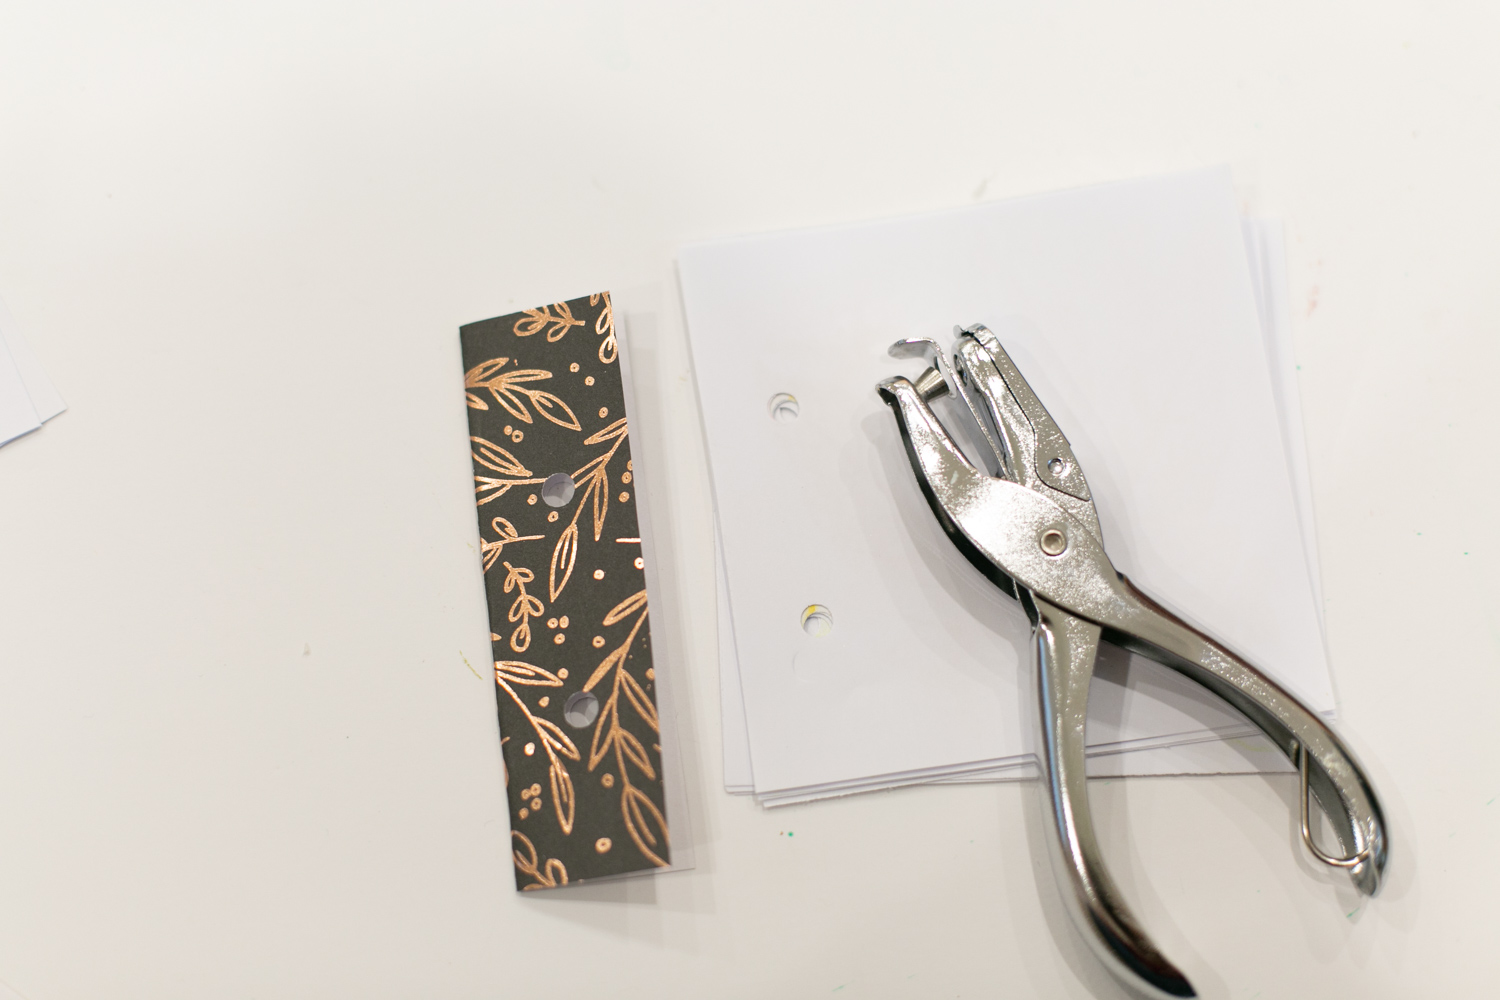
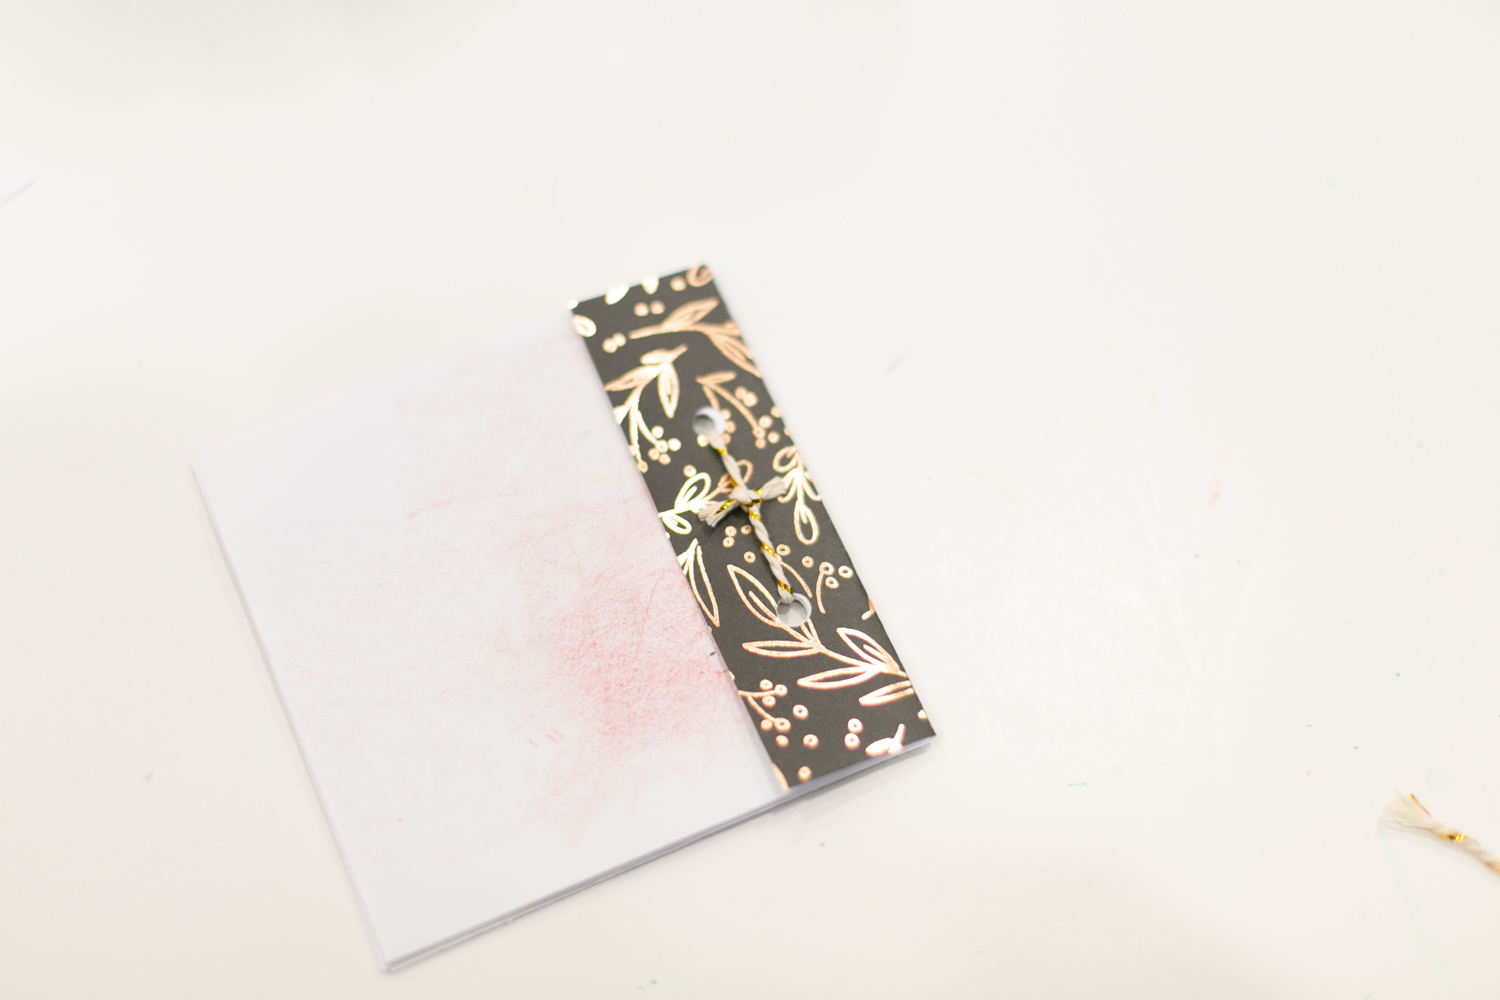
Step 3: Now cut a piece of your scrapbook paper to use for the binding. Make it two inches wide by however tall your paper squares are. Set this aside for later.
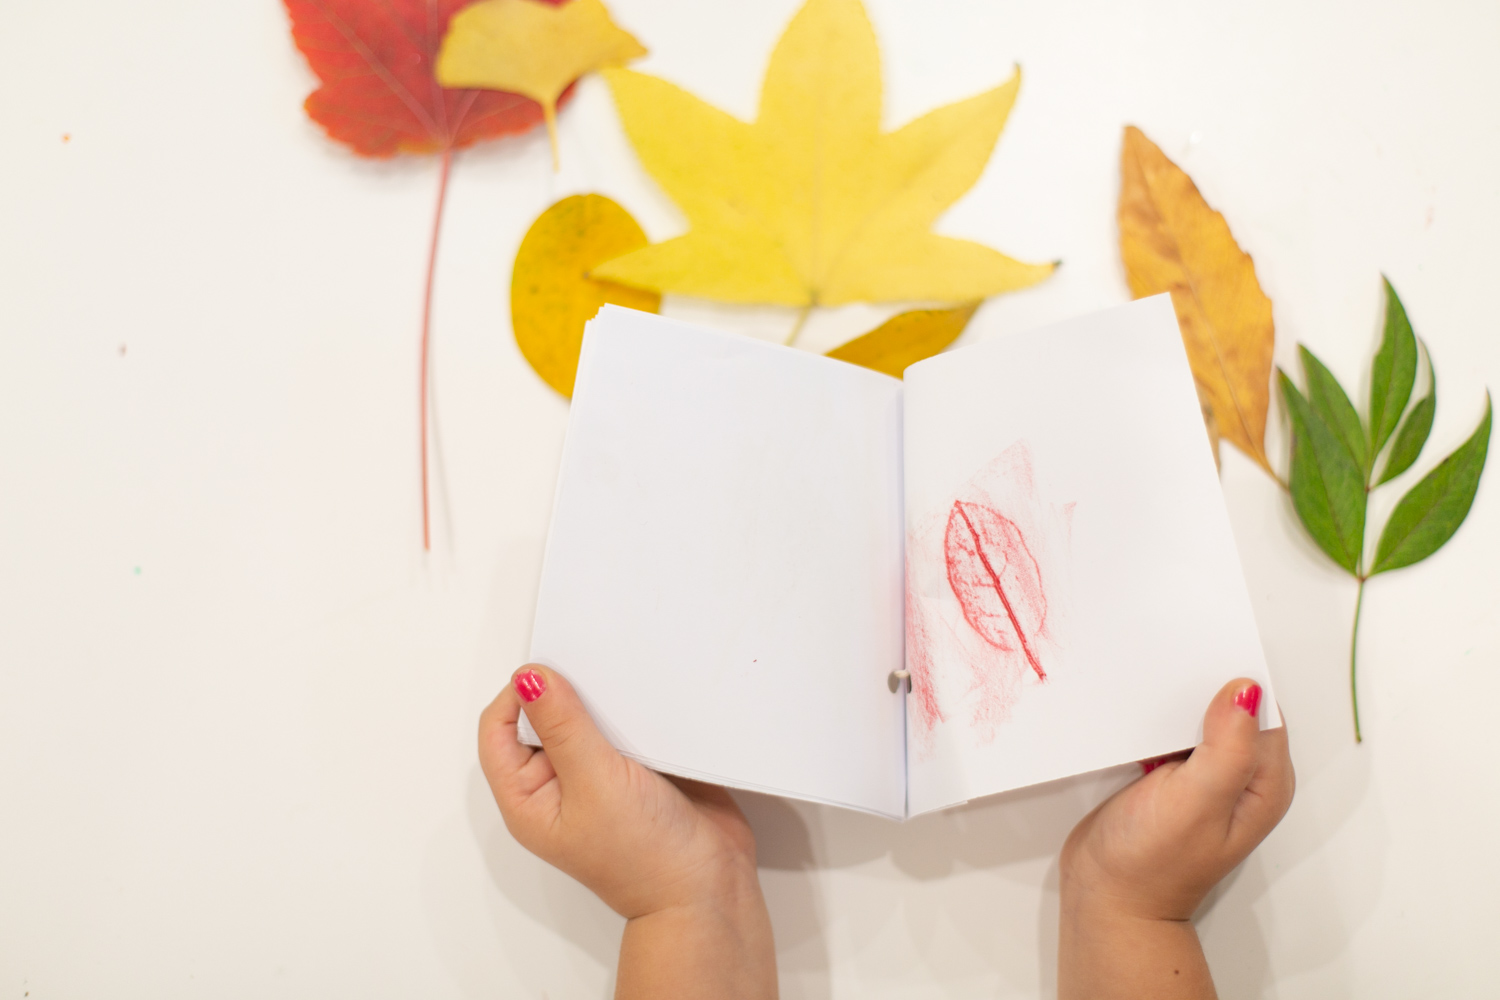
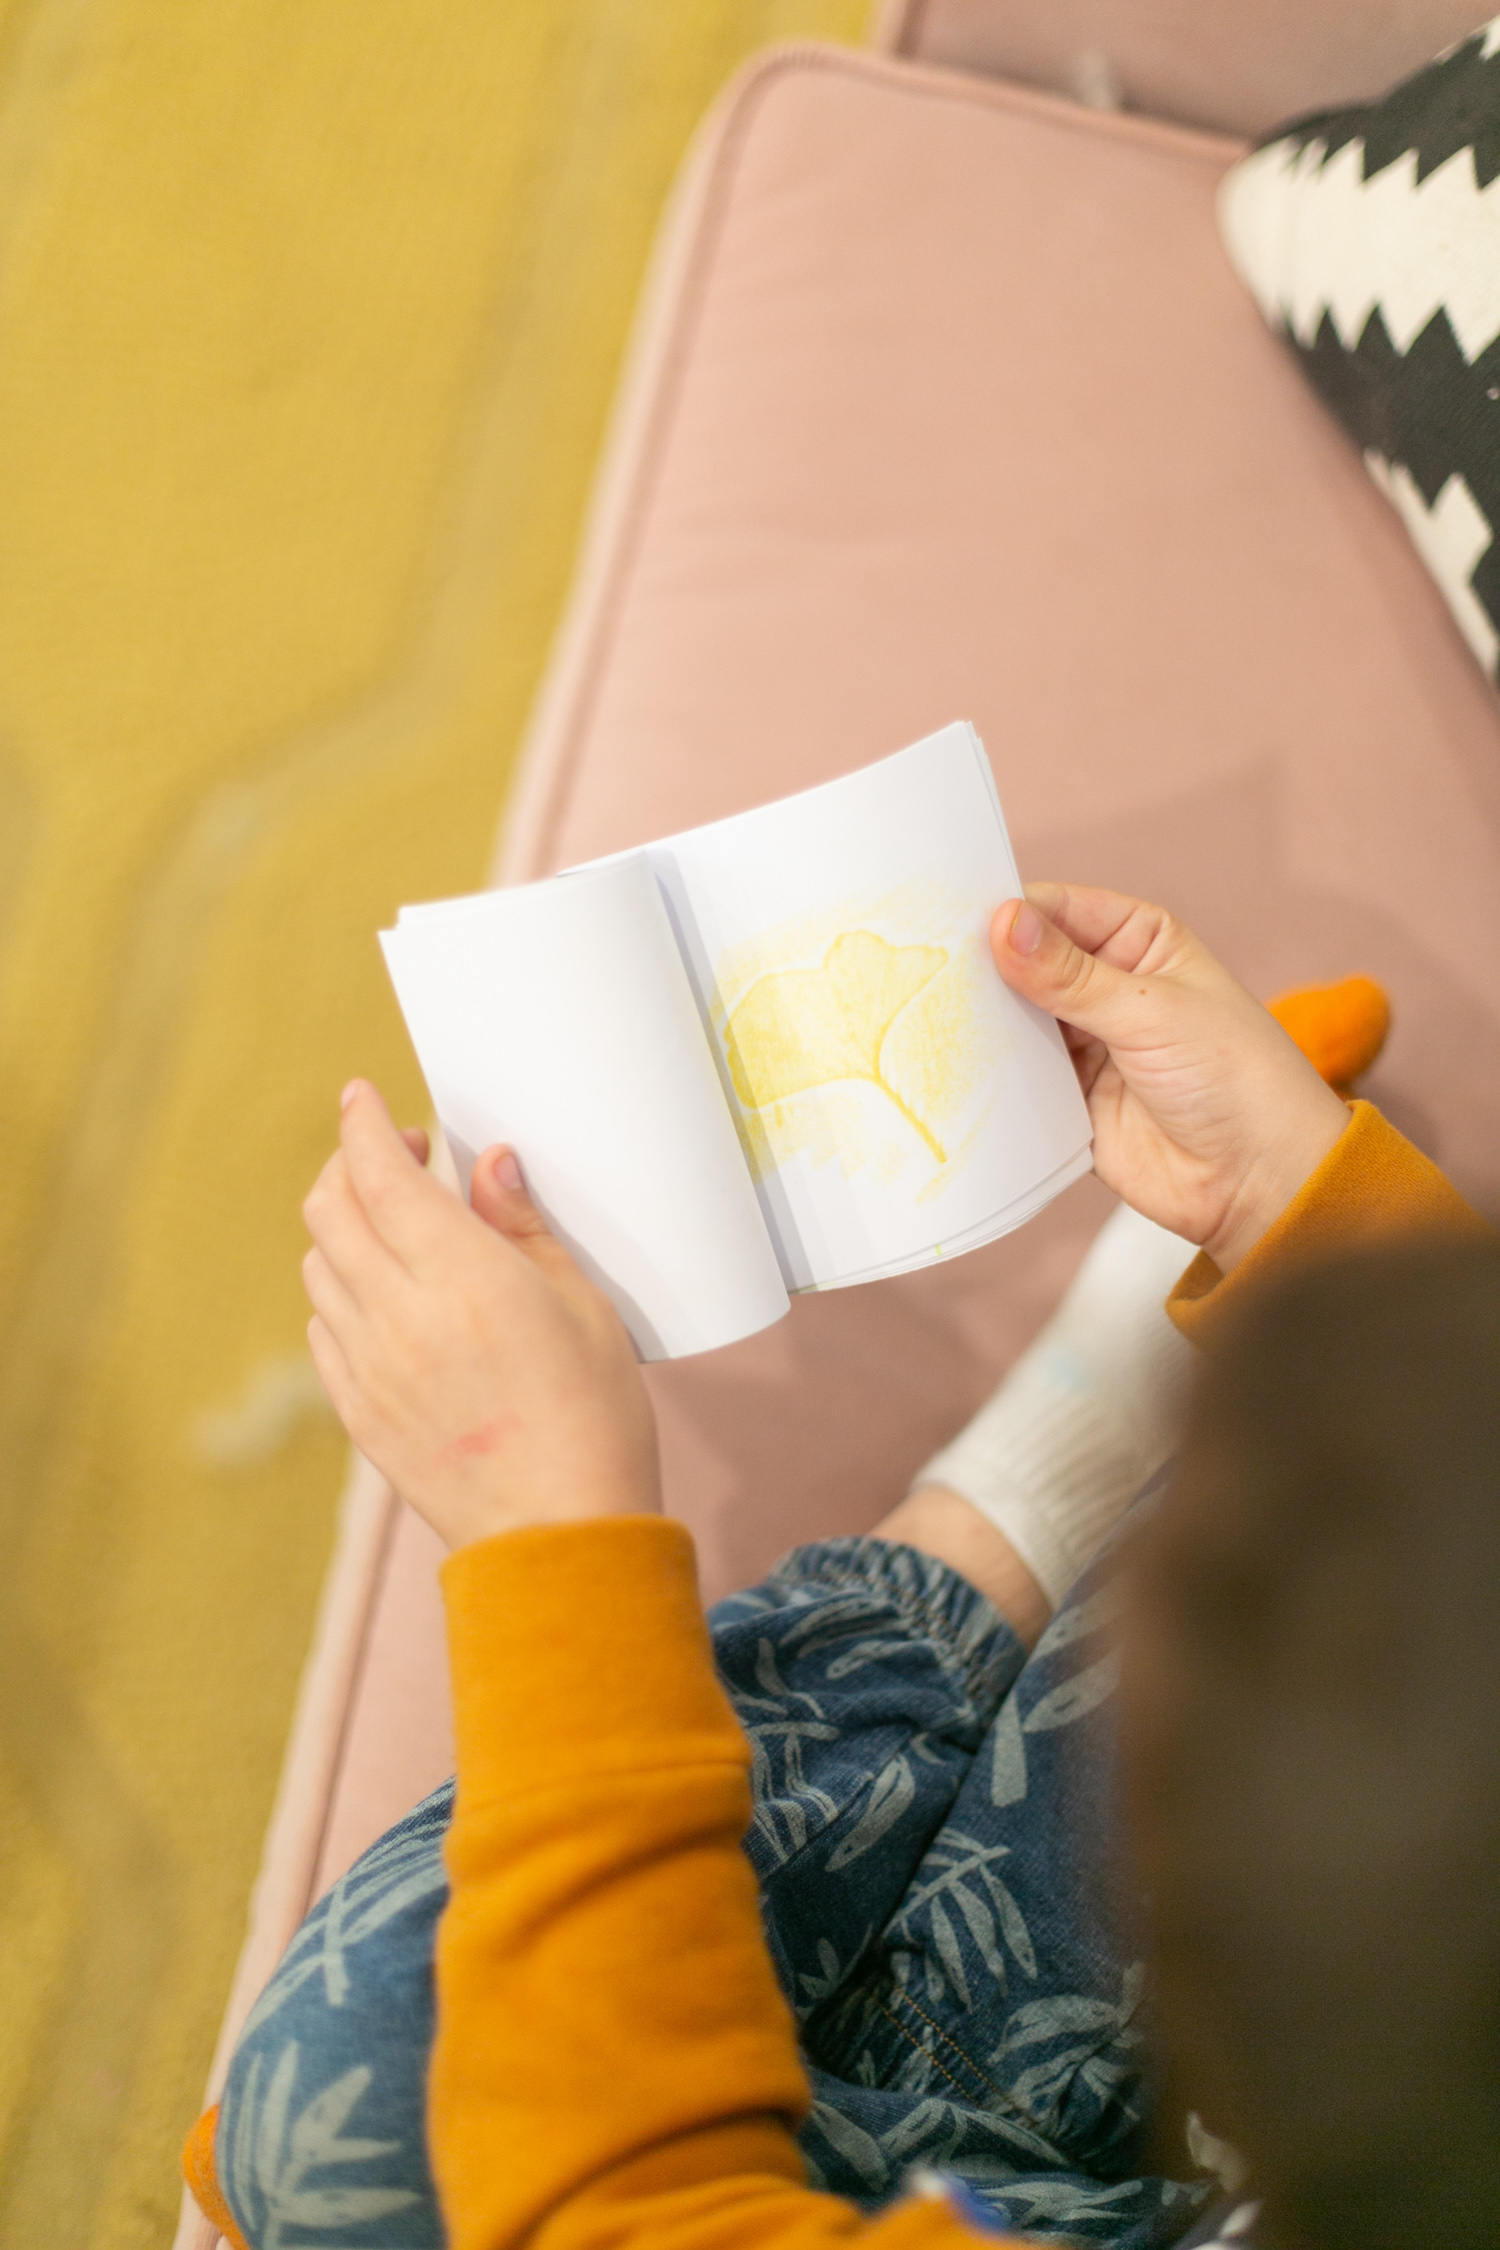
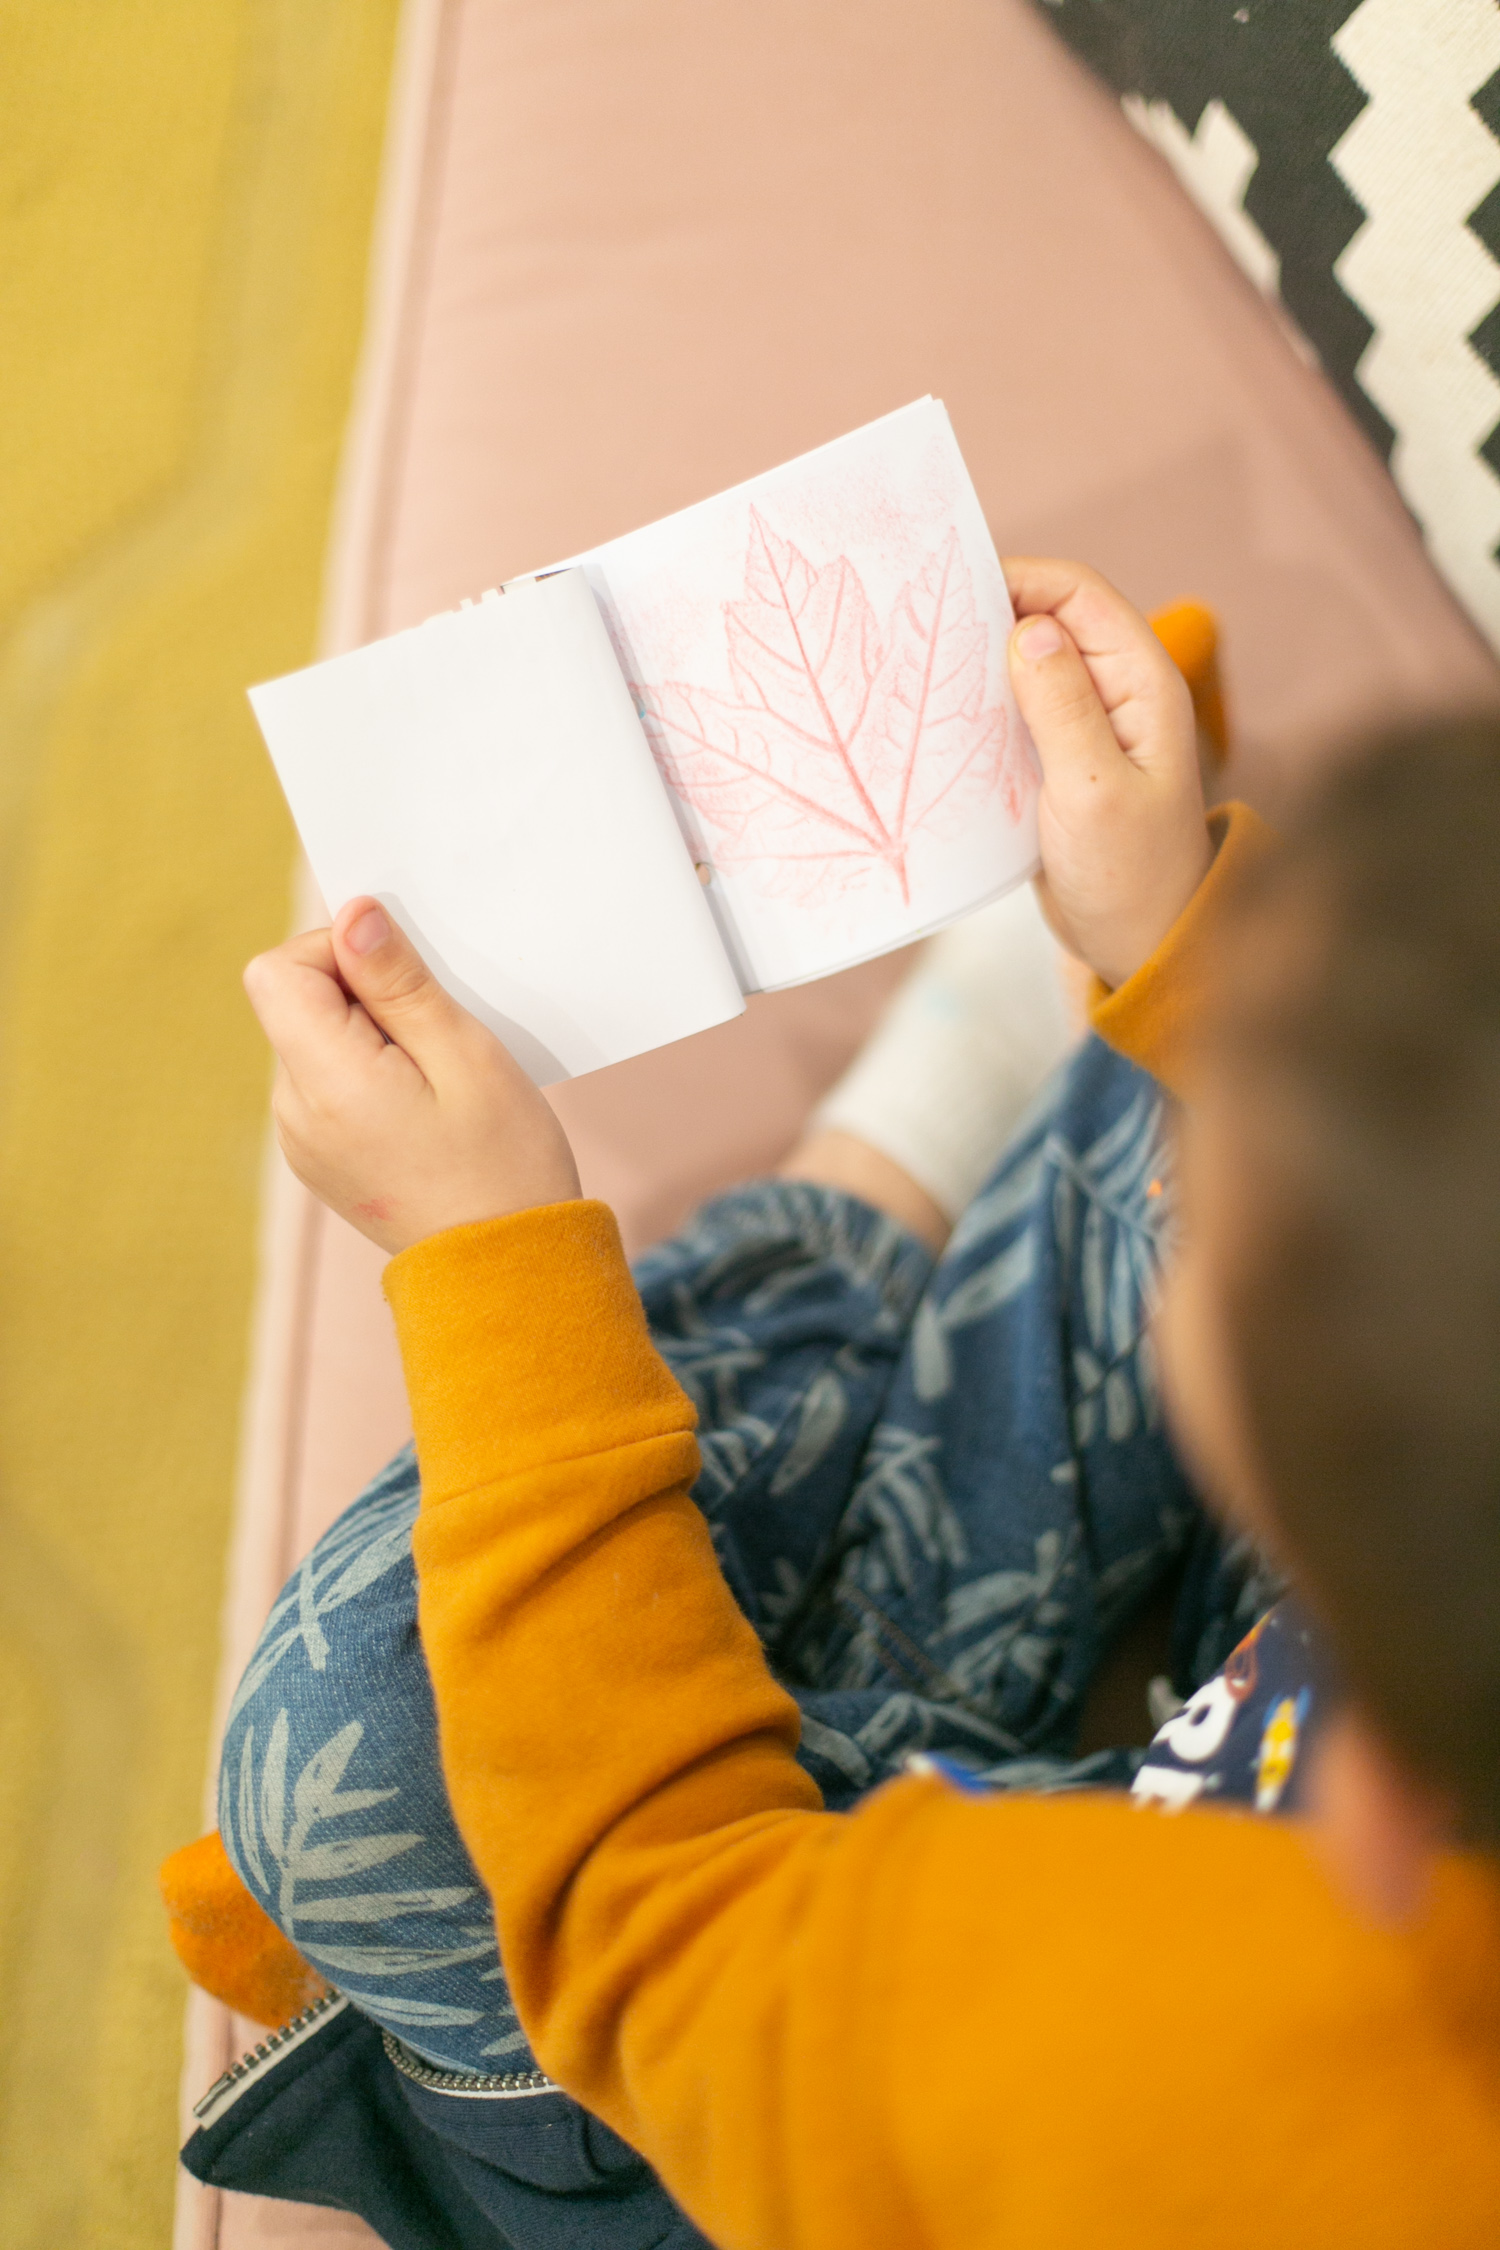
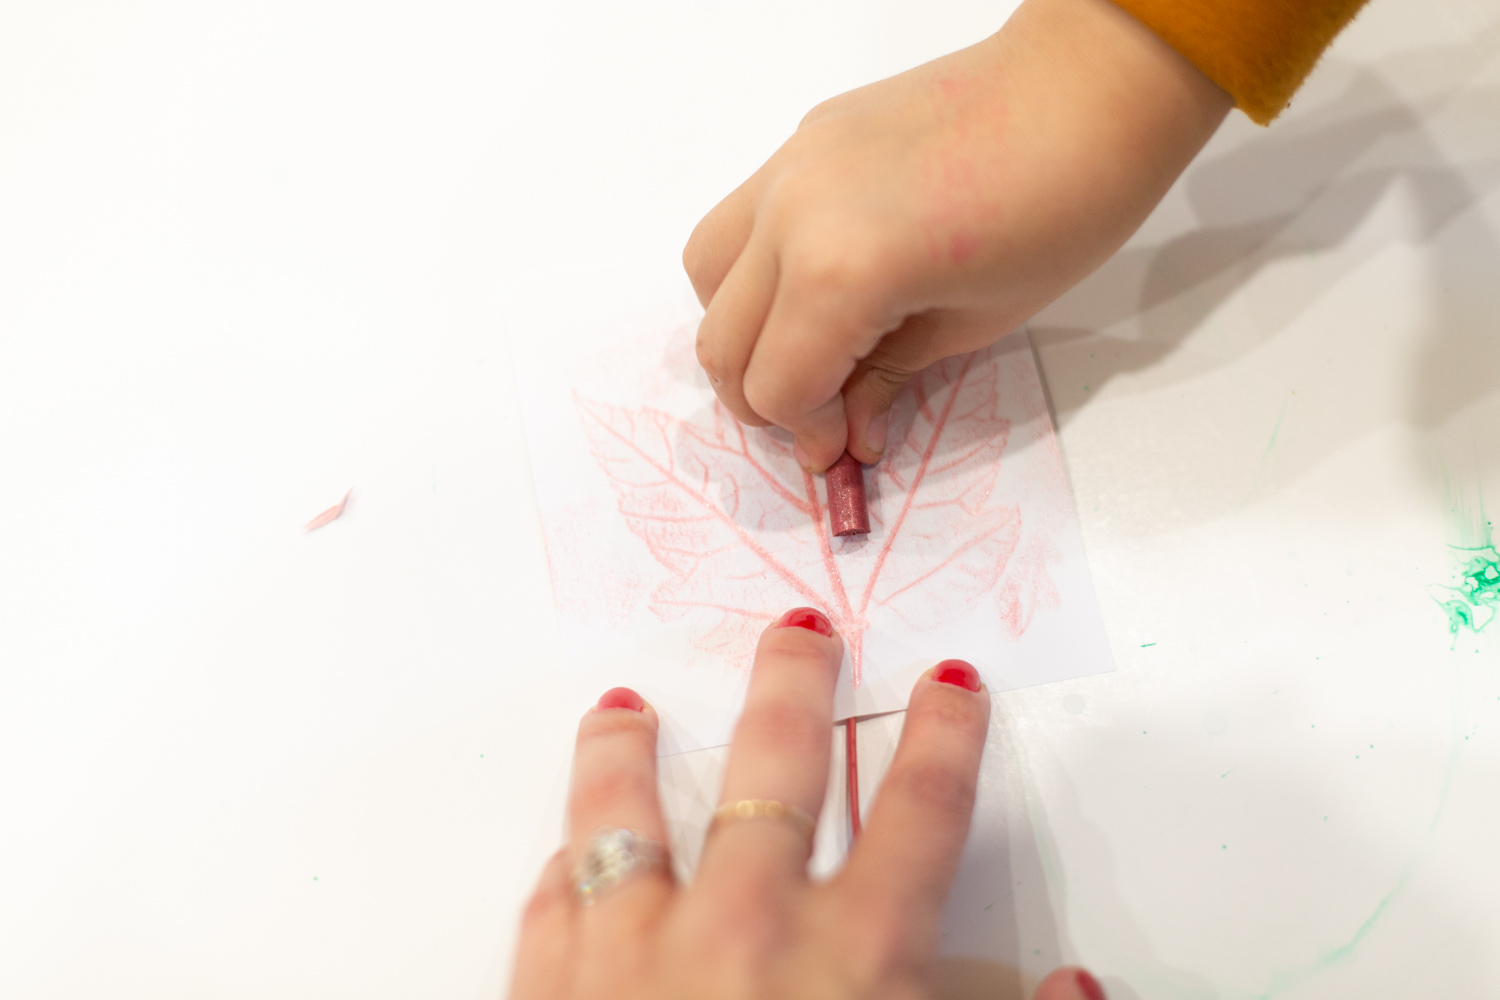
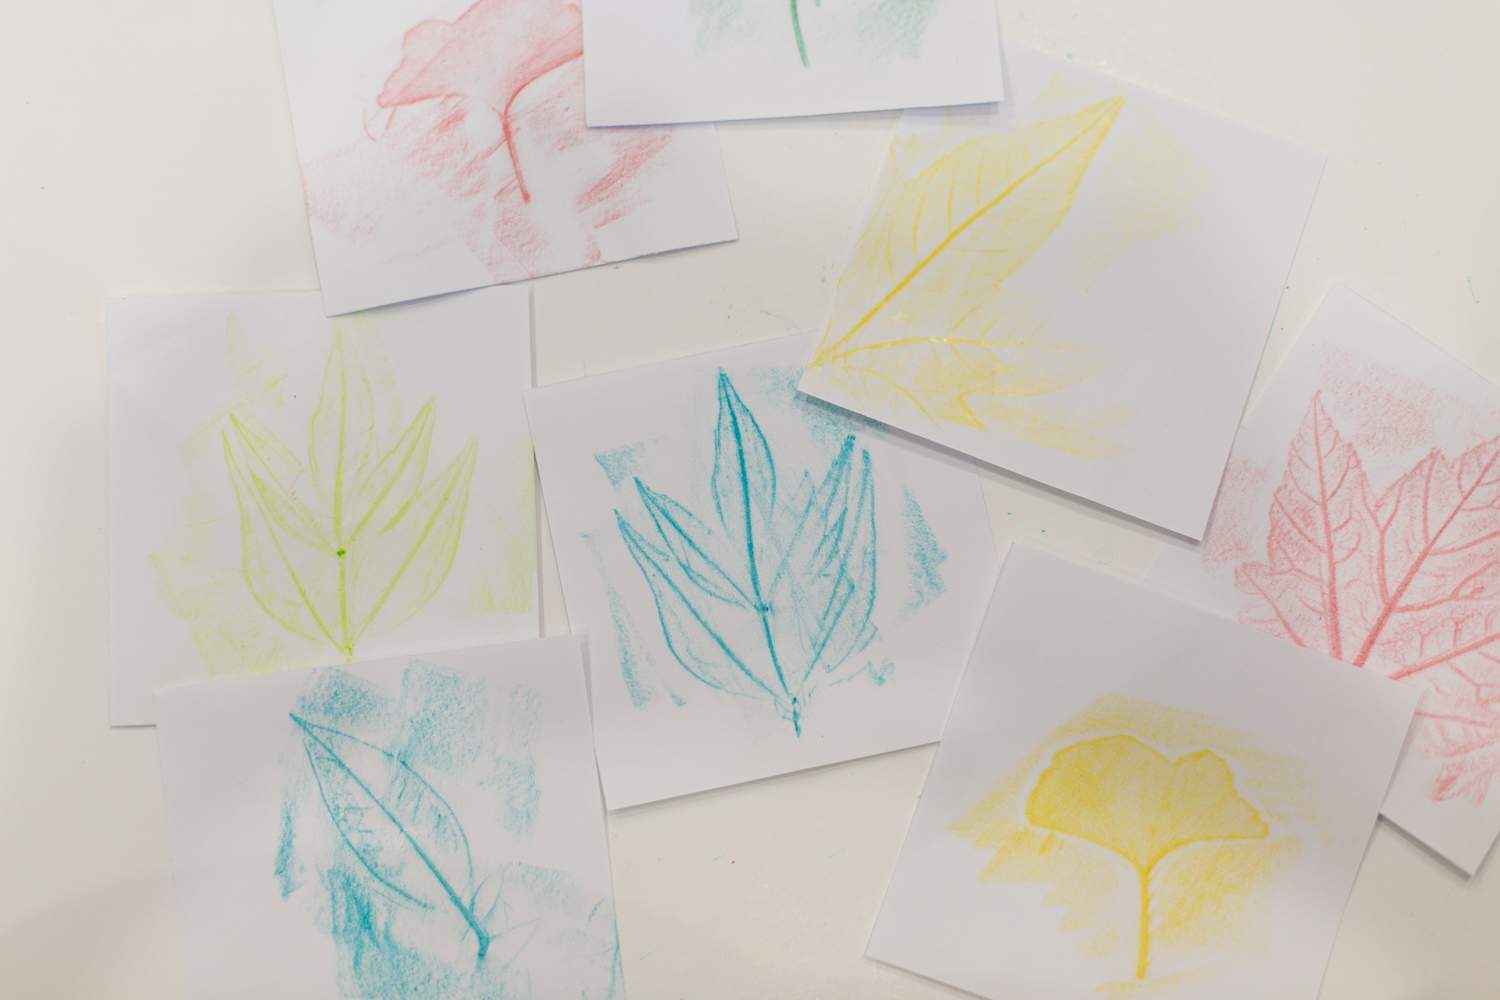
Step 4: Here’s the fun part! Teach your kiddos how to do leaf rubbings. To start, you’ll need to take the wrappers off of a few crayons. Then, place a leaf underneath a square of white paper. Holding the leaf and the paper in place with one hand, set your crayon down flat and rub it across the area where the leaf is. Apply a bit of pressure as you rub and you’ll start to see the leaf details appearing on your paper in crayon. Littler children may need help holding the paper and the leaf in place. Keep making leaf rubbings in different colors until you’ve done every leaf!
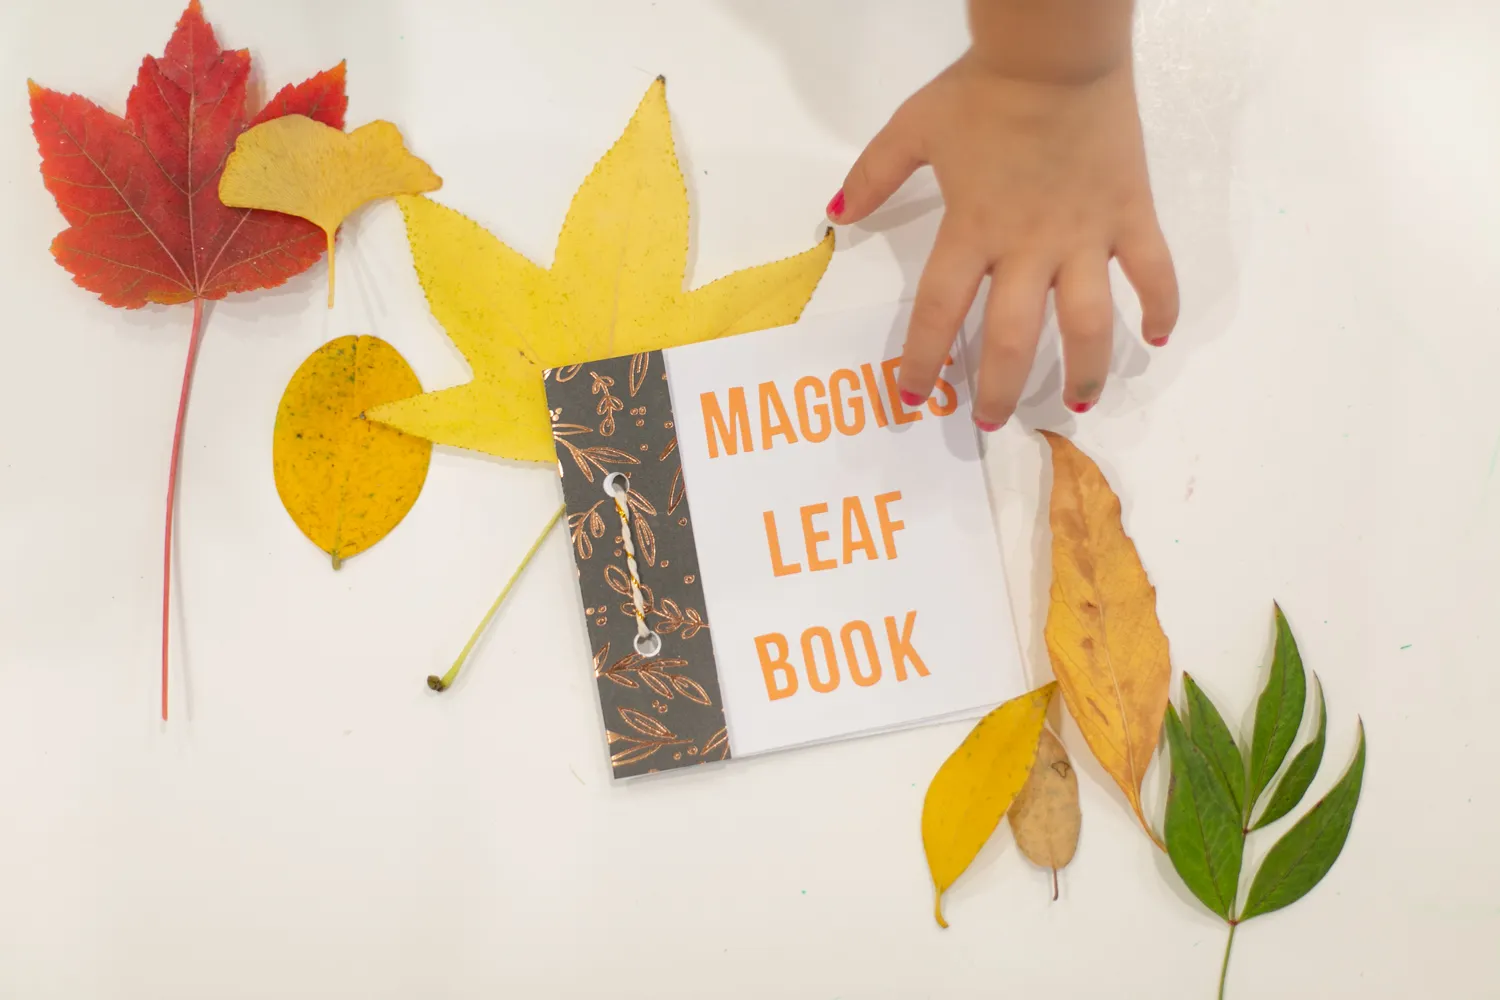
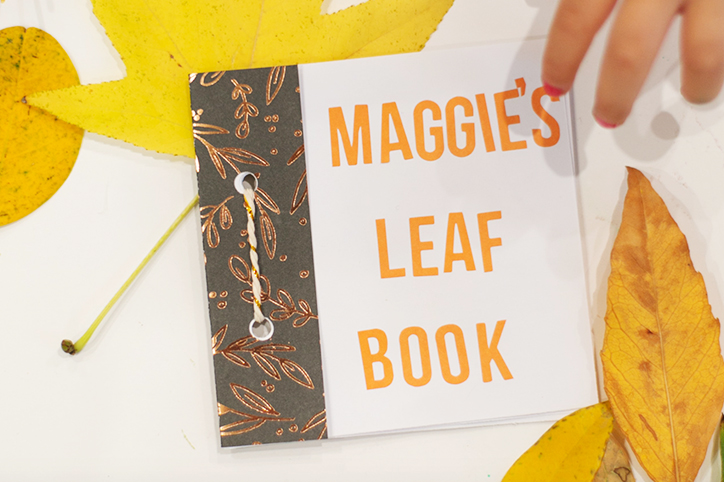
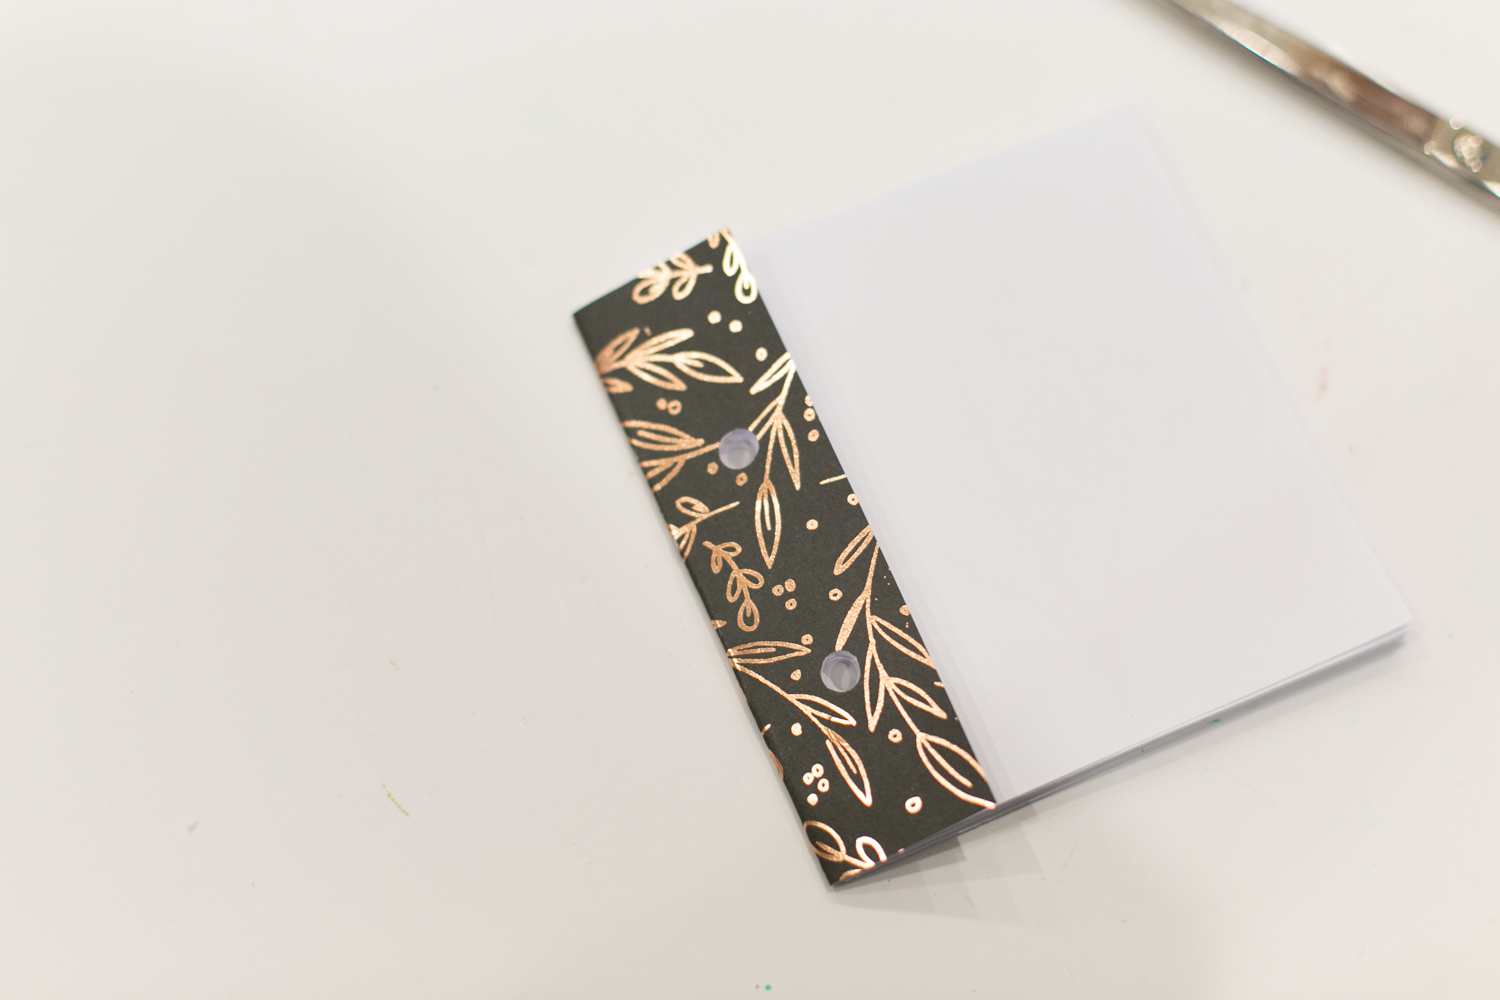
Step 5: Fold your scrapbook paper piece in half to create a book binding. You’ll punch two holes in it, toward the top and the bottom of the folded piece.
Step 6: Stack up your leaf rubbings and insert them into the binding. Punch holes in each of your leaf rubbing pages in the same places as the binding holes. You may need to punch just a few sheets at a time.
Step 7: Stack up all your sheets inside the binding, making sure the holes align. Cut a length of cotton twine and insert either end through the holes in the papers, going from the front to the back. Tie the twine in a double knot at the back. Now you have a book!
Step 8: If you’re using stickers, help your child add a title to the front of the book. Alternatively, you can help them write a title (or have them write it themselves!). Keep the book or give as a sweet handmade fall gift.