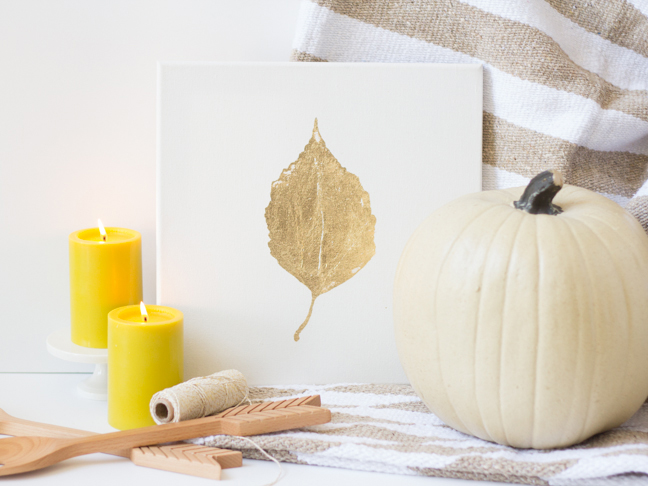
If you’ve seen some of my other projects around the web, you know I’m having a complete love affair with gold leaf. It’s just the coolest craft supply—it makes things shimmer, shine, and look downright fancy. So if you’d like to glam up your fall decor around the house, this golden leaf art is the perfect project for you! It’s fast and easy but looks like something that came from a boutique. Let’s get golden!
Supplies:
- 12″ x 12″ canvas
- gold leaf sheets
- gold leaf adhesive
- tiny paintbrush
- two larger paintbrushes
- pencil
Instructions:
Step 1: With a pencil, very lightly sketch a leaf shape in the center of your canvas.

Step 2: Use the tiny paintbrush to trace the leaf outline and fill the leaf with the gold leaf adhesive. Be careful to cover up your pencil marks with the adhesive so that the gold will adhere and hide them. Also, try to just brush on a very thin layer—don’t leave any pooling or puddles.

Step 3: Allow adhesive to dry a bit and become tacky (usually about ten minutes); follow the instructions on your adhesive for an exact time. After the adhesive has become tacky, lay down a sheet of gold leaf over the adhesive. Pat the gold leaf down gently with a clean, dry paintbrush. Be sure that you smooth it down over all of the areas with adhesive.

Step 4: Allow the gold leaf to adhere and cure for a few minutes. Using another clean, dry paintbrush, begin to buff away the excess gold leaf from around the leaf design. Continue buffing and clearing away debris until you can clearly see your leaf. If any spots need touch-ups, repeat steps 2 and 3 until you are happy with the results.


Step 5: Set out your gold leaf art and welcome fall!


More Fall Leaf DIY Projects:


