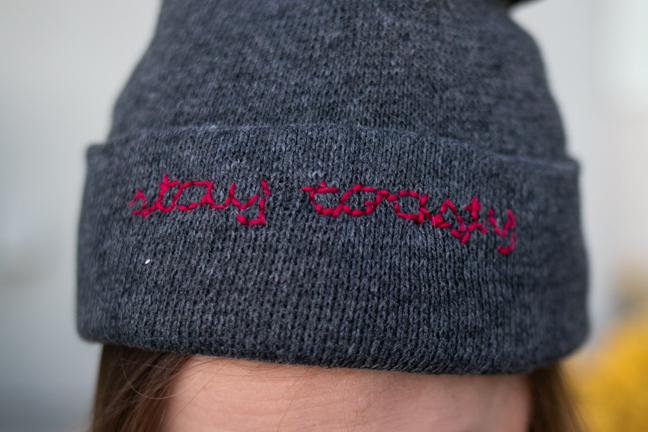
The weather is getting colder and colder! Warm up your family and friends with a cute DIY beanie using an embroidery technique that allows you to customize anything with ease. Add text to your clothing or a woven beanie using freezer paper to trace a design! This easy embroidered beanie will make a great gift for family or friends this season.
First, make sure you have the right type of beanie. Because of the embroidery, the material of the beanie must be tightly woven together to hold the stitches. When you remove the freezer paper after stitching your design, it’s VERY easy to distort the design on a woven fabric (unlike a t-shirt). To make sure you can still maintain your stitches once you remove the paper, choose the tightest weave you can find.
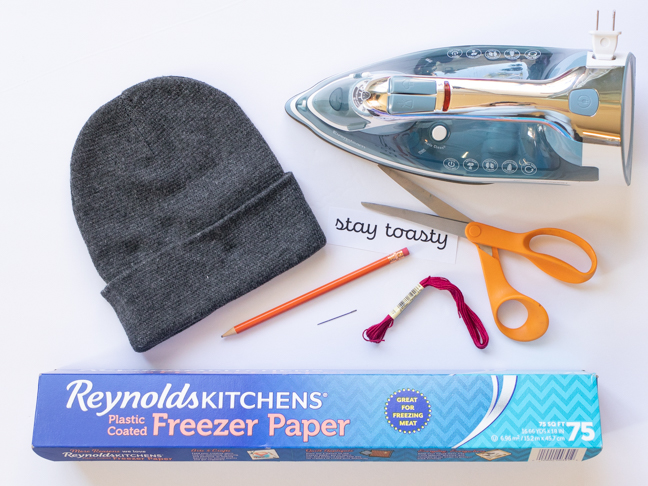
Supplies:
- Beanie (must be tightly woven material, not chunky)
- Freezer paper
- Printout of text
- Scissors
- Pencil
- Embroidery thread
- Embroidery needle
- Iron
Step 1: Consider the size of the area you want to embroider. Print out your text or pattern with this size in mind.
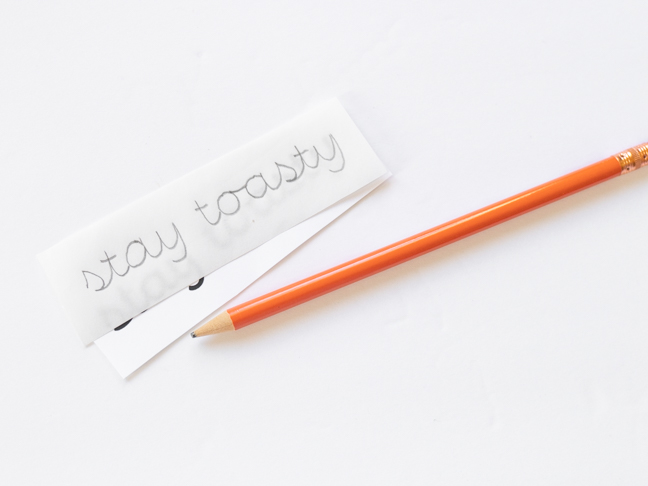
Step 2: Tear off a piece of freezer paper. Place it over the printout and trace the letters with a pencil. Then cut the freezer paper so that there’s only a little space around the lettering.
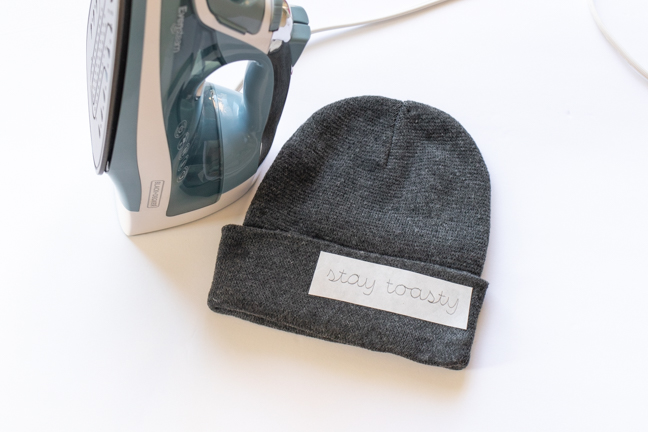
Step 3: Heat up the iron with no steam. Iron the freezer paper shiny-side-down where you want to embroider the beanie.
Note, if your beanie is the type that folds and unfolds, make sure you’re embroidering the side the faces outward when the person is wearing it.
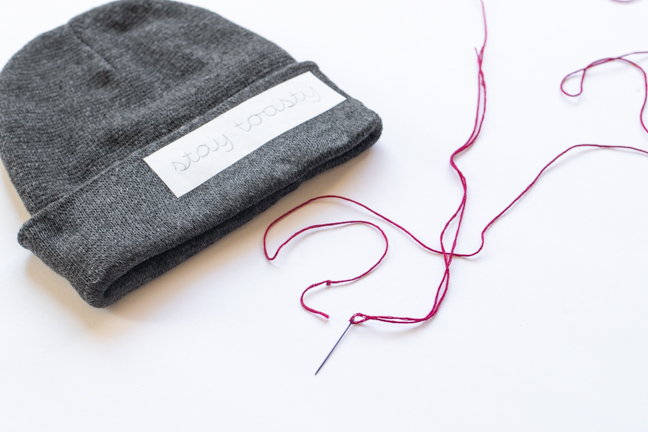
Step 4: Thread your needle with a very long piece of embroidery thread. Knot the other end several times to create a thick knot.
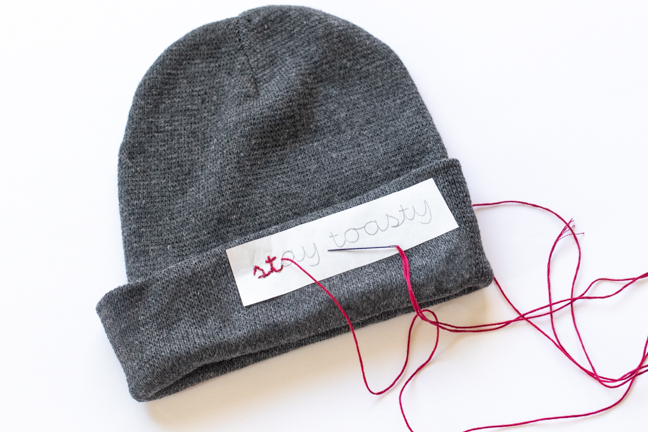
Step 5: Poke through the fabric and freezer paper from the underside of the beanie. Pull the string through until the knot catches. Following your outlines, begin stitching with the backstitch technique.
How to Backstitch: To backstitch, poke through your fabric from the bottom a space ahead of where you want your line to be. Then poke the needle back down into fabric to cover the space. Poke back upward a space ahead of the line and backstitch again. This stitch ensures you do not have any gaps, and it helps create clean outlines.
Step 6: Follow your pattern until complete or until you need to replace the thread. When complete, you needle should be on the underside of the beanie. Loop the thread through your nearest stitch and pull the needle through the loop. Repeat to create a knot and trim loose thread.
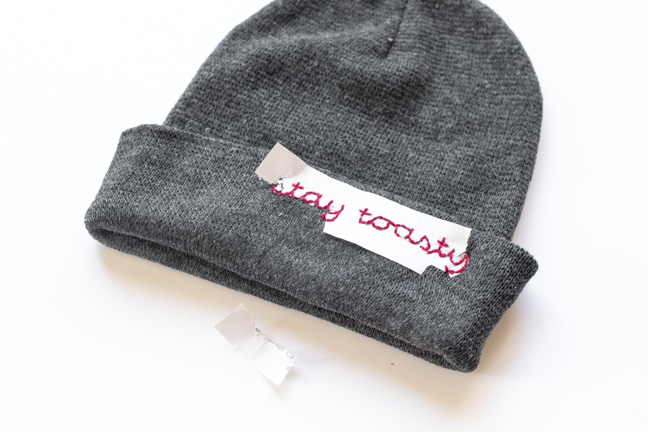
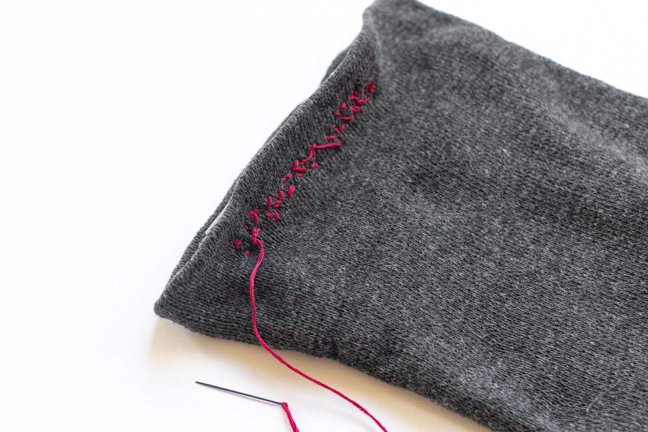
Step 7: Your embroidery is complete! Now, very carefully tear away the paper. As you pull it away, the fabric will stretch, which may distort your design. To avoid this, simply work in pieces and slowly.
If any letters become distorted, you can fill them in with additional stitches. Your new embroidered beanie is ready to wear or gift! For best results, hand wash and air dry only. Otherwise, your beanie should last through several seasons of cold weather!