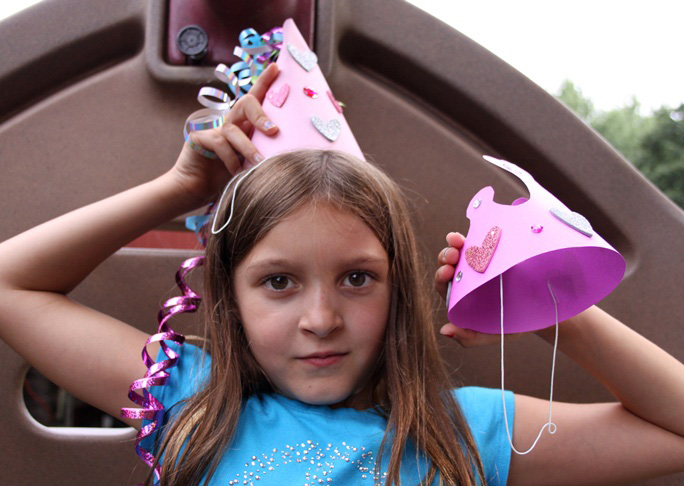
Are you planning a princess party, or just planning a fun afternoon craft idea for your little princess? Let’s face it—what little girl doesn’t want to be a princess at some point in her life? Why not let them decorate their own birthday party crowns or hats? Just print out the hat and/or crown template and cut it out of card stock, and let your kids use their favorite stickers, bling, gems, or even glitter to decorate.
Supplies:
- 8 1/2″ x 11″ pieces of card stock in your favorite colors like pink, white, or blue, 1 per hat or crown
- print out of princess crown template (download and print out the PDF here)
- print out of princess hat template (download and print out the PDF here)
- stick on gemstones
- stickers
- glitter
- curling ribbon
- tape
- 8–10 inch pieces of elastic thread, 2 per hat or crown
Instructions:
Step 1: To make the princess crown: Print out the princess crown template onto the card stock in your choice of colors. You can also print out the template onto a plain piece of paper, then cut it out and trace it onto the card stock.
Step 2: Cut out the princess crown.


Step 5: Tape one end of the elastic thread on the inside of one side of the crown. Put a piece of tape over the other end on the other side to form a chin strap to hold the princess crown on your child’s head.


Step 8: Cut out the princess hat with a pair of scissors.


Step 10: Have an adult carefully use a pair of scissors and run the blade along the ribbon to curl it. You may also be able to purchase ribbon that is already curled in the gift wrapping section of your local store.


Step 12: Use scissors to cut out the line along the edge to make a slit. Put the flap through the slit to form the hat, and then add a piece of tape along the seam to hold it all in place.

Step 13: Tape one end of the elastic thread to the inside of one side of the hat. Tape the other end of the elastic to the other side to form a chin strap for your princess hat.

Step 15: Pair the princess hat or crown with a princess wand for dress up and role play fun.

More DIYs for Kids: