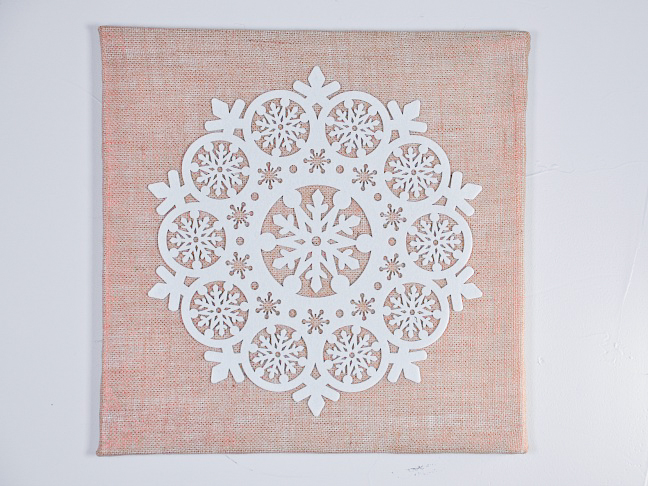
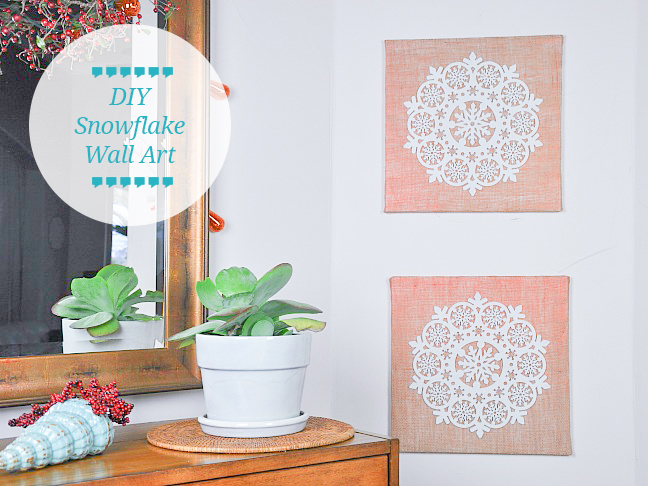
Changing out your artwork during the holidays has never been so easy…and inexpensive! Create these heirloom quality snowflake wall art canvases in an afternoon and cherish them for years to come.
Materials:
(for two canvases)
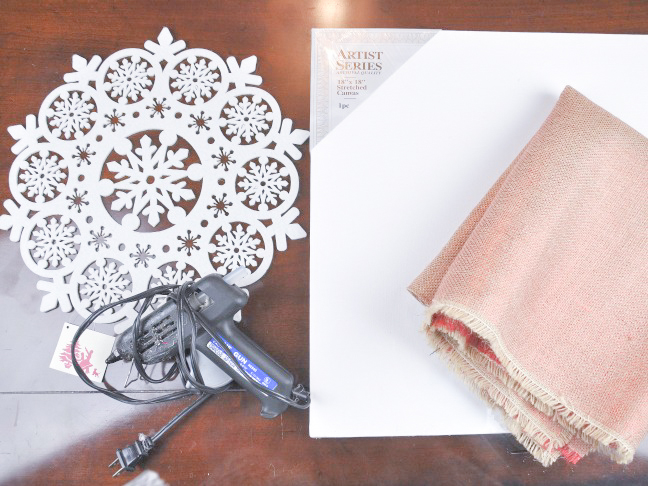
- 2 – 18″ square artist canvas
- 2 – laser-cut felt snowflake pieces (sold at dollar stores and Cost Plus or Pier 1 Imports)
- ⅝ yard burlap (I found mine with a glittery red thread running through)
- glue gun
Directions:
Step 1: Cut your burlap so that there will be a large overlap around the entire edge. Place the canvas face down onto the burlap’s wrong side
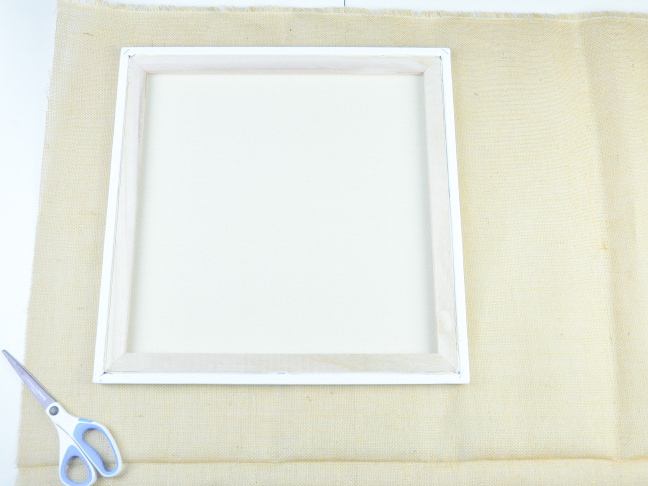
Step 2: On one edge, run a bead of hot glue along the bottom of the canvas
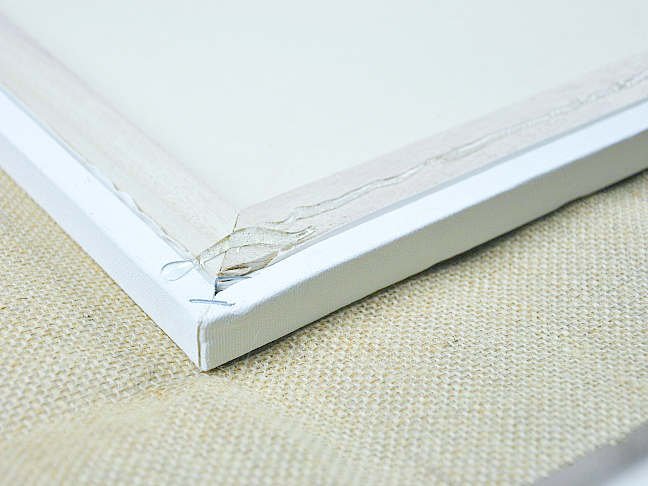
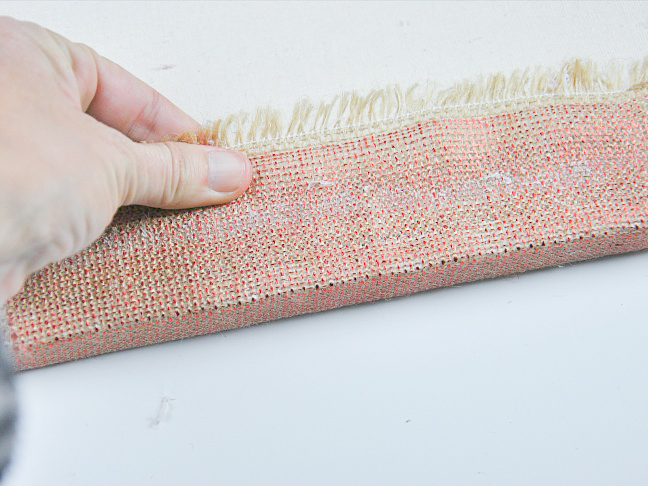
Step 3: Pull the burlap up over the glue on the canvas. (Be careful! Glue is HOT) Pull the material tight to the canvas, making sure as the glue dries, that it is straight. Glue the other side the same way.
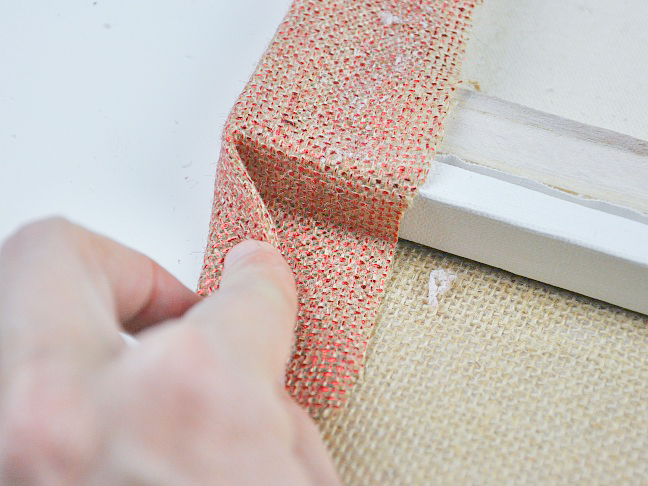
Step 4: To secure the other two sides, you will have to fold over the material a bit to get a clean edge. Glue the other two sides down
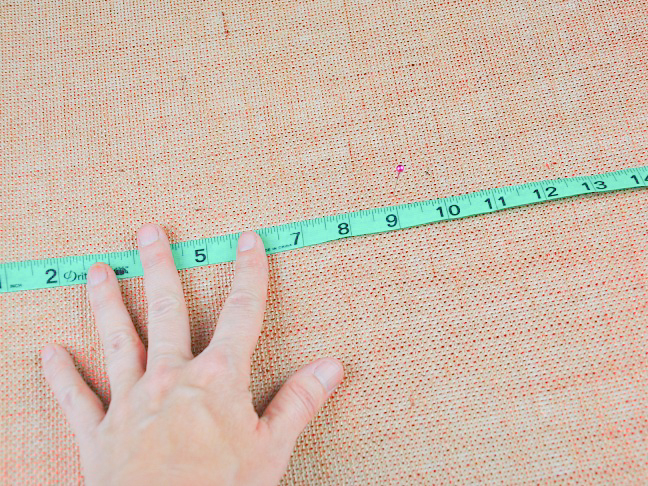
Step 5: Find the center of your canvas by measuring and using a pin to mark it
Step 6: Place the felt piece, centered on the canvas. Adjust and shift to get it just right, aligning the edges and making sure uniform
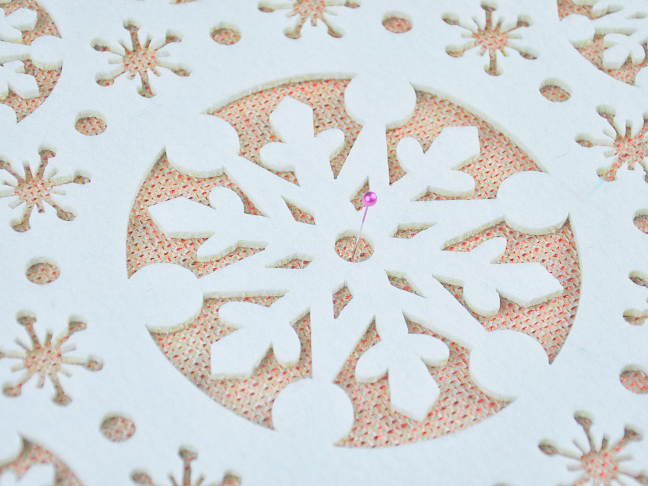
Step 7: Using the hot glue gun, glue the felt piece to the canvas in sporadic spots. It doesn’t take much glue to secure.
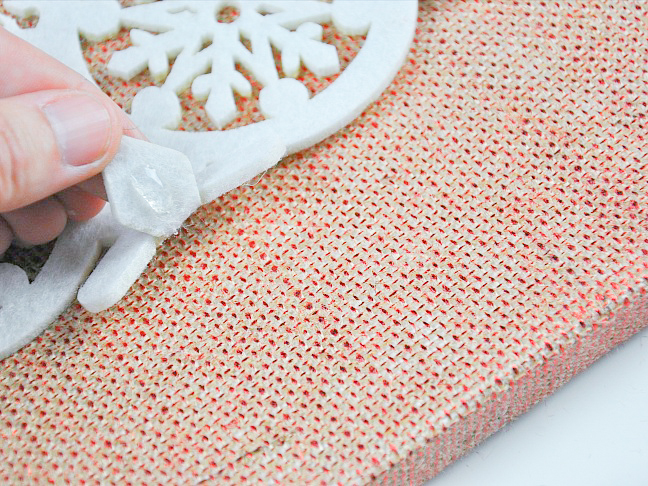
Hang and enjoy!
