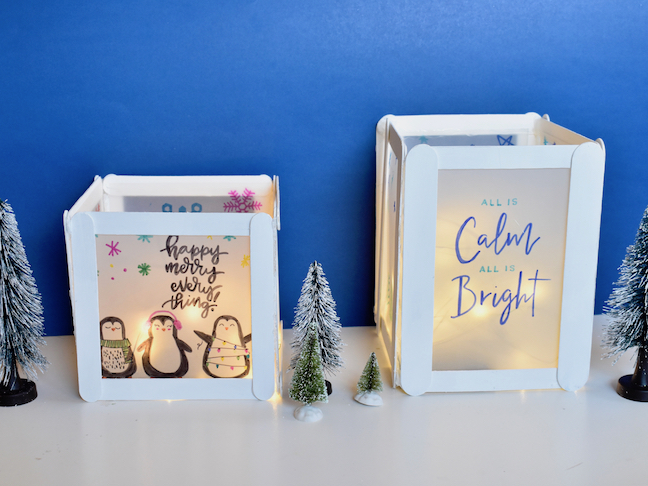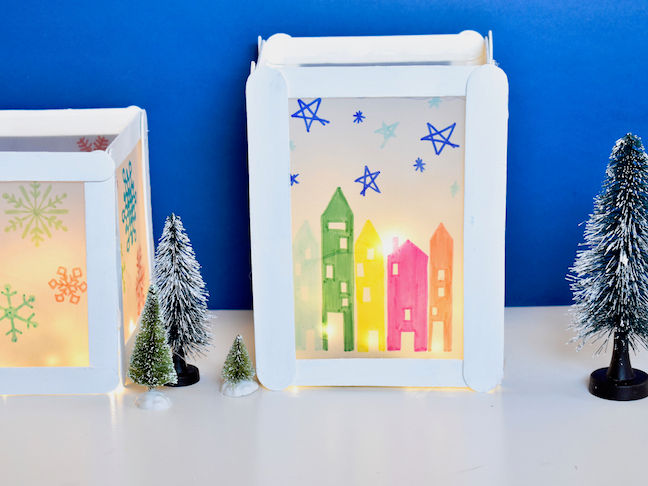
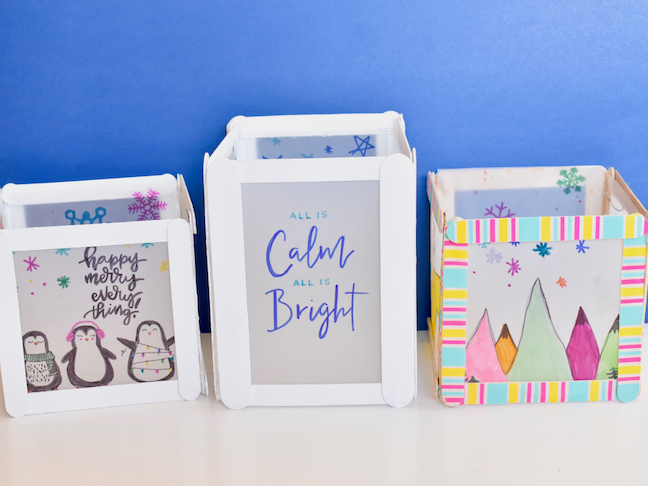
Popsicle sticks are a timeless crafting material, especially for kids. They are the source of endless baking and popsicle stick treats, craft endeavors and 3D creations. The simple, wooden sticks are certainly shining bright in my family’s latest project, a DIY popsicle stick lantern.
Kids and tweens will love this project, and can do most of it themselves. If you have a younger child, they can be the artist, and you can help assemble the lantern. For those looking for that awesome homemade gift this holiday season, you can’t go wrong with one-of-a-kind art on display (or twinkle lights, for that matter, if you ask me).
Let’s get started to you can get these lanterns lit.
DIY Popsicle Stick Lantern
Materials:
- Popsicle sticks (the thicker ones like this)
- Hot glue gun and hot glue
- Vellum paper
- Scissors
- Sharpie pens
Directions:

Step 1: Paint the popsicle sticks white, or whatever color you want. My daughter used washi tape on the popsicle sticks for an extra pop of color (and she didn’t feel like painting).
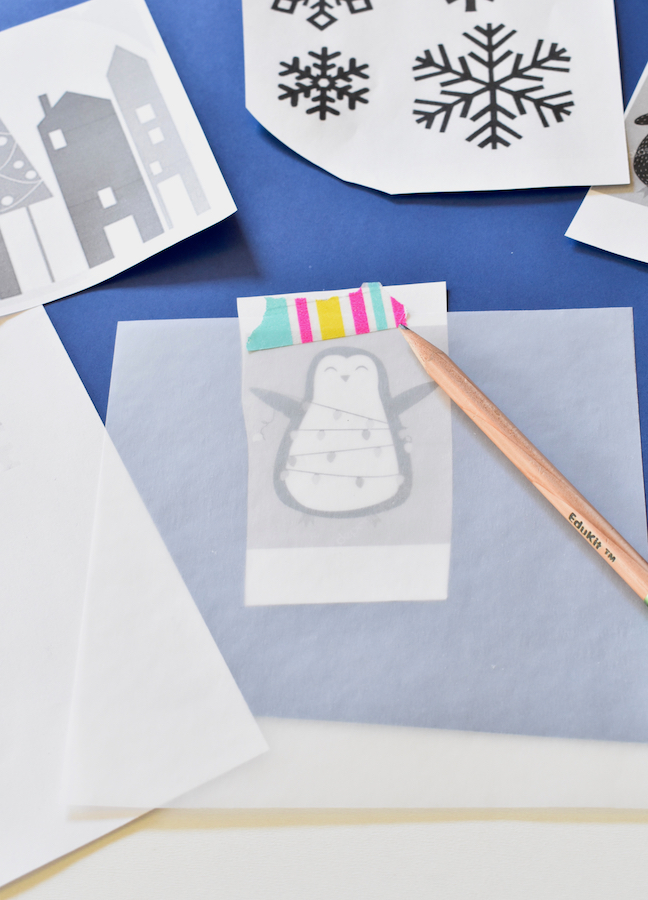
Step 2: Find photos or words you want to trace online or from a magazine, or make your own piece of artwork. Cut the vellum to the size you want to use, and then place the image under the vellum. Trace with a pencil.
Optional: If you want to use a real photo (think about grandparents who love photos on holidays), you can print photos with a printer on vellum paper.
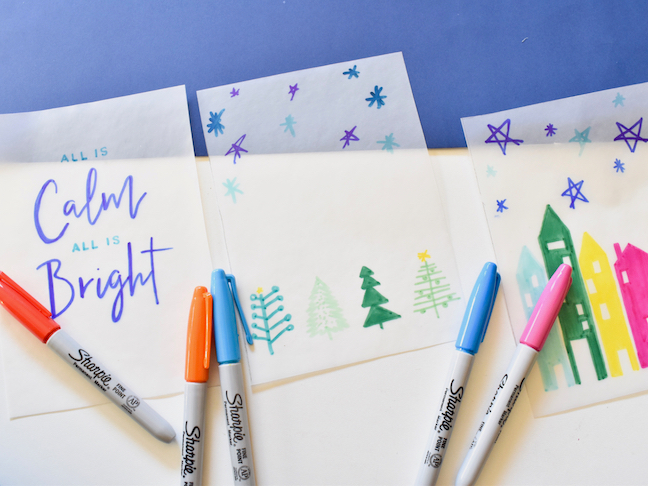
Step 3: Once the photos are traced or drawn, color them in with a Sharpie. If you don’t have Sharpies, marker will work fine.
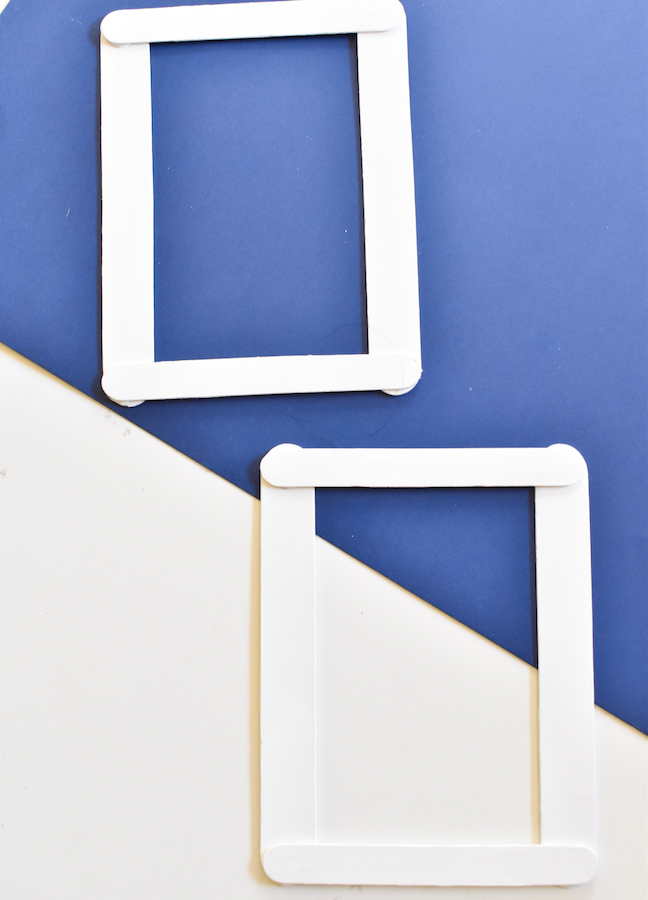
Step 4: Glue the sticks together with hot glue. To do this, set two sticks down parallel to each other. Next, dab the glue on the ends of another stick, and glue it on top of the parallel sticks. Repeat on the bottom. You should end up with a square, or a rectangle.
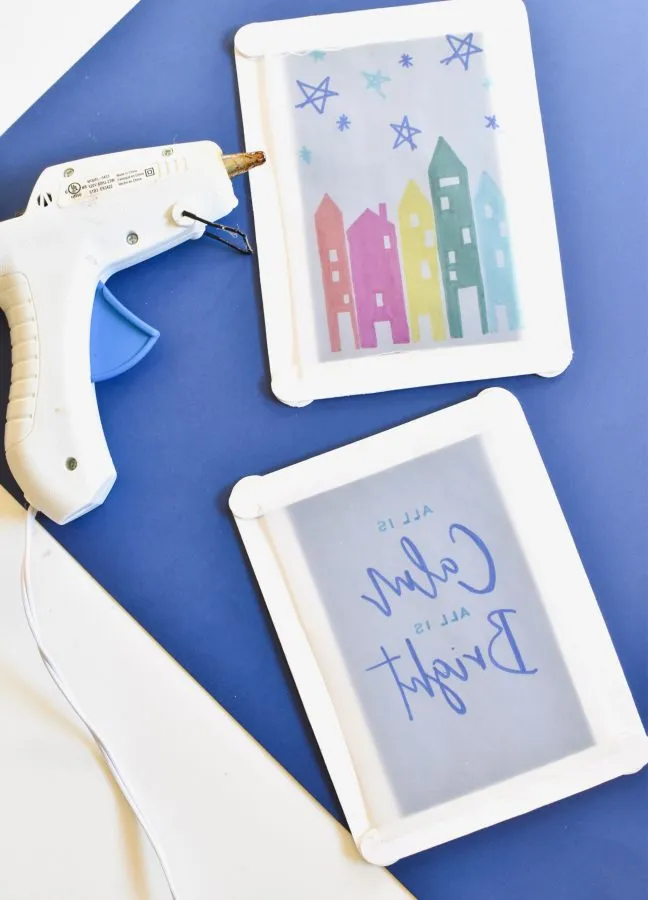
Step 5: Add hot glue along inner part of the bottom and top sticks. Quickly press the vellum art on the glue so it stays in place.
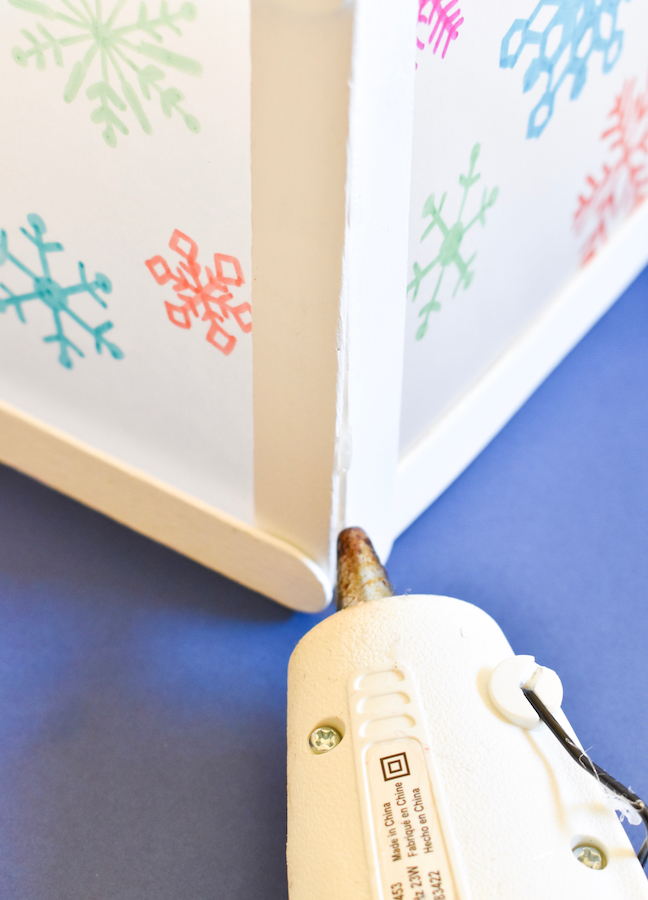
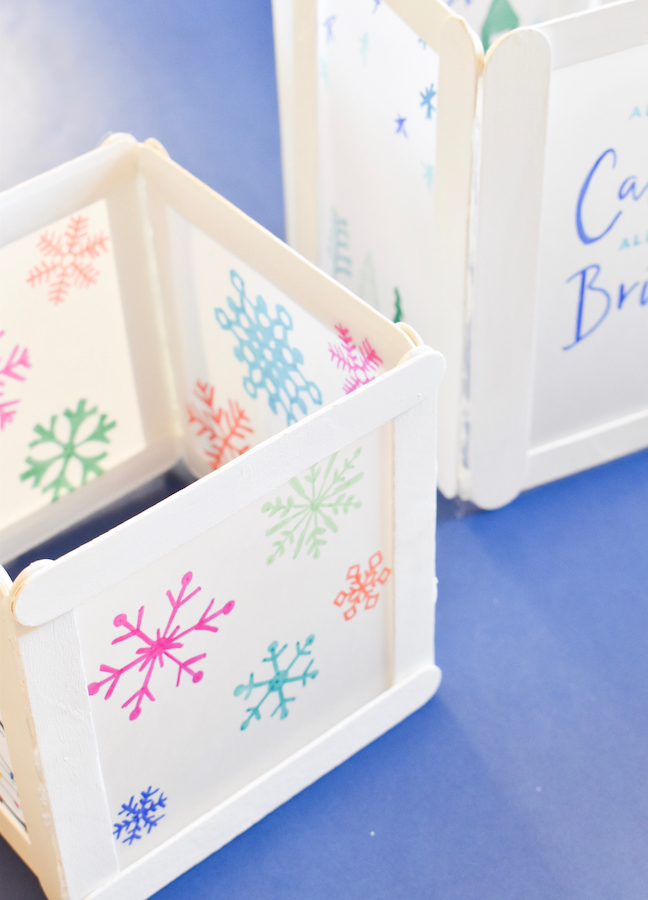
Step 6: Now, glue the sides together. Begin with two sides to form an L. Add glue along the length, and add it to the other piece. Now, glue it side by side until a square forms. If it doesn’t feel secure, add a “seam” of glue on the inside on each corner seam.
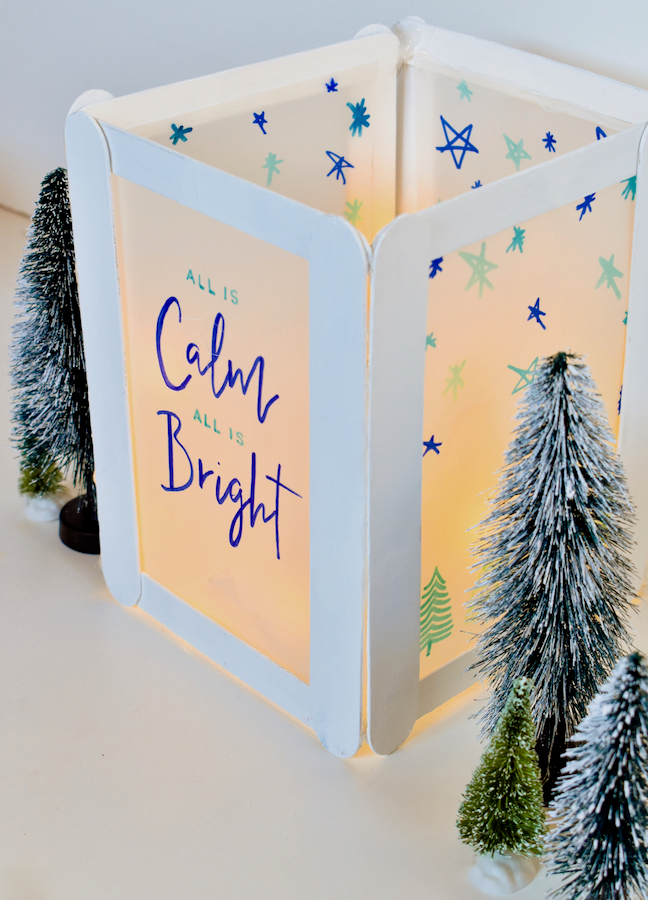
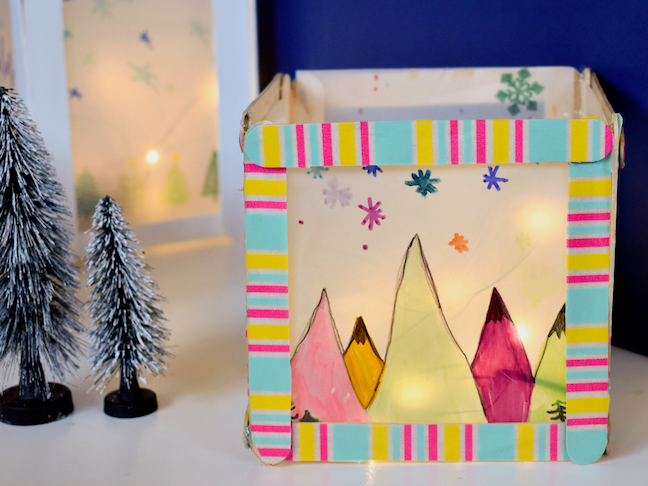
Step 7: Add battery operated tea lights or twinkle lights, and let it shine bright all season long.