Use an array of one color or use several different colors to match your décor. The sky is the limit!
Materials

- 1 -12×12 shadowbox frame
- 6 -9” zippers
- Scrap fabric (at least 14”x14”)
- Glue Gun
- 2 rulers

1. Begin by taking the back board off of the shadowbox

2. Lay the 14×14 piece of fabric face down and place the board centered on top, wrong sides together

3. Starting on one end, run a bead of glue along one entire side and press fabric over to secure, keeping fabric straight and taut


4. On the edge, fold over to create a corner, then fold that side over in the same fashion


5. Find the exact center of your board and make a mark

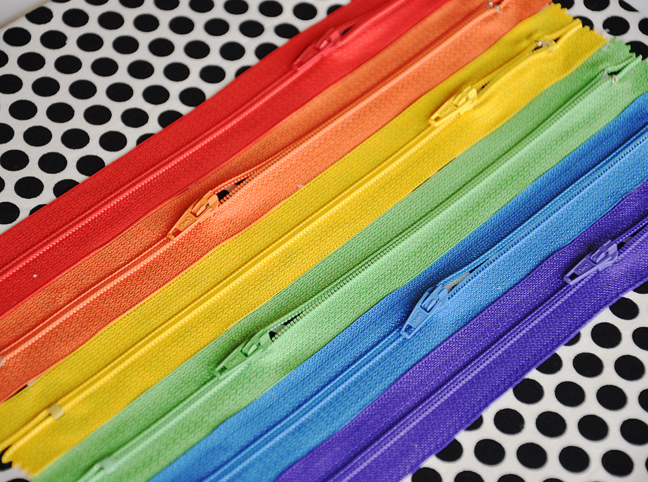
6. Find the zipper arrangement you like. I used the colors of the rainbow

7. Start with one of the middle zipper, keeping it straight, lift the bottom of the zipper and place hot glue on the end 2 inches. Carefully glue in place.

8. Lift the top of that same zipper and place hot glue along both sides, making sure not to get glue on the actual zipper. Leave the pieces past the zipper head unglued for now

9. Glue the remaining zippers down in the same manner. Here all the tops are unglued

10. Carefully glue all the tops down

11. After completely dried, unzip the zippers to your liking

12. Place the zipper board back into the shadowbox

13. Hang it with pride!