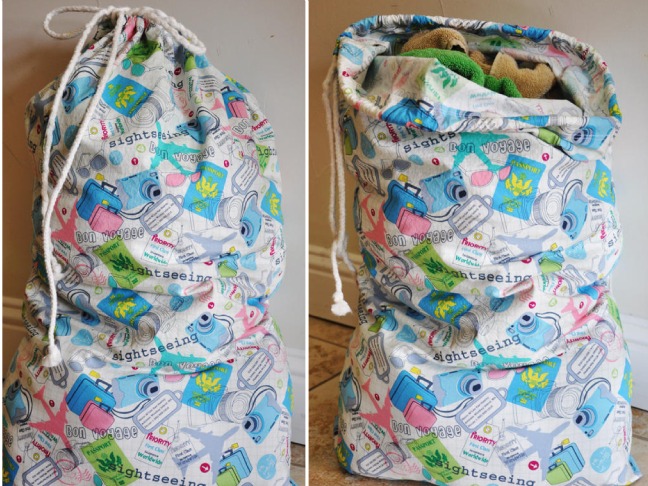


Raise your hand if you like doing laundry. Yeah…me too! But, what if you had a cute laundry bag to make it all better? All you need is one yard of super-cute fabric and you are on your way to making laundry days just a little more bearable. Let’s get to it!

Materials:
1 yard of 44-45” cotton fabric
2 yards of 3/8” cording (can be found in home dec trims)
Coordinating Thread
Sewing Machine

Start by turning your fabric right sides together. You are just flipping it inside out, so keep the selvedge edges together. You can trim the selvedge off at this point if needed.

Making sure your fabric print direction is accurate, make a mark about 2” down from the top. Use a pin to remind yourself to stop sewing here.

Begin sewing a ½” seam along the bottom narrow edge and down the entire long edge, creating a sack. Make sure to stop at the pin mark once you get there and backstitch.

At the bottom of the sack, make a mark 4” from each corner. Mark up 4” and over 4”. Draw a diagonal line to join the two marks. This will create your bottom. Sew right along your diagonal mark. Trim of excess leaving a ½”.

At the top where you left the 2” free, just fold the edge over and sew it down with a ¼” seam to create a finished edge. Repeat on other side.


At the top, fold over and press down 1”. Now fold over again 1” and press. You have now created a casing for the cording to go thru.


Sew right along the edge of the folded casing making sure to backstitch at the opening. Stitch another line about 1/8” above the first one to reinforce.


Take the end of your cord and attach a safety pin to it. Push it through one side of the casing until it comes out the other end. Adjust the cording as needed. Tie a small knot at the end of each cord and you’re all done!


Happy Laundering!