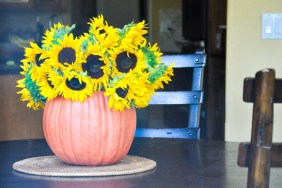

We don’t usually do a ton of seasonal decor around our house for Thanksgiving. Of course, I like to set a nice table and pull out my cloth napkins, but I don’t really deck out the yard with giant inflatable turkeys or friendly scarecrows. But, you know me—I’m crafty by nature, so we have to jazz up the place somehow. I might not go nuts with leaf garlands, but even I can find time and motivation to make the mantle a little festive. This year, I’m hanging onto our Halloween pumpkins and giving them a second life inside as typography pumpkin mantle decor.
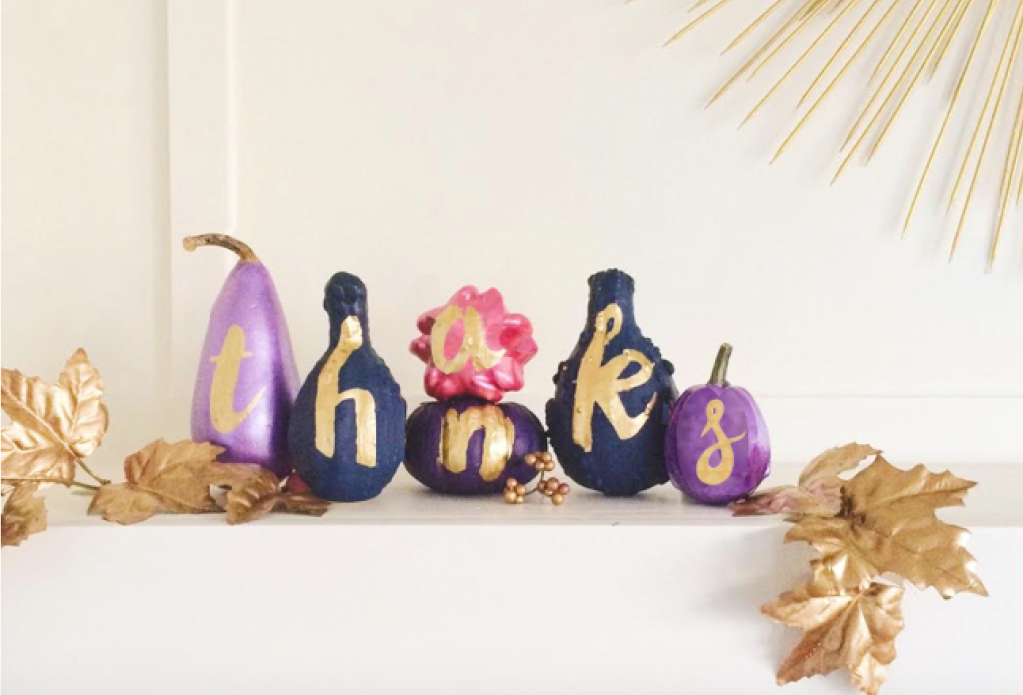
A word of caution: If you live in a warm, humid climate, you should probably toss those Halloween pumpkins and start fresh. Once you get your gourds, grab some paint and get the kids involved. Bam! And just like that, your mantle is the perfect mix of grandeur and gratitude for the upcoming Thanksgiving holiday.
Supplies:
- Typography Thanksgiving Pumpkin Decor Printable
- gourds and small pumpkins
- acrylic paint (Choose a mix of metallic and matte finishes.)
- 18 karat gold foil pen
- foam craft brushes
- small, fine-tip scissors
- faux leaf and berry garland (optional)
- gold spray paint (optional)
- sharp serrated knife (optional)
Instructions:
Step 1: Print the “thanks” typography printable. Using small, sharp scissors, cut inside each letter to create a stencil. Take these to the store to ensure the pumpkins you select are large enough to fit the designated letter.


Step 2: Arrange your gourds in the space you plan to display them. Using a sharp, serrated knife, cut the bottom of any rounded gourds just enough to create a flat surface. This will keep them from rolling once you position them on the mantle or table.
Step 3: Let the kids pitch in to paint each gourd a solid color by using the foam brush and acrylic paint. Paint each pumpkin two to three times to create a consistent, smooth paint finish. Allow each layer of paint to completely dry before applying the next.
Step 4: Lay a letter stencil on top of the gourd and position it accordingly. Using the 18k gold foil pen, trace the outline of each letter onto the corresponding pumpkin. Remove the stencil and carefully fill in each letter. NOTE: Do not fill in the entire “a” or ‘k.” Remember to leave unfilled areas in the center of the “a” and the two loop areas of the “k.” These are simple enough shapes to freehand the fill-in. Set aside to dry.
Step 5: Arrange your pumpkins and gourds on the mantle or table you selected. Paint the faux leaf and berry garden in gold spray paint. Set aside to dry.
Step 6: Carefully drape the leaf garland around the arranged gourds.

Images by Shauna Younge of Sweet Tooth
More DIY Pumpkin Crafts: