
With only a couple things and a few minutes you can make your own decorated headband!

What You’ll Need:
- Head band – I bought mine at the dollar store!
- Neon (optional) paint pens

I considered making the actual headband itself, but when I found one for a dollar, already made? How could I pass that up? First, stretch and then smooth out the headband as much as possible. Then shake your paint pens to make sure the paint inside is mixed well. I also placed some cardboard inside the headband in case any paint should bleed through. It didn’t 🙂

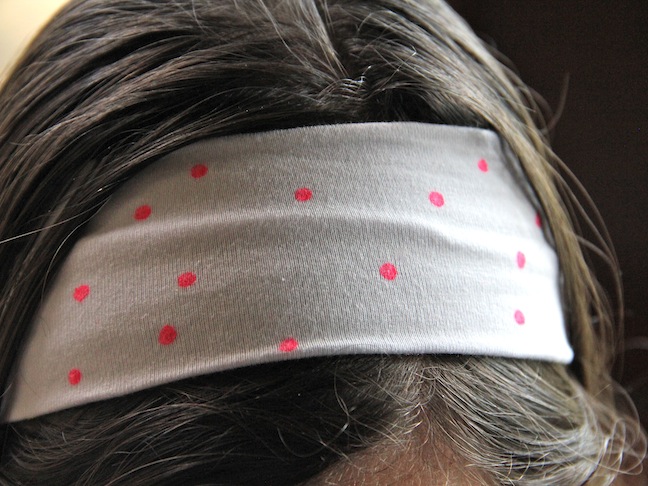
I decided to go with pink polka dots for the first side of my headband (obviously) but of course, you can do whatever color and design you would like! Just make sure it is completely dry before starting the second side.

For my second side, I wanted neon yellow stripes. So neon yellow stripes I made! I used some masking tape to create a stripes stencil and went to town coloring in the area with yellow.

You may want to use the “dot” effect as I call it. WIth some fabric markers, they can catch on the fabric you are writing on if you draw or color as you would on paper. If that happens, use the marker to make tons of dots to fill in the space instead.

Once you have finished, you should have a two way headband! Polka dots on one side…

…and stripes on the other!

Or you could be really funky and wear it half and half.
I chose the polka dots for today. Have fun making your new headband!


